
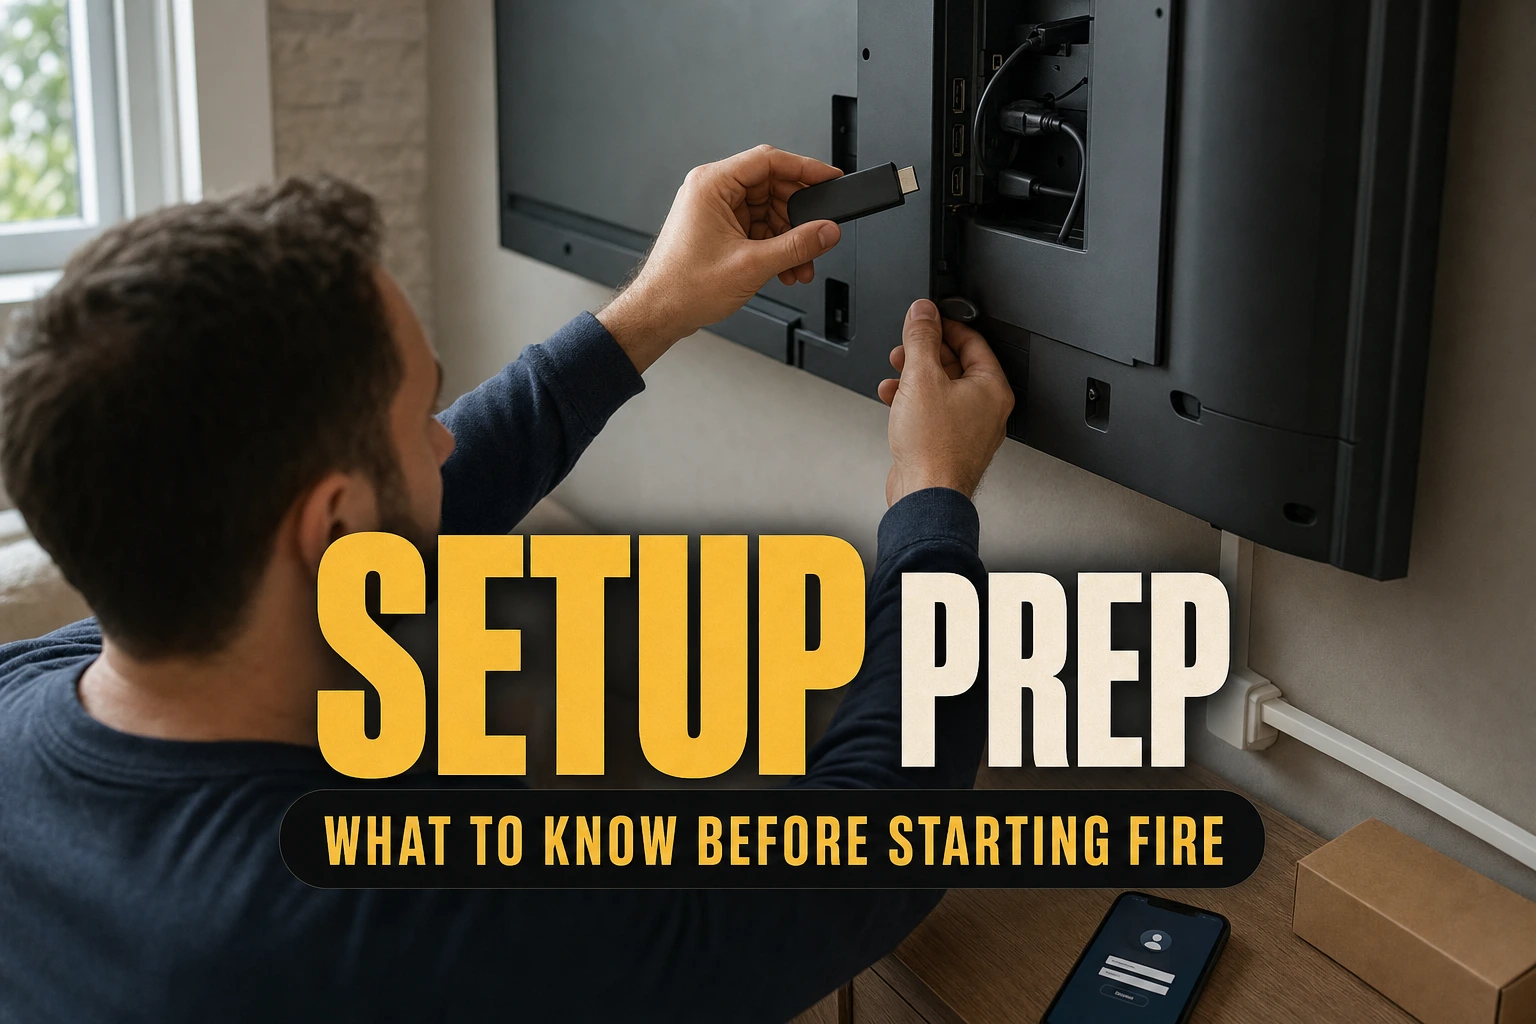
Setup Prep: What to Know Before Starting Fire TV Sticks
Before setting up a Fire TV Stick, ensure you have a compatible HDMI TV, a wireless internet connection, and an active Amazon account ready.
This article is informational and does not place shopping buttons in the story. Related buying guides may include affiliate links.
As an Amazon Associate I earn from qualifying purchases. This does not affect the price you pay. Affiliate disclosure
On this page8 sections
The short answer
- An active Amazon account is required to register and activate your media streaming device during setup.
- External wall outlet power is highly recommended to prevent random restarts and ensure smooth software updates.
- Keep your wireless network password nearby because the device requires an internet connection immediately.
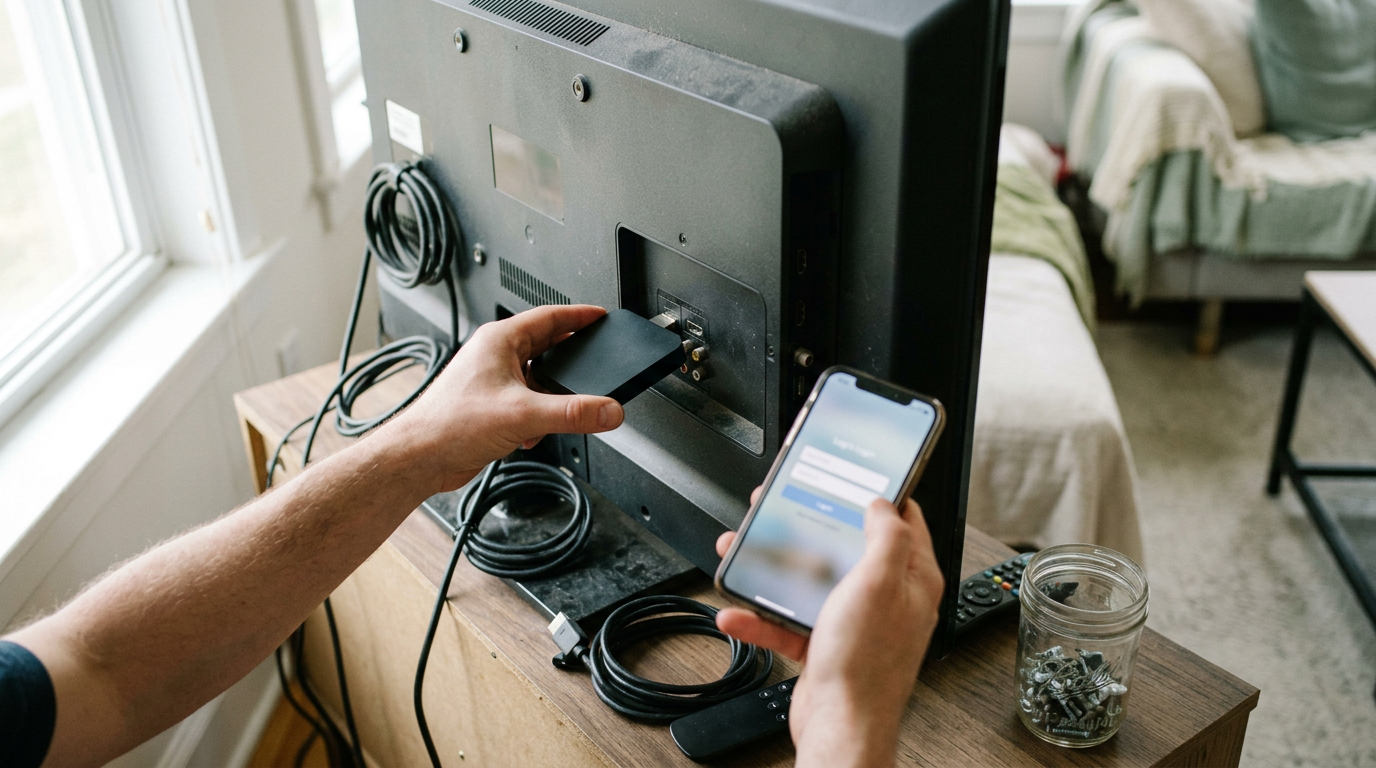
Before starting a Fire TV Stick, you must have a high-speed wireless connection, a television with an open HDMI port, and an active Amazon account. Preparing these essentials ensures a seamless and fast installation process.\n\nSetting up a new media streaming device is usually straightforward, but overlooking small details can halt your progress. For example, some users do not realize they need to plug the device directly into a wall outlet for consistent power rather than relying solely on a television USB port.\n\nKnowing what to expect during the initial setup prevents common headaches. From choosing the right physical placement to linking your digital profile, a few preparatory steps will get you streaming your favorite movies and shows in minutes.
Confirming Your TV and Hardware Compatibility
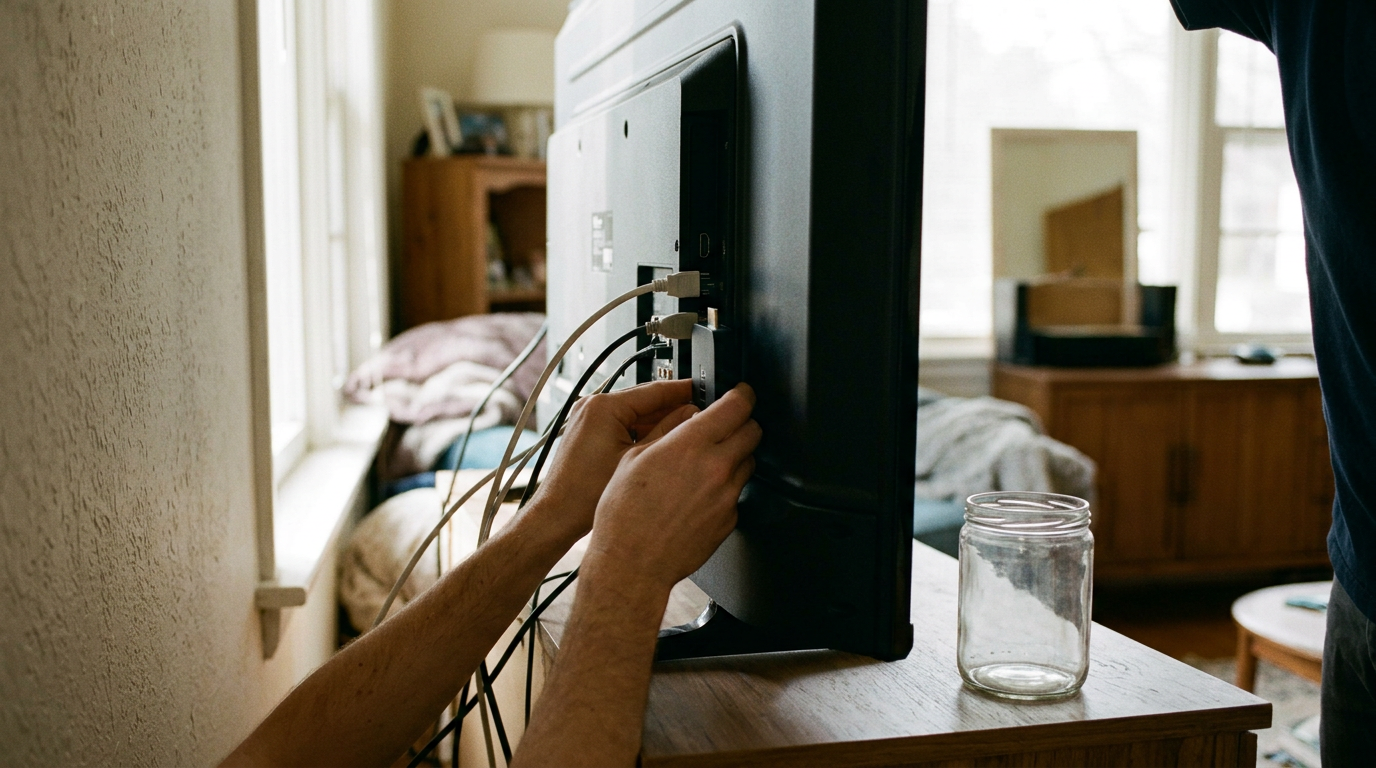
Before unboxing your new streamer, look at the back or side of your television. You need an open HDMI port to connect the streaming stick physically. If your television is mounted flush against a wall, space might be tight, which is why most models include a flexible HDMI extender cable in the box to help with tricky angles.\n\nWhile almost any flat-screen television with an HDMI input will work, your experience depends on matching capabilities. For example, if you have a 4K resolution television, you should pair it with a streaming stick that supports 4K playback. Connecting a high-definition device to a 4K television will work, but you will not get the sharpest picture quality possible.\n\nYou also need to think about audio requirements before plugging everything in. If you use an external soundbar or an audio-receiver system, the streaming stick should ideally plug directly into that system or use a specific television port. Understanding how your home theater sends signals helps you choose the correct port from the start, and you can learn about the right hardware choices in our Best Fire TV Sticks: 3 Streaming Players Compared guide.
Securing a Stable Power Source
Many people assume they can power their streaming stick by plugging the included USB cable directly into the television USB port. While this sometimes works, it is generally not recommended because television USB ports often fail to supply enough consistent electrical current. This power deficiency can cause the device to enter a loop of random restarts.\n\nTo avoid performance issues, you should always use the included power adapter to plug the device directly into a wall outlet. This ensures the unit has a constant flow of electricity, which is especially important during critical operating system updates. A sudden power loss during a system update can permanently corrupt the device's software.\n\nUsing the wall adapter also ensures that your streaming stick remains powered on in standby mode. This allows the device to download software updates and app patches overnight, meaning you will not have to wait for slow downloads when you sit down to watch a movie. It also speeds up the wake-up time significantly.
 See the picks in our buying guide
Gathering Your Digital Accounts and Network Info
You cannot use a Fire TV Stick without an active Amazon account. Even if you do not plan on purchasing movies, the operating system uses this account to manage your app library, save your viewing preferences, and handle system settings. If you do not have one, it is best to create a free account on a computer or smartphone beforehand.\n\nMake sure you have your wireless network name and password written down or memorized. During the initial startup screen, the device will scan for local networks, and you must enter your credentials immediately to proceed. If your router has dual-band capabilities, choose the faster 5 GHz band for a smoother streaming experience with less buffering.\n\nAdditionally, consider gathering login information for other services you plan to use, such as Netflix, Hulu, or YouTube. Having these passwords ready saves time, especially since entering complex text using an on-screen keyboard and a remote control can be slow and tedious. Some services now offer convenient mobile activation codes to bypass manual typing.
A Step-by-Step Guide to Initial Setup
Once you have gathered your passwords and verified your hardware, you are ready to begin the physical setup. Following a logical order ensures that the device registers properly with the remote control and your home wireless network. Here is how to complete the process smoothly without encountering errors.\n\n1. Insert the batteries into the remote control. This allows the remote to automatically pair with the streaming stick once powered on.\n2. Connect the power cable to the streaming stick. Plug the small end into the device and the larger adapter end into a wall outlet.\n3. Insert the streaming stick into your television's HDMI port. Use the included HDMI extender cable if the surrounding space is too tight.\n4. Switch your television to the correct input channel. Use your TV remote to select the HDMI input number corresponding to where you plugged the stick.\n5. Follow the on-screen instructions to connect to your Wi-Fi network. Select your network name and enter your password using the directional pad on the remote.\n6. Log in to your personal Amazon account to activate the device. Enter your username and password, or use the on-screen code with a smartphone to link your account.\n\nAfter completing these steps, the device will automatically check for any available software updates. This process can take several minutes, during which you should not unplug the device or turn off your television. Once the updates are finished, you will be greeted by the main home screen where you can start downloading streaming applications.
Understanding Streaming Remote Controls
The remote control included with your streaming stick uses a wireless connection to talk to the device, but it also features infrared (IR) technology. This dual-technology system allows the remote to control both your streaming stick and your television's basic functions. During setup, the device will ask you to test the volume buttons to pair them with your specific TV brand.\n\nIf the volume buttons do not work initially, do not worry. You can manually adjust these settings later in the equipment control menu. Some basic models do not include TV control buttons, meaning you will still need your original television remote to turn the TV on and off and adjust the audio.\n\nMany remotes also feature a built-in microphone for voice commands. Pressing and holding the voice button allows you to search for shows, open apps, or control smart home devices without navigating through menus. Understanding how to utilize voice search can make finding content much faster than using manual directional typing.
Deciding Which Model Fits Your Setup
Choosing the right streaming stick depends largely on your television's display capabilities and your home network speed. If you are using an older secondary television in a bedroom, a standard high-definition model is often more than sufficient. However, for a main living room setup with a modern television, a 4K-compatible model is essential to get the most out of your hardware.\n\nBeyond resolution, performance speed is a major differentiating factor. Advanced models feature faster processors and more system memory, which makes navigating menus feel snappy and responsive. If you hate waiting for apps to load or suffer from lag when scrolling through movie posters, investing in a higher-tier option is highly beneficial.\n\nSome models also offer upgraded wireless technology, such as support for newer Wi-Fi standards. If you have a modern router that supports these faster standards, a compatible streaming stick will provide a more stable connection, especially if your television is located far from your router. For a complete side-by-side comparison of specific options, read our guide on the Best Fire TV Sticks: 3 Streaming Players Compared.
Frequently asked
As an Amazon Associate I earn from qualifying purchases. This does not affect the price you pay. Affiliate disclosure