
Choosing the Right Dolby Atmos and Dolby Vision TV: A Guide
To choose the right Dolby Atmos and Dolby Vision TV, prioritize your room's lighting, look for an OLED or Mini-LED panel, and verify eARC support.
This article is informational and does not place shopping buttons in the story. Related buying guides may include affiliate links.
As an Amazon Associate I earn from qualifying purchases. This does not affect the price you pay. Affiliate disclosure
On this page9 sections
- 1The short answer
- 2What Dolby Vision and Dolby Atmos Actually Do
- 3Choosing the Right Panel Technology for Dolby Vision
- 4How to Evaluate Peak Brightness and Color Depth
- 5The Crucial Audio Connection: HDMI eARC Explained
- 6Step-by-Step Decision Checklist for Your Purchase
- 7Deciding Which Display Type Fits Your Specific Setup
- 8Frequently asked
- 9Sources
The short answer
- Select OLED panels for dark rooms or Mini-LED panels for bright, sunlit family spaces.
- Verify the television features an HDMI eARC port to transmit uncompressed Dolby Atmos audio.
- Ensure the display has high peak brightness to make Dolby Vision highlights stand out.
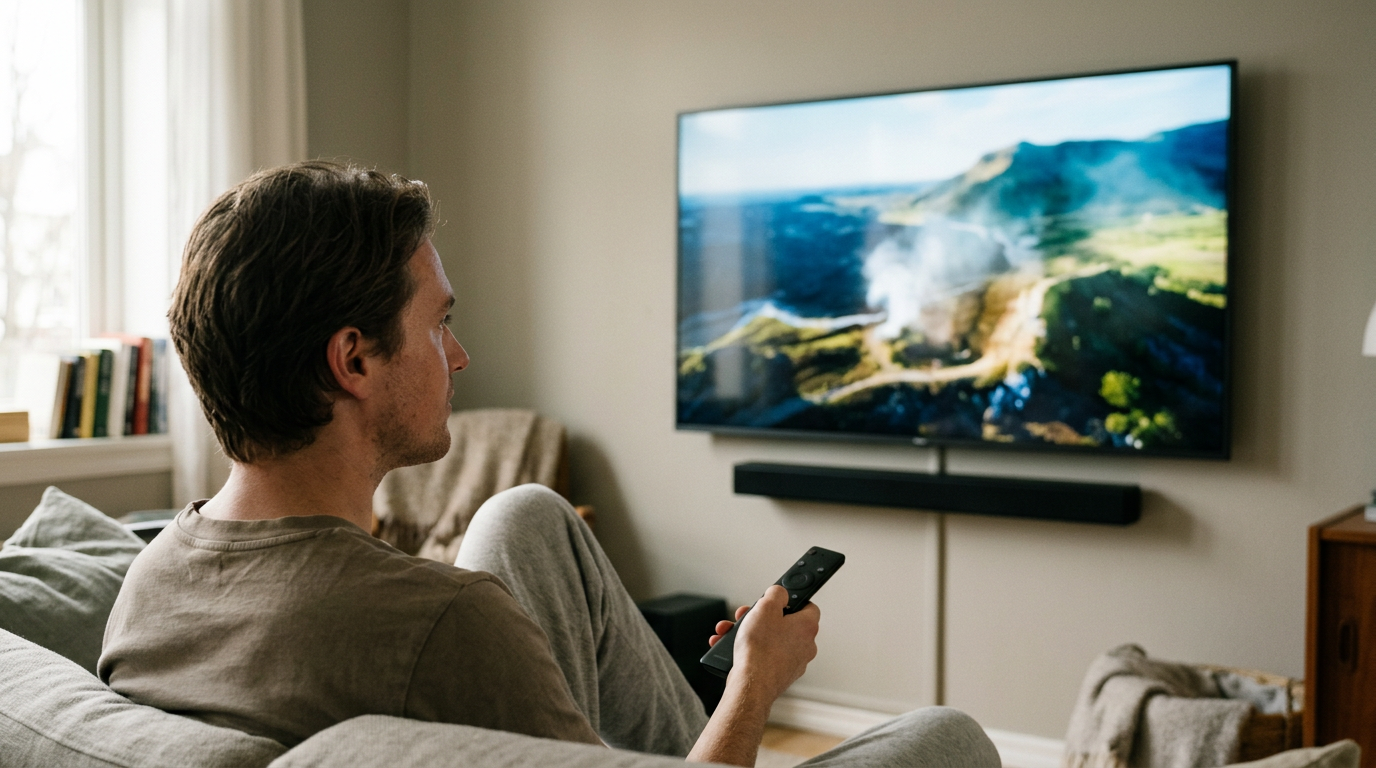
Choosing the right Dolby Atmos and Dolby Vision TV requires matching a high-brightness panel with an eARC port to send immersive audio to an external sound system.
While many modern televisions claim to support these high-end audio and video formats, their physical hardware determines the actual experience. A budget display might decode the signal without having the brightness or speaker arrays to showcase the depth of the formats.
To find the perfect display for your living room, you must look beyond the logos on the box. Understanding how backlighting, audio pass-through, and processing power interact will help you make an informed decision without overpaying for features you cannot use.
The quick version
- Measure your viewing distance
- Assess your room lighting
- Verify the port selection
- Check the native refresh rate
- Select the right external audio gear
What Dolby Vision and Dolby Atmos Actually Do
To understand how to choose the correct television, you must first decode the industry jargon. Dolby Vision is an advanced form of High Dynamic Range (HDR) that uses dynamic metadata to adjust brightness, contrast, and color on a frame-by-frame basis. Unlike static HDR10, which sets a single brightness parameter for the entire movie, Dolby Vision optimizes every scene to match your screen's precise capabilities, preserving details in both dark shadows and bright highlights.
Dolby Atmos, on the other hand, revolutionizes audio by moving away from traditional channel-based surround sound. Instead of sending audio to specific left or right speakers, it treats sounds as independent objects in a three-dimensional space. These audio objects can be placed and moved anywhere, including overhead, creating a sphere of sound that mimics real life.
When these two technologies operate together, they create a highly cohesive theater experience at home. However, simply having the logos on your TV does not guarantee a premium experience. The physical hardware of the screen and its audio output capabilities play a massive role in how these signals are actually rendered.
Choosing the Right Panel Technology for Dolby Vision
The foundation of any great television is its display panel, and your choice here determines how well Dolby Vision content will look. OLED (Organic Light Emitting Diode) displays use self-illuminating pixels that can turn off completely. This creates perfect black levels and infinite contrast, allowing the bright highlights of Dolby Vision to pop dramatically against dark backgrounds without any light bleeding into adjacent pixels.
Conversely, Mini-LED panels use thousands of tiny backlights grouped into local dimming zones behind a standard liquid crystal layer. While they cannot achieve the pixel-level precision of OLED, they can reach much higher peak brightness levels. This makes Mini-LED displays the ideal choice for bright family rooms where ambient sunlight would otherwise wash out a darker OLED screen. If you want to see how these panel types perform in specific models, check out the Best Atmos Dolby Vision TVs: Top 5 Displays Compared for a side-by-side analysis.
If you want the ultimate movie experience in a dedicated, dark home theater, prioritizing an OLED panel is generally the best route to appreciate Dolby Vision details. For bright, multi-purpose living spaces, a high-quality Mini-LED display will offer the punchy highlights needed to cut through ambient glare while still presenting stunning HDR.
How to Evaluate Peak Brightness and Color Depth
Peak brightness is a critical factor in how effectively a television can display Dolby Vision content. High dynamic range relies on contrast, which is the difference between the darkest darks and the brightest brights. If a screen lacks the capability to get sufficiently bright, the subtle details in a bright sunset or a flashlight beam will become compressed and lose their impact.
Color depth is another essential specification to look for when choosing your next display. To display the rich color palettes of Dolby Vision, you should look for a native 10-bit panel. A 10-bit panel can display over one billion individual colors, which prevents the artificial color banding often visible in smooth gradients, like a clear blue sky, on older 8-bit screens.
Be cautious of budget TVs that claim Dolby Vision support but possess low peak brightness capabilities. These budget displays must perform heavy tone mapping to fit the high-dynamic-range signal into their limited hardware capabilities. This process often results in an image that looks darker and less detailed than standard definition content.
The Crucial Audio Connection: HDMI eARC Explained
While many televisions feature internal speaker arrays designed to simulate height effects, physical limitations mean built-in speakers rarely deliver true three-dimensional sound. To experience genuine Dolby Atmos, you will need to route the audio signal from your television to a dedicated soundbar or multi-channel receiver. This is where physical connectivity becomes the most important factor in your buying decision.
You must ensure the TV features at least one HDMI port that supports HDMI eARC (Enhanced Audio Return Channel). Standard ARC can only transmit compressed, lossy Dolby Atmos audio, whereas eARC has the bandwidth to pass uncompressed, lossless Atmos audio. This connection is vital if you stream movies from high-end media players or play modern video game consoles.
When comparing your options, check the back panel to see which HDMI ports offer this feature. If you want to explore specific models that balance these audio connections with spectacular picture quality, you can read our guide on the Best Atmos Dolby Vision TVs: Top 5 Displays Compared. Choosing a display with robust eARC support ensures your audio system works in perfect harmony with your screen.
Step-by-Step Decision Checklist for Your Purchase
To make the buying process simple, follow this structured decision path when evaluating different models in the store or online. This sequence ensures you do not overlook compatibility issues before completing your purchase.
- Measure your viewing distance. Determine the ideal screen size using standard placement guidelines to get the most immersive field of view.
- Assess your room lighting. Choose a bright Mini-LED panel for sunlit spaces or an OLED panel for light-controlled home theaters.
- Verify the port selection. Look specifically for an HDMI port labeled eARC to handle high-bandwidth lossless audio formats.
- Check the native refresh rate. Look for a native 120Hz panel if you plan to play high-speed video games or watch action sports.
- Select the right external audio gear. Invest in a dedicated Dolby Atmos soundbar or a multi-speaker surround sound system to pair with the TV.
By following these steps, you will quickly filter out displays that do not meet your performance standards. This method saves you from purchasing a screen that looks great but fails to deliver the immersive sound experience you expect.
Deciding Which Display Type Fits Your Specific Setup
To help you decide which technology path fits your home, compare the core strengths of the two main panel technologies side-by-side. Your room layout and viewing habits should dictate which option makes the most sense for your lifestyle.
- Contrast: OLED does infinite contrast with pixel-level dimming, Mini-LED does zonal dimming which can cause minor blooming around bright objects.
- Brightness: Mini-LED does extreme peak brightness to fight heavy room glare, OLED does moderate brightness suited for controlled lighting.
- Viewing Angles: OLED does perfect off-angle viewing with no color shifts, Mini-LED does narrower viewing angles where side seats may see washed-out images.
Ultimately, your choice between these technologies depends entirely on your room's light levels and seating arrangements. If your family sits directly in front of the screen in a dim room, OLED is unmatched. If you have a wide sectional sofa in a bright, open-concept living area, Mini-LED will serve your needs much better.
Frequently asked
Sources
As an Amazon Associate I earn from qualifying purchases. This does not affect the price you pay. Affiliate disclosure