
How to Clone Your Own Voice With ElevenLabs
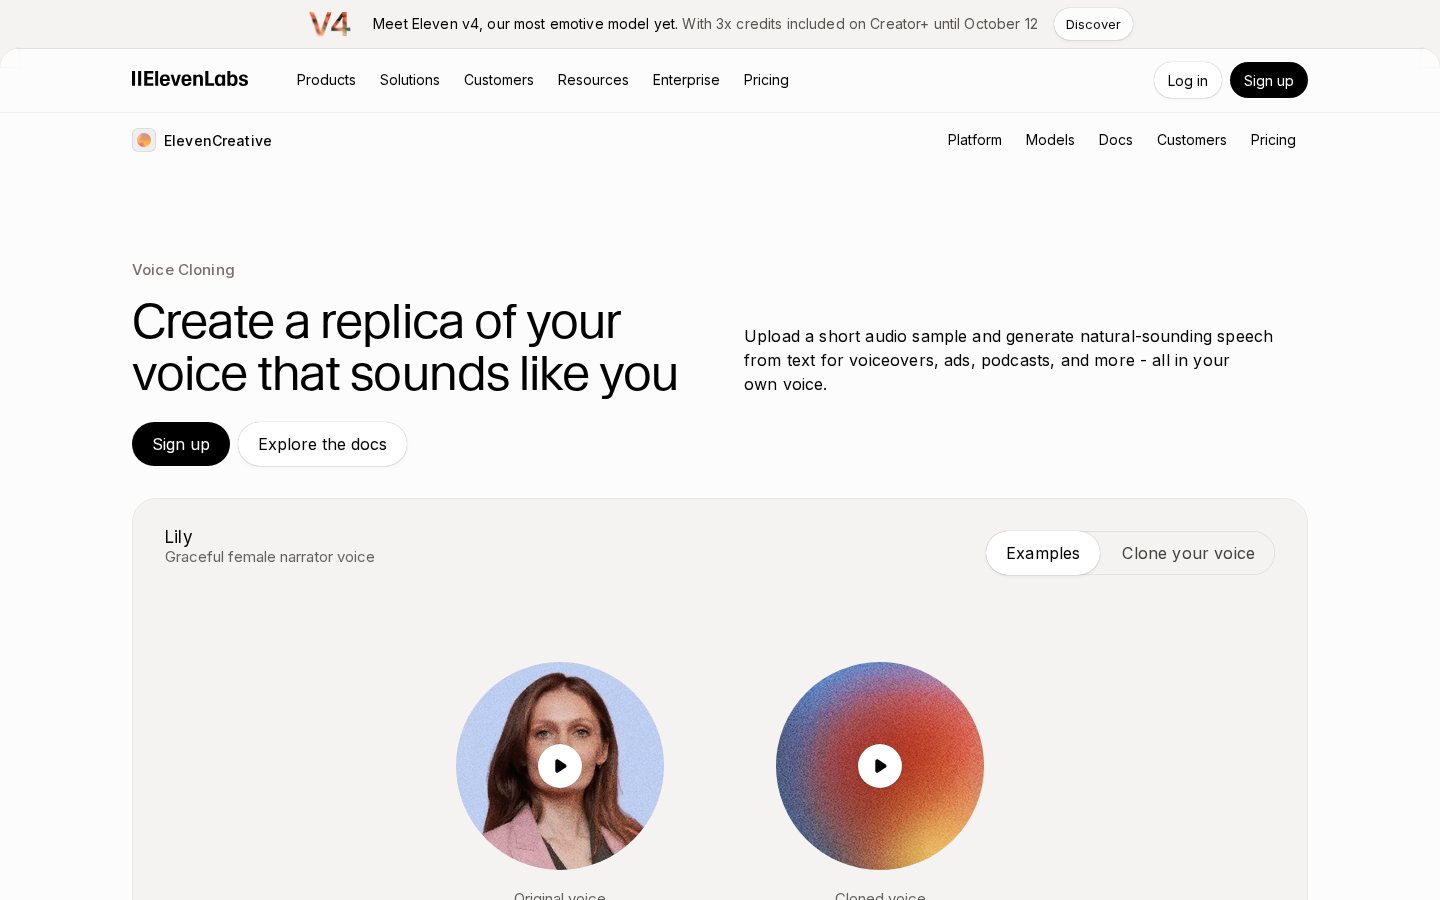
Clone your voice with ElevenLabs using the VoiceLab tool by uploading clean audio samples and adjusting stability sliders for clear speech generation.
Some links are affiliate links: we may earn a commission if you sign up or buy through them, at no extra cost to you.
On this page9 sections
- 1The short answer
- 2Preparing Your Voice Recording for Cloning
- 3Navigating the VoiceLab Dashboard
- 4Uploading and Creating Your Voice Clone
- 5Adjusting the Stability and Clarity Settings
- 6Verifying Your Consent and Voice Ownership
- 7Troubleshooting Cloned Audio Problems
- 8Managing and Updating Your Voice Library
- 9Frequently asked
The short answer
- Use a high-quality, quiet microphone to record your training samples for the best results.
- Navigate to the VoiceLab tab to select either instant or professional voice cloning options.
- Adjust the stability and clarity sliders in the speech synthesis tab to fine-tune your output.
To clone your voice with ElevenLabs, upload a clean audio recording of your speech to the VoiceLab dashboard and generate a custom synthetic profile. The platform uses these samples to replicate your unique vocal cadence and tone.
Voice cloning has changed how content creators produce voiceovers. Instead of recording new scripts manually every time, you can write text and have your cloned voice read it instantly. Achieving a realistic clone depends heavily on the quality of your original audio files and the settings you select.
Before starting, you should review our comprehensive ElevenLabs Review to understand the platform's features and overall capabilities. This guide will walk you through the precise technical steps to record, upload, and refine your clone.
The quick version
- Click the add voice button
- Choose the instant cloning option
- Drag and drop your audio files
- Name your custom voice clearly
- Accept the terms of use checkbox
- Click the add voice button at
Preparing Your Voice Recording for Cloning
Before you begin uploading files to the online software, you must prepare the raw materials. The fidelity of your cloned output depends entirely on the input quality. If you upload a file with background hiss, echo, or air conditioning rumble, the model will mistake those noises for part of your speech patterns. Ensure you record in a quiet, carpeted room to minimize natural room reverberations and echo.
When recording, speak in your natural conversational tone and pacing. Avoid overly dramatic inflections unless you want those specific mannerisms permanently embedded in your clone. Read from a diverse script that covers a wide range of phonetic sounds, ensuring your natural rhythm, breath pauses, and unique vocal texture are fully captured for the software to analyze.
Save your recordings in common audio formats such as MP3 or WAV. Aim for a file size that fits within the system limitations while maintaining a high bitrate. It is better to use a single high-quality microphone than a cheap headset mic, as the artificial intelligence needs clear spectral detail to map your voice correctly. Avoid adding any background music or sound effects.
Navigating the VoiceLab Dashboard
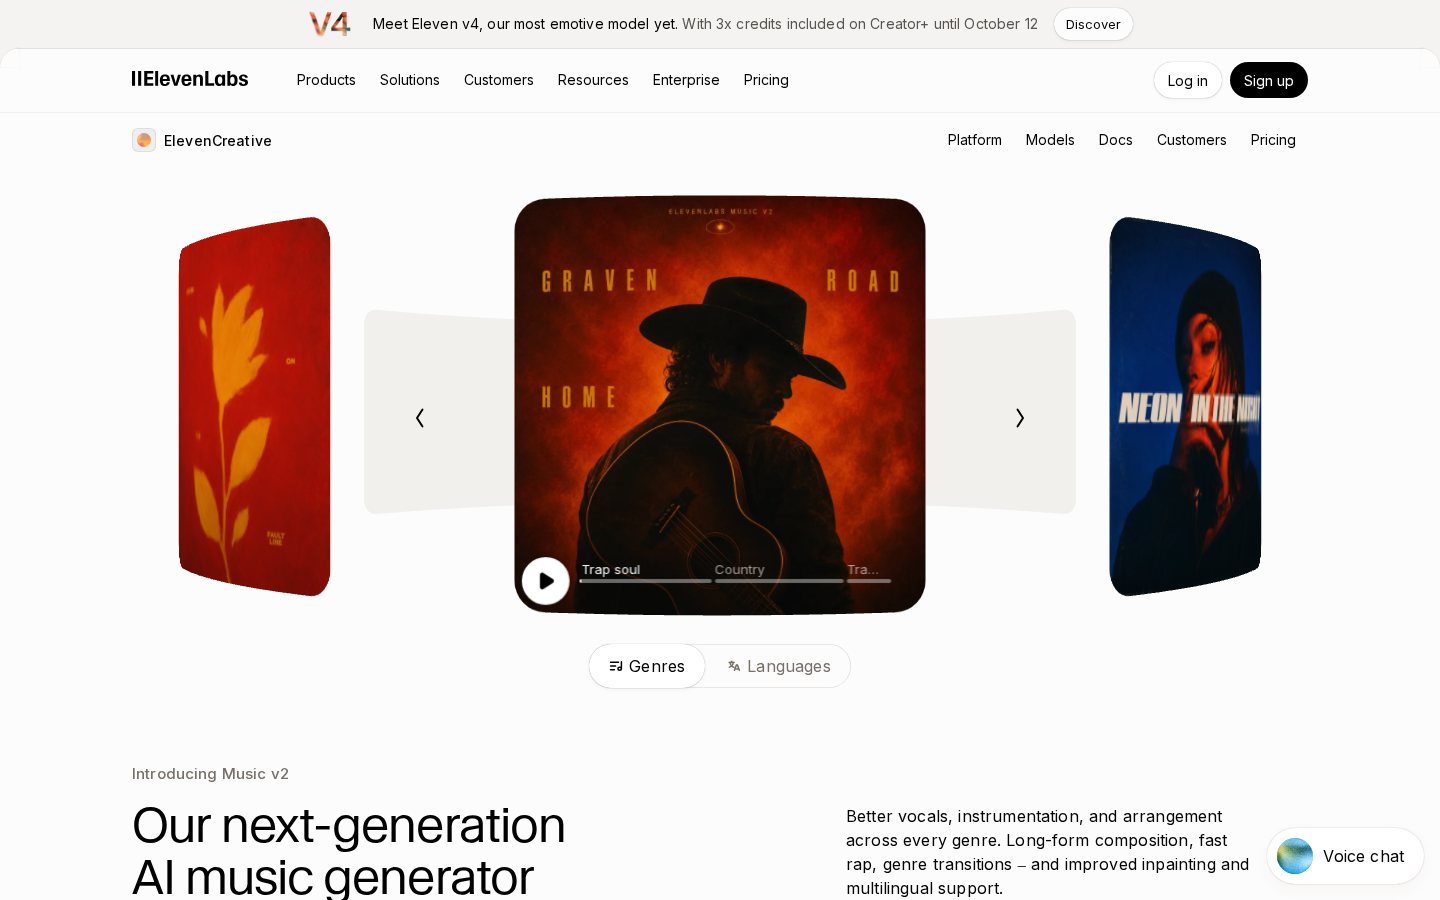
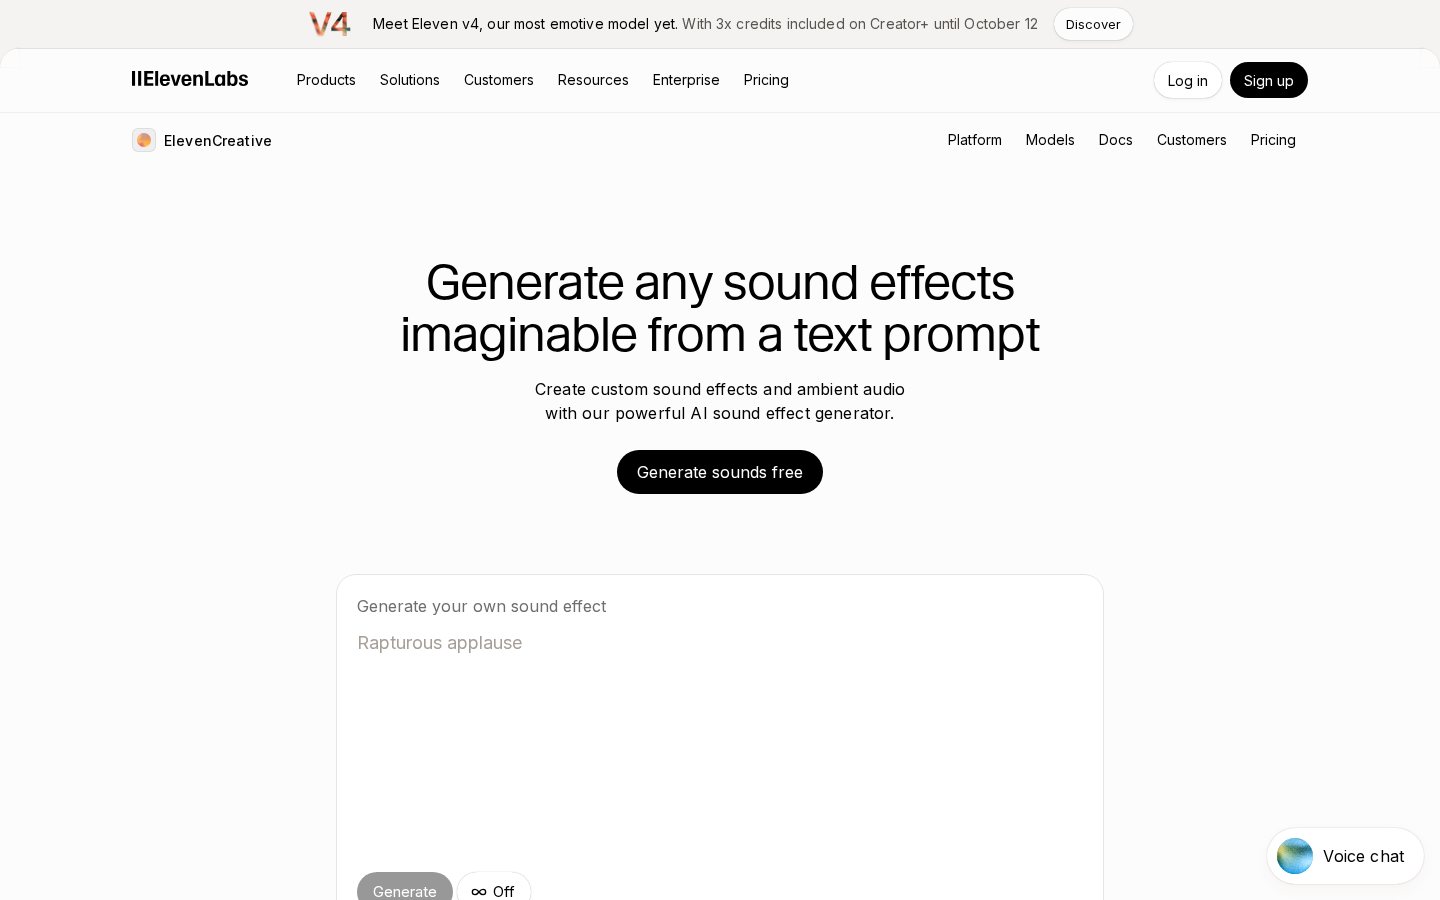
Once your audio file is ready, log in to your personal dashboard. The user interface can feel overwhelming due to the number of tools available for speech synthesis. Locate the main navigation menu and click on the dedicated VoiceLab tab, which acts as the central hub for all custom voices. This is where you manage your cloned voices and created models.
Inside this workspace, you will see options for creating different types of voice models. The software separates these into instant voice cloning and professional voice cloning. Instant cloning requires shorter audio samples and processes your voice within seconds, whereas professional cloning requires hours of data to build a highly detailed acoustic profile that captures your full range.
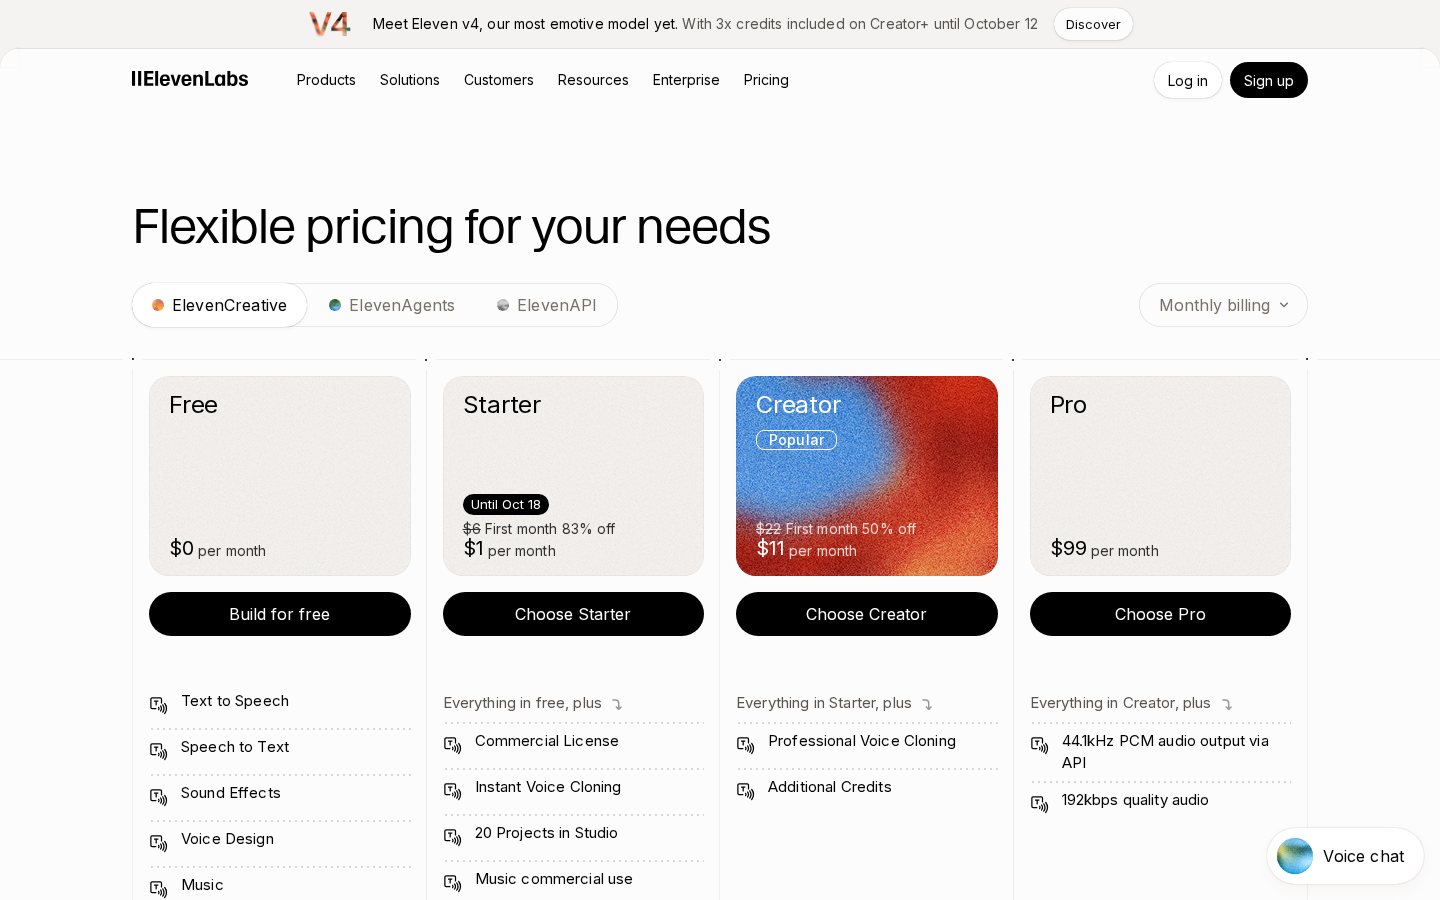
Depending on your current subscription tier, some options may be locked. The instant cloning feature is generally available on lower-tier plans, while professional cloning requires a higher commitment level. Review our ElevenLabs Review to see how these tiers differ in performance and features. Click the button to add a new instant voice to begin the upload sequence.
Uploading and Creating Your Voice Clone
Creating your clone requires a specific sequence of actions to ensure the platform recognizes and processes your audio data. You must add a high-quality recording of your own voice to the system while providing clear identification labels. Follow these steps carefully to complete the initial setup and get your voice profile registered.
- Click the add voice button. This option is located within the VoiceLab dashboard and opens the creation prompt.
- Choose the instant cloning option. Selecting this option will open the file upload window for your samples.
- Drag and drop your audio files. You can upload multiple files to provide a broader range of vocal data.
- Name your custom voice clearly. Use a descriptive name so you can easily identify it in your voice library.
- Accept the terms of use checkbox. This step confirms that you own the rights to the voice you are uploading.
- Click the add voice button at the bottom. The system will immediately process your files and add the clone to your library.
After the processing finishes, which usually takes only a few seconds for the instant option, your clone will appear as an active card in your list. You can now use this voice card inside the main synthesis interface for text-to-speech generation. If the upload fails, verify that your files are under the maximum size limit specified on the screen.
Adjusting the Stability and Clarity Settings
Once your clone is active, you can test it by typing text into the generator. However, the default generation settings might not sound exactly like you on the first try. To fix this, you must adjust the stability and clarity sliders in the settings panel below your text input field to shape the performance of your artificial speaker.
The stability slider controls how consistent your voice remains during long paragraphs of text. Setting this slider too high can make your cloned voice sound flat and robotic, lacking natural human inflection and emotional nuance. Setting it too low can cause the voice to become overly expressive, erratic, or introduce unwanted whispering and audio glitching.
The clarity and similarity slider determines how closely the model matches your training audio. If you notice strange artifacts or digital distortion, lowering this slider slightly can smooth out the synthetic speech. Finding the correct balance requires generating short paragraphs of text and tweaking these values incrementally until the output sounds natural.
Verifying Your Consent and Voice Ownership
Security and safety are central to voice cloning technology. To prevent unauthorized use of someone else's identity, the platform requires you to provide a live voice verification read before you can use certain generation features. This mandatory process ensures you are cloning your own voice and not a recording of another person without their consent.
The system will display a short, unique paragraph of text on your screen during the verification setup. You must record yourself reading this text live using your computer microphone. The software's matching algorithm compares this live recording directly against the uploaded training files to verify a matches in tone, pitch, and cadence.
If the live verification fails, make sure you are using the same microphone and speaking with the same tone as your uploaded files. If you sound too different due to physical illness or a noisy acoustic environment, the system will reject the request. Once verified, your custom clone is unlocked for full text-to-speech generation.
Troubleshooting Cloned Audio Problems
It is common to encounter audio glitches when first generating speech with a cloned voice. Digital artifacts, clicking noises, or sudden changes in volume are usually caused by issues in the original training files. If you find clipping in your raw audio, where the sound wave peaks and distorts, the model will replicate that distortion in its outputs.
To solve clipping issues, lower your microphone input volume and rerecord your samples. You should also keep your sample audio completely dry, meaning you should avoid using any reverb, compression, or equalization effects before uploading. Raw, unprocessed audio allows the algorithm to analyze your natural vocal signature accurately without distraction.
If the output sounds muffled, look at the waveform of your source file to make sure it is not too quiet. Low-volume recordings force the system to boost the signal, which introduces background noise into the final synthetic voice. Clean, moderately loud, and dry audio files will always produce the most realistic voice clones for your projects.
Managing and Updating Your Voice Library
Over time, you may want to improve your cloned voice or replace old samples with better recordings. The VoiceLab dashboard allows you to manage your active voices, delete clones you no longer use, and update existing ones with fresh audio files. This helps keep your library organized and ensures you do not hit subscription limits.
When updating an existing voice profile, it is often better to delete the old voice entry and start fresh rather than adding new files to an old profile. Mixing audio from different microphones or rooms can confuse the model, leading to inconsistent speech quality. Keep a dedicated folder on your computer with your master voice files for easy access.
If you need to share your voice or explore voices created by other users, the platform offers a shared library feature. Here, you can discover pre-made voices or share your own if you want to make them public. Always check your sharing settings to ensure your personal voice clone remains private and secure.
Frequently asked
As an Amazon Associate I earn from qualifying purchases. This does not affect the price you pay. Affiliate disclosure