
Beyond a Home Espresso Machine: What You Need
Beyond a home espresso machine, good shots require an espresso-capable burr grinder, a precise scale, a fitted tamper, suitable water and a repeatable workflow.

This article is informational and does not place shopping buttons in the story. Related buying guides may include affiliate links.
As an Amazon Associate I earn from qualifying purchases. This does not affect the price you pay. Affiliate disclosure
On this page11 sections
- 1The short answer
- 2What You Need Beyond a Home Espresso Machine
- 3Why an Espresso-Capable Burr Grinder Comes First
- 4Use a 0.1-Gram Scale to Control Dose and Yield
- 5Match the Tamper and Basket to the Machine
- 6Distribution Tools Can Reduce Puck-Prep Problems
- 7Choose Suitable Water and Keep the Machine Clean
- 8A Repeatable Workflow for Pulling Good Shots
- 9Which Espresso Accessories Should You Buy First?
- 10Frequently asked
- 11Sources
The short answer
- A dedicated burr grinder is far more critical to espresso quality than the machine itself.
- A digital scale measuring to the tenth of a gram guarantees consistent extraction recipes every morning.
- Puck preparation tools like distribution needles ensure water flows evenly through the coffee bed.
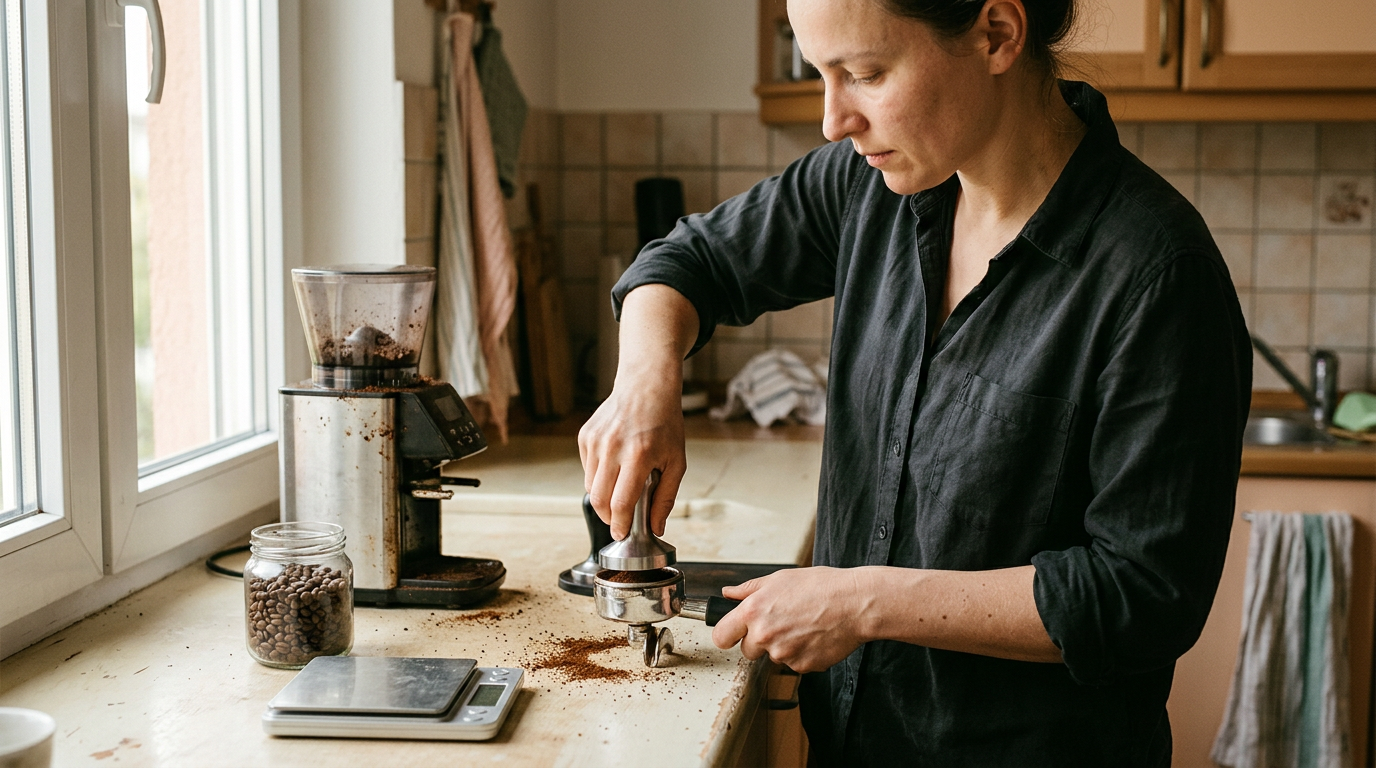
Beyond a home espresso machine, you need an espresso-capable burr grinder, a precise digital scale, a properly fitted tamper, suitable water and fresh coffee to pull good shots. A distribution tool and cleaning supplies are useful additions. Together, these essentials help you control grind size, dose, yield, puck preparation and machine condition.
Buying one of the models in our home espresso machines buyer’s guide is only half the setup. The machine provides heated water and pressure, but preparation determines whether that water moves evenly through the coffee bed. CoffeeGeek and Wirecutter likewise emphasize starting with a capable grinder, weighing coffee and learning a consistent routine.
You do not need every accessory immediately. Start with the grinder and scale, use the tamper supplied with your machine if it fits well, and improve distribution or workflow tools only after you can identify the problem they solve.
The quick version
- Weigh the whole-bean dose
- Grind into the portafilter or a
- Distribute the grounds
- Tamp level with a fitted tamper
- Lock in the portafilter and begin
- Place the cup on the scale
What You Need Beyond a Home Espresso Machine
The essential companion equipment is a dedicated burr grinder, a scale that reads to 0.1 gram, a tamper that fits the basket, suitable brewing water and basic cleaning tools. Fresh beans also matter because espresso exposes changes in coffee and grind behavior quickly. A WDT tool, dosing funnel and knockbox can make preparation tidier or more consistent, but they are secondary purchases rather than prerequisites.
The grinder controls how quickly water passes through the puck. The scale lets you repeat a dry dose and liquid yield instead of relying on cup volume. The tamper creates a level surface, while suitable water supports flavor and reduces avoidable scale problems. Cleaning brushes and cloths remove coffee oils and milk residue before they affect later drinks. If you are still choosing the main appliance, compare formats and features in our guide to home espresso machines.
Why an Espresso-Capable Burr Grinder Comes First
Many espresso newcomers assume any appliance that chops up beans will suffice. However, a blade grinder merely chops beans into mismatched chunks and fine dust, leading to uneven extraction. To get a more uniform particle size for espresso, you need a high-quality burr grinder. Burrs crush the beans between two abrasive surfaces, producing a more consistent grind than rotating blades.
Espresso brewing requires a fine grind, and minor adjustments can substantially alter the flow rate. A specialized espresso grinder allows you to change the distance between the burrs in small increments to match the coffee, dose and basket. This ability to adjust grind size in tiny increments is more important than a long list of convenience features.
Stepped grinders use preset adjustment points, while stepless models move without fixed notches. Either format can work if its espresso range provides enough control. CoffeeGeek, Wirecutter and Bon Appétit all place a capable grinder near the center of a practical home setup. If a shot runs too quickly at a consistent dose and yield, grind finer; if it chokes the machine or runs very slowly, grind coarser.
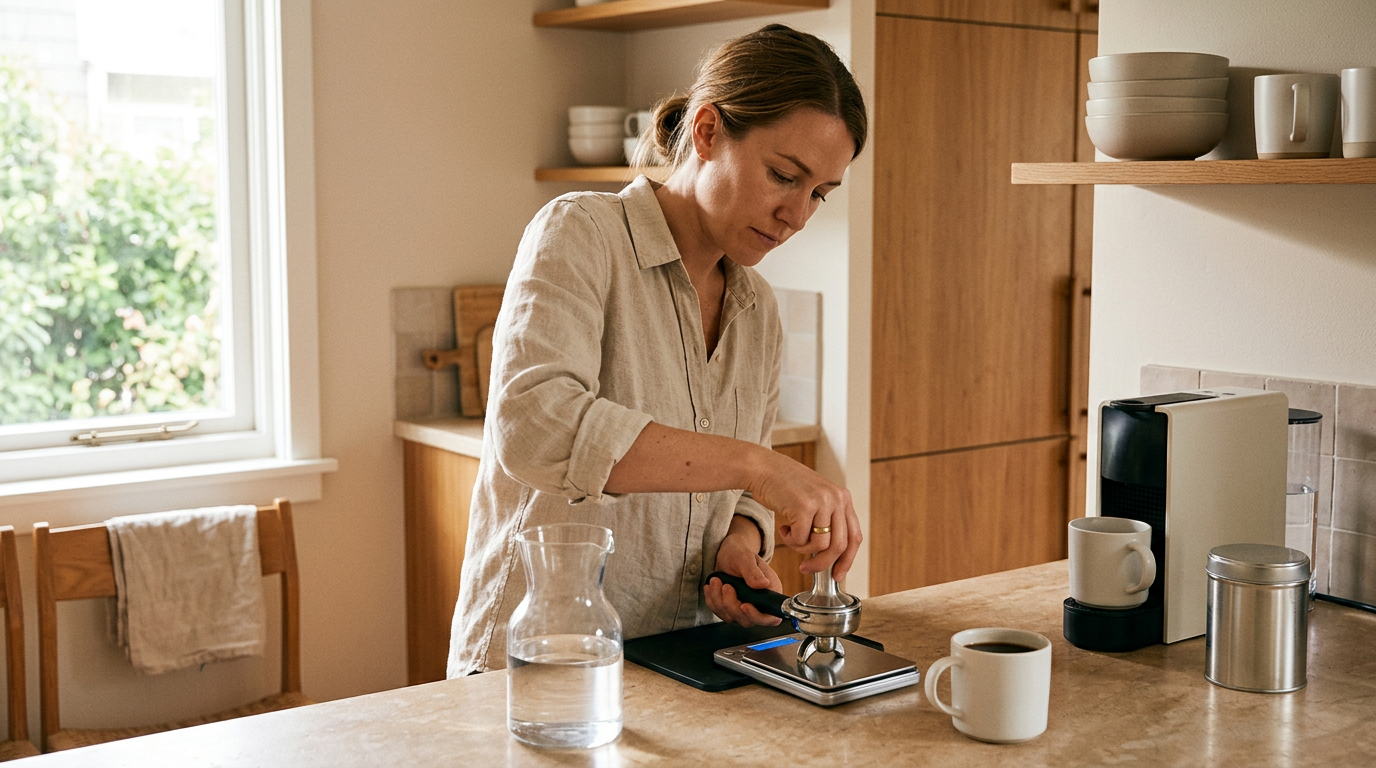 See the picks in our buying guide
Use a 0.1-Gram Scale to Control Dose and Yield
To assess an extraction, control the relationship between dry coffee and liquid espresso. Eyeballing shot volume is unreliable because the layer of crema varies with the coffee and its freshness. A digital scale that reads to a tenth of a gram lets you weigh both the dry coffee and the liquid espresso.
A 1:2 brew ratio is a useful starting point, not a universal rule. For example, an 18-gram dose would produce a 36-gram beverage at that ratio. Taste should determine whether you keep that recipe or change it. Holding the dose and target yield steady also makes grind adjustments easier to understand because fewer variables change at once.
Look for a scale that fits between the drip tray and cup. A timer is convenient, although a separate timer also works. Start timing consistently—such as when you activate the pump—so comparisons remain meaningful. Rather than treating one extraction time as mandatory, watch how grind changes affect flow and taste. Wirecutter’s home-espresso guidance similarly recommends weighing inputs and outputs instead of judging the shot by volume alone.
Match the Tamper and Basket to the Machine
Some entry-level espresso machines ship with lightweight tampers that do not fit the portafilter basket snugly. A loose fit can leave untamped coffee around the edge. Water may then find less-resistant paths through the puck, contributing to channeling and an uneven extraction.
A fitted tamper should sit close to the basket wall without binding. Check the basket’s actual diameter rather than assuming every portafilter with the same nominal size needs the same tamper. The base should help you produce a flat, level surface for water to pass through. Consistency and levelness matter more than repeatedly chasing a particular tamping force; once the coffee is evenly compressed, additional force offers little practical control.
Basket type also changes the workflow. A pressurized, or dual-wall, basket creates much of the resistance itself and can be more forgiving of pre-ground coffee or a less precise grinder. A non-pressurized, or single-wall, basket relies more heavily on grind size and puck preparation. Before replacing anything, identify which basket your machine includes and follow its manual. The distinction also matters while comparing options in our home espresso machine buying guide.
Distribution Tools Can Reduce Puck-Prep Problems
Even with a capable grinder, freshly ground coffee can form clumps or land unevenly inside the basket. Tamping an uneven bed can leave dense and less-dense areas. Pressurized water tends to follow easier routes, creating channeling rather than moving uniformly through the puck.
The Weiss Distribution Technique uses a small tool with thin needles to stir the grounds before tamping. A WDT tool can break up visible clumps and spread coffee through the basket. Use shallow, controlled movements, avoid scraping the basket aggressively and finish with a level bed. A dosing funnel is helpful because it keeps grounds from spilling while you stir. This step is optional: if the grinder distributes coffee evenly and shots are consistent, another tool may add little.
Spinner-style distributors level the surface but may not reach clumps deeper in the basket. They can also compress the top if set too deep. If you choose one distribution accessory, a simple needle tool is the more direct way to address clumps throughout the bed. Distribution cannot compensate for unsuitable grind size, an incorrect dose or a basket that is overfilled, so diagnose those variables first.
Choose Suitable Water and Keep the Machine Clean
Coffee is mostly water, so water chemistry affects flavor and the condition of the machine. Very hard water can leave mineral scale in boilers and internal pathways. Distilled or demineralized water is not automatically suitable either; some machines depend on dissolved minerals for sensor operation, and manufacturers set different water requirements. Follow the machine maker’s water guidance before using a filter, bottled water or remineralized water.
A filtration pitcher may reduce some substances, but its effect depends on the cartridge and local water. If you do not know your water hardness, consult the local water report or use an appropriate hardness test. Do not assume that every filter prevents scale, and do not descale more often than the manual directs. Machine materials and descaling procedures vary.
Coffee oils and milk residue can spoil flavors and obstruct components. Useful supplies include a group-head brush, clean cloths, the manufacturer-recommended detergent and, where supported, a blind basket for backflushing. Purge and wipe the steam wand promptly after use, empty and rinse the drip tray, and wash removable baskets regularly. A knockbox is convenient for spent pucks but does not change extraction quality. CoffeeGeek’s first-steps guide also stresses reading the manual, preparing the machine and establishing cleaning habits early.
A Repeatable Workflow for Pulling Good Shots
A structured workflow helps you separate grind, dose, yield and preparation problems. Start by warming the machine and portafilter as directed in the manual. Then use the same sequence each time:
- Weigh the whole-bean dose. Choose a dose that suits the basket rather than automatically filling to its rim.
- Grind into the portafilter or a dosing cup using an espresso setting.
- Distribute the grounds. Break up clumps if needed, then settle the coffee into an even bed.
- Tamp level with a fitted tamper and clear loose grounds from the basket rim.
- Lock in the portafilter and begin brewing without an unnecessary delay.
- Place the cup on the scale and stop at the chosen beverage weight.
- Taste the shot before changing the recipe.
A 1:2 ratio is a practical baseline, but different coffees, baskets and preferences may call for a shorter or longer yield. If the shot tastes sharply sour and flows quickly, try a finer grind. If it tastes harsh and flows very slowly, try a coarser grind. These are diagnostic starting points, not rigid rules. Scott Rao’s discussion of pressure profiling shows that advanced machines can vary pressure and flow, but those controls do not replace sound puck preparation and a measured recipe.
Which Espresso Accessories Should You Buy First?
You do not need to purchase every accessory on day one. If the machine has no capable built-in grinder, prioritize a dedicated espresso burr grinder. Pair it with a compact 0.1-gram scale. Next, check whether the included tamper fits the basket and is comfortable to hold; replace it only if the fit or design makes level tamping difficult.
Suitable water and basic cleaning supplies belong in the initial setup because they affect taste, routine care and machine operation. Fresh coffee should be part of the plan as well, although no accessory can prescribe one roast or blend for every palate. A WDT tool, dosing funnel and knockbox are reasonable later additions. Buy them to solve clumping, spillage or cleanup problems you have actually observed.
Before adding equipment, confirm what the machine already includes and whether it uses pressurized or non-pressurized baskets. Our Home Espresso Machines: Top Buyer’s Guide explains the main machine formats and features. The practical goal is not to collect tools; it is to make grind, dose, yield, distribution and cleaning repeatable enough that taste can guide the next adjustment.
Frequently asked
Sources

As an Amazon Associate I earn from qualifying purchases. This does not affect the price you pay. Affiliate disclosure