
How to Descale a K-Cup Coffee Maker
Learn how to descale a K-Cup coffee maker with descaling solution or white vinegar, then rinse it thoroughly to restore normal brewing performance.

This article is informational and does not place shopping buttons in the story. Related buying guides may include affiliate links.
As an Amazon Associate I earn from qualifying purchases. This does not affect the price you pay. Affiliate disclosure
On this page10 sections
- 1The short answer
- 2Why Limescale Builds Up Inside a K-Cup Brewer
- 3What You Need Before Starting the Descaling Process
- 4How to Descale a K-Cup Coffee Maker Step by Step
- 5How to Rinse the Brewer After Descaling
- 6What to Do If the Descale Light Stays On
- 7Safety Measures and Mistakes to Avoid
- 8How Often to Descale and Maintain Your Brewer
- 9Frequently asked
- 10Sources
The short answer
- Clean your brewer every three to six months to prevent mineral buildup and maintain optimal water flow.
- Use equal parts white vinegar and water or a specialized commercial descaling formula for the job.
- Always run multiple clean-water cycles afterward to eliminate any remaining sour taste or residue.
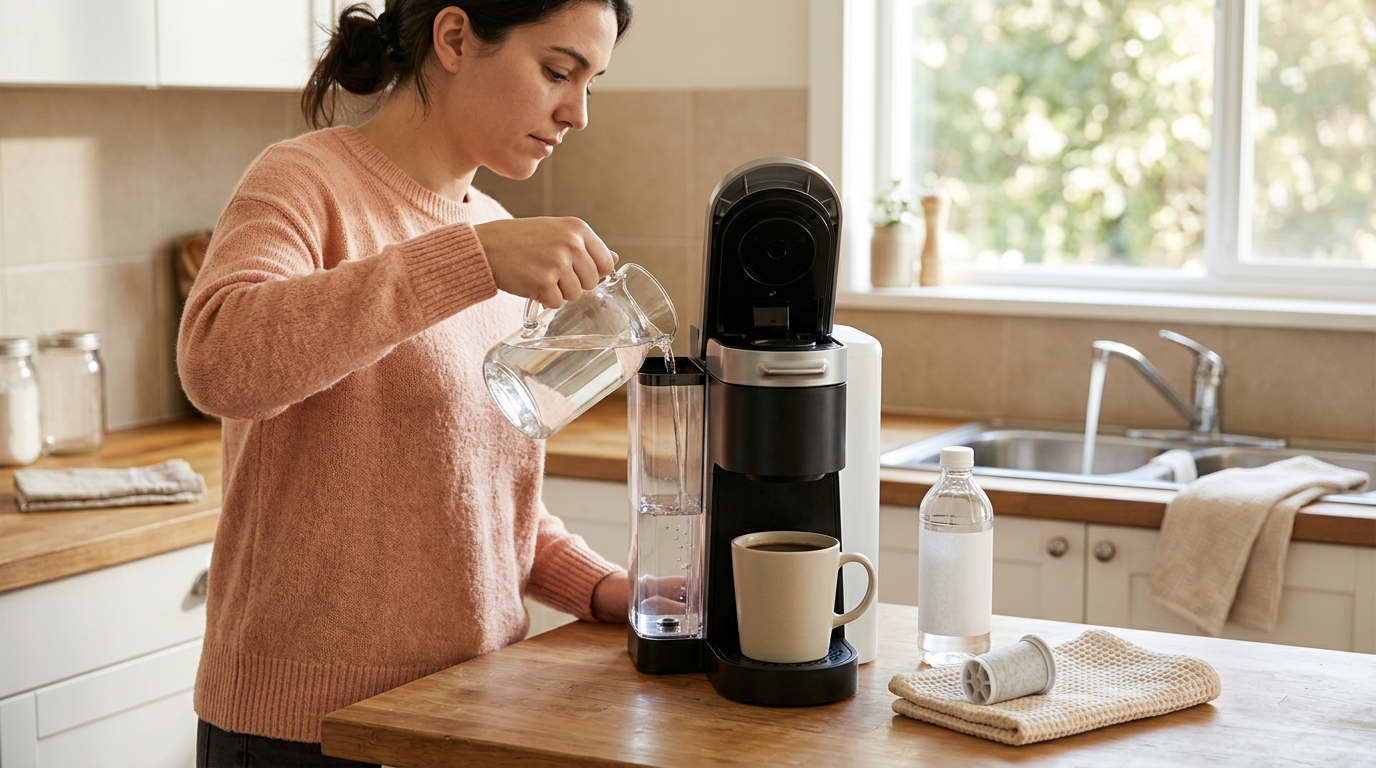
To descale a K-Cup coffee maker, remove the pod and water filter, empty the reservoir, add descaling solution, and run pod-free brew cycles into a large mug. Let the brewer rest if its instructions require it, then refill the reservoir with fresh water and repeat the cycles until no descaler remains.
The exact sequence varies by model, so check the brewer’s manual or manufacturer instructions before starting. Keurig provides model-specific guidance, and some machines have a dedicated descale mode that must be completed before the warning light will turn off.
Over time, the tap water you pour into your coffee machine leaves behind dissolved minerals. These minerals form a chalky deposit known as limescale. If left untreated, this scale can restrict water flow, slow brewing and affect beverage temperature or flavor. Regular descaling removes deposits from parts that ordinary washing cannot reach.
The quick version
- Empty the brewer
- Add the descaler
- Position a large mug
- Run pod-free cycles
- Continue as directed
- Allow any required rest period
Why Limescale Builds Up Inside a K-Cup Brewer
Every time you brew coffee, water travels through narrow internal tubes and a heating system. Tap water naturally contains dissolved minerals such as calcium and magnesium. When the water is heated, some of those minerals can settle on internal surfaces, gradually forming limescale.
Scale is different from coffee residue. Washing the pod holder, drip tray and reservoir removes grounds, oils and splashes, but it does not clear mineral deposits from the internal water path. Descaling uses an acidic solution to loosen those deposits so they can be carried out during brew and rinse cycles.
A brewer may need attention if it begins dispensing less coffee than expected, takes longer to brew, makes more noise or displays a descale reminder. Those signs can have other causes, including a blocked entrance or exit needle, so descaling should be combined with routine cleaning rather than treated as a fix for every fault.
What You Need Before Starting the Descaling Process
Gather a manufacturer-approved descaling solution, fresh water and a large ceramic mug. Some manufacturer and independent cleaning instructions also describe using distilled white vinegar, but compatibility can differ by model. Check your brewer’s manual before choosing vinegar, especially if the machine has a dedicated descale setting.
Start by switching off the brewer and letting it cool if it was recently used. Remove any K-Cup pod from the holder, empty the drip tray and pour out the water in the reservoir. If the reservoir contains a charcoal water-filter cartridge, take it out before adding descaler. The filter is intended for brewing water, not cleaning solution.
Do not use bleach, industrial cleaners, apple cider vinegar or other scented or sugary liquids in the water system. Keep a sink or heat-safe waste container nearby because you will need to discard several mugs of hot liquid. If maintenance is becoming difficult because of the brewer’s design, our K-Cup coffee maker buying guide explains features to consider in another machine.
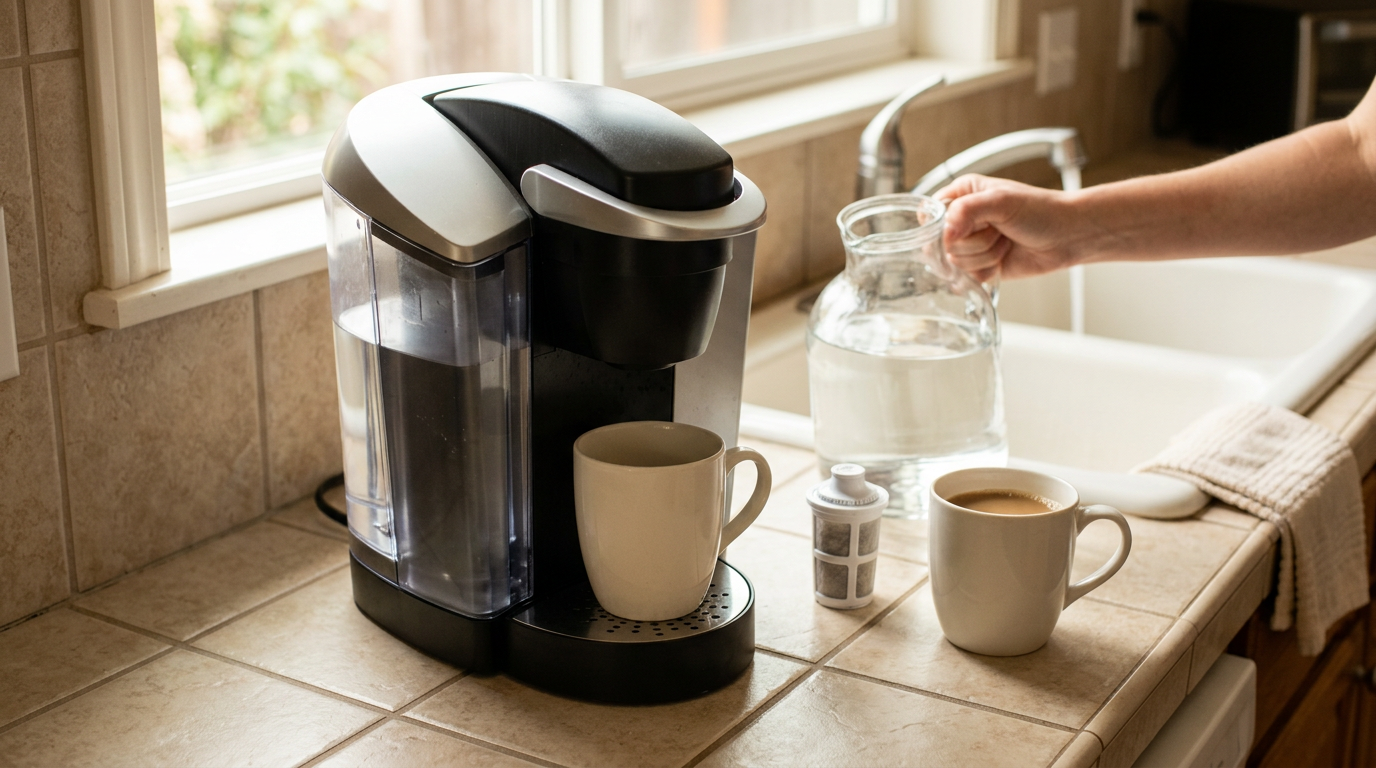 See the picks in our buying guide
How to Descale a K-Cup Coffee Maker Step by Step
The safest method is to follow the sequence supplied for your exact model. Reservoir sizes, button combinations, rest periods and dedicated descale modes vary. Use these general steps unless the manufacturer’s instructions specify a different process:
- Empty the brewer. Remove the K-Cup pod, empty the reservoir and take out its water-filter cartridge.
- Add the descaler. Pour in the amount of commercial descaling solution and water specified on its label. Use distilled white vinegar only if your model’s instructions permit it.
- Position a large mug. Place it securely on the drip tray beneath the outlet.
- Run pod-free cycles. With no pod installed, select the cup size or descale mode stated in the manual. Discard the hot liquid after each cycle.
- Continue as directed. Repeat until the reservoir is empty or the brewer requests more water. Do not interrupt a dedicated descale program.
- Allow any required rest period. Some procedures pause with solution inside the brewer so it can act on stubborn deposits.
- Rinse the reservoir. Wash it thoroughly, then refill it with fresh water.
- Flush the internal system. Run repeated pod-free cycles until the required rinse is complete and no descaling smell or taste remains.
Never insert a pod during descaling or rinsing. The liquid leaving the brewer can be very hot, so handle the mug by its handle and empty it carefully.
How to Rinse the Brewer After Descaling
Rinsing is not an optional finishing step. Residual descaling solution or vinegar can produce an unpleasant smell or taste, and a dedicated descale cycle may not register as complete until the programmed fresh-water stage has finished.
After the descaling stage, remove the reservoir if the design allows it and wash it thoroughly with fresh water. Refit it, fill it to the level directed by the manufacturer and run fresh-water brew cycles with no pod installed. Empty the mug after every cycle and refill the reservoir whenever the brewer prompts you.
Do not rely on a fixed number of rinse cycles for every K-Cup machine. Keurig procedures differ across brewer families, so use the volume or number stated for your model. If you used vinegar and can still smell it, continue flushing with fresh water. Reinstall the water-filter cartridge only after the reservoir and internal path have been rinsed.
What to Do If the Descale Light Stays On
A descale light that remains illuminated does not necessarily mean the brewer is still dirty. On some models, the reminder turns off only after the machine completes its dedicated descale procedure, including every required rinse. Simply unplugging the brewer may not reset that programmed reminder.
First, consult the instructions for the exact model and confirm that you entered descale mode, used the required liquid volume and completed the process without interruption. Refill the reservoir with fresh water and finish any remaining pod-free rinse cycles. Avoid pressing buttons or switching off the machine unless its instructions tell you to do so.
If the light persists, inspect the entrance and exit needles for coffee grounds, following the manufacturer’s cleaning directions and unplugging the brewer first. Do not force objects into parts unless the manual specifically describes that method. For readers comparing easier maintenance features, see our guide to choosing a K-Cup coffee maker. Contact the manufacturer’s support team if the reminder or brewing problem remains.
Safety Measures and Mistakes to Avoid
The liquid leaving the brewer during descaling is hot and may splash. Keep your hands away from the outlet, place the mug squarely on the drip tray and wait until dispensing has stopped before lifting it. Do not drink any liquid produced during descaling or rinsing.
Never submerge the brewer’s main housing in water or hold it under a running faucet. The housing contains electrical components, including the heating system and solenoid valve on relevant models. Unplug the machine before wiping exterior surfaces or cleaning accessible needles, and use only the procedure described by the manufacturer.
Do not mix descaling products with bleach, ammonia or other household cleaners. Avoid guessing at solution strength: use the dilution stated on the commercial descaler or the model-specific vinegar instructions. If the brewer leaks, smells electrical, fails to heat or repeatedly stops pumping, discontinue use and seek manufacturer support rather than opening the housing yourself. Our Best Coffee Maker K-Cup Buying Guide covers practical maintenance considerations if replacement becomes necessary.
How Often to Descale and Maintain Your Brewer
Keurig generally advises descaling its brewers every three months, although the correct interval can depend on the model, water mineral content and frequency of use. Follow the schedule in your brewer’s manual and descale sooner if the machine displays a reminder or develops symptoms consistent with mineral buildup.
Water filtration may reduce some impurities, but it does not eliminate the need to descale. Avoid using distilled water unless the manufacturer says it is suitable for your model, because some brewers rely on the mineral content of water for sensing. Use the type of water recommended in the manual.
Regular maintenance also includes washing removable parts, wiping the exterior and clearing grounds from the pod-holder area according to the manufacturer’s directions. Cleaning and descaling solve different problems: cleaning removes coffee residue from accessible surfaces, while descaling addresses mineral deposits inside the water path. A simple reminder on your calendar can make the schedule easier to follow. If you are comparing maintenance access across designs, consult the Best Coffee Maker K-Cup Buying Guide.
Frequently asked
Sources

As an Amazon Associate I earn from qualifying purchases. This does not affect the price you pay. Affiliate disclosure