How to Get Started with AdCreative.ai: Beginner Guide
Get started with AdCreative.ai by setting up your brand assets, picking layout dimensions, and generating high-converting campaign designs.
Some links are affiliate links: we may earn a commission if you sign up or buy through them, at no extra cost to you.
On this page8 sections
The short answer
- Configure your brand profile with logo, colors, and fonts before starting any designs.
- Choose your aspect ratio carefully, matching square formats to main feeds and vertical layouts to stories.
- Let the integrated AI writer draft structured product copy while watching character boundaries.
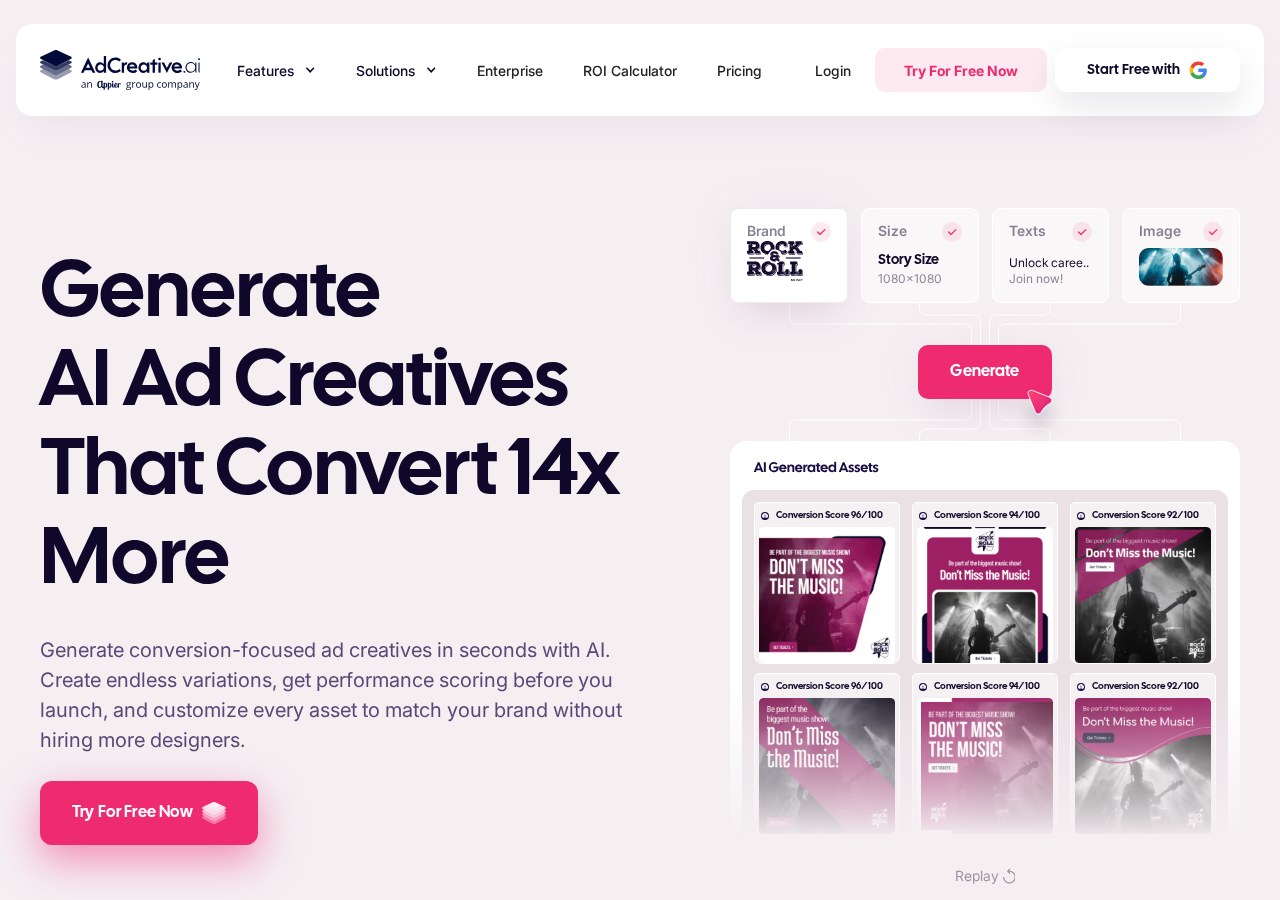
To get started with AdCreative.ai as a beginner, you must set up your brand profile with your logo, colors, and fonts. From there, you can immediately generate high-converting ad banners and copy by launching a new project.
The platform uses artificial intelligence to analyze successful ad formats and build layout variations tailored to your specific goals. Unlike traditional design software that requires manual pixel adjustments, this system builds thousands of layout alternatives in seconds based on automated scores. Our deep dive into the platform's features, available in our AdCreative.ai Review 2026: AI Ad Creatives, Copy and Campaign Insights, explains how these visual layers come together.
Navigating a new automated design environment can feel overwhelming if you are accustomed to classic canvas editors. Understanding where to input your text, how the platform rates its design suggestions, and when to use specific image assets will save you credit waste and design time. This guide breaks down the essential steps to configure your workspace and launch your first performance marketing campaign.
The quick version
- Navigate to projects
- Select your asset type
- Define your target audience
- Upload your background images
- Review the generated layout options
- Download your final selection
Setting Up Your Brand Workspace
Before you generate your first visual, you must configure your brand identity inside the application dashboard. The onboarding wizard prompts you to input your brand logo, select up to three primary colors, and pick your default typography fonts. This configuration acts as a visual guidepost, ensuring every output matches your existing business collateral automatically.
The system reads the color palette of your uploaded logo to suggest appropriate color matches, though you can override these values manually using hex codes. Choosing high-contrast colors for your secondary and tertiary accents ensures that text labels remain legible on smaller mobile displays. To avoid pixelation, upload your logo using high-resolution transparent formats or vector files if available. Once saved, these assets form a reusable profile, meaning you do not have to upload brand styling files every time you start a new marketing campaign.
If you manage multiple e-commerce stores or clients, you can create distinct brand profiles within your account menu. This separation keeps your assets organized and prevents accidental cross-contamination of styles. Beginners should take the time to set these styles accurately during their initial login to ensure all subsequent generations look professional.
Your Step-by-Step Guide to Generating Creatives
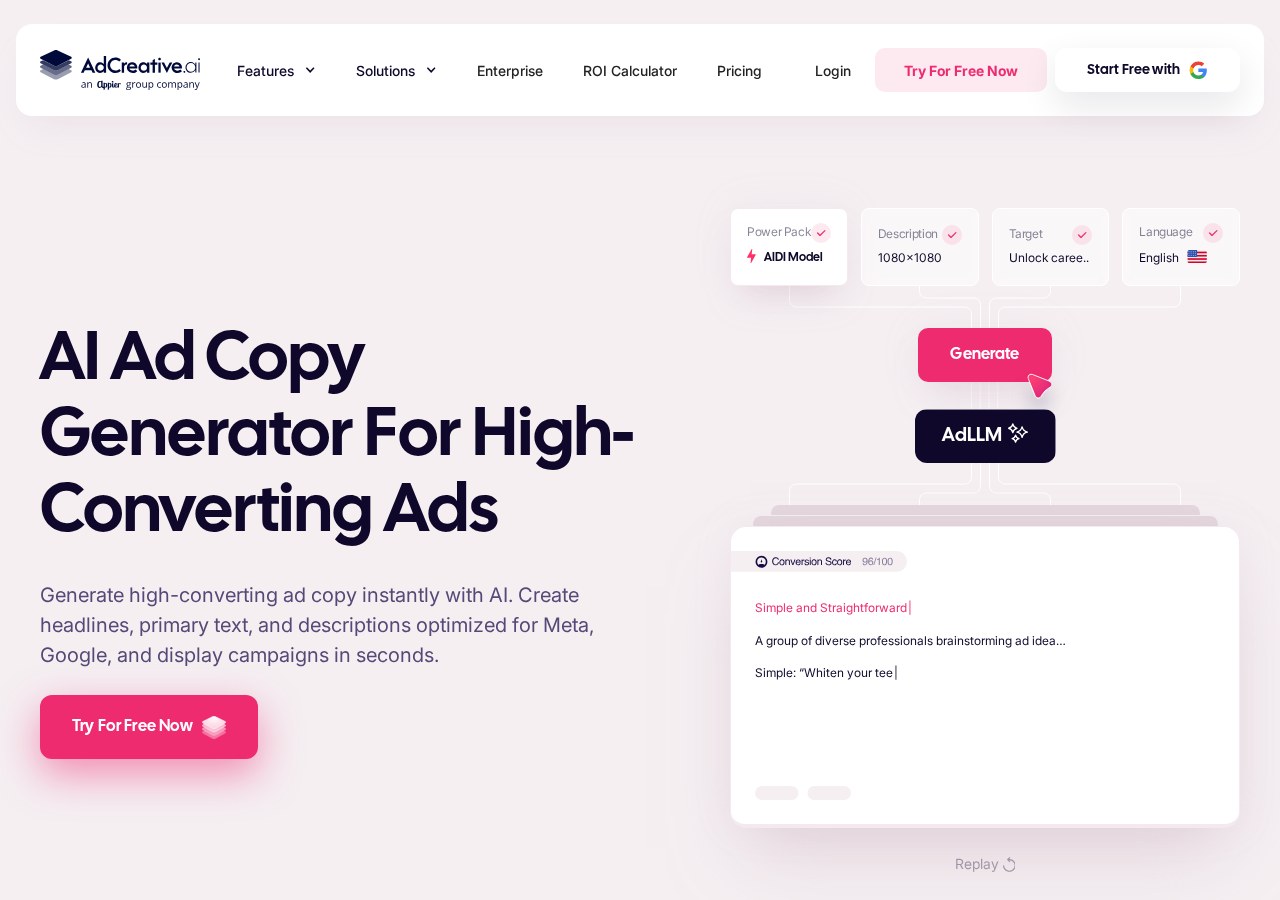
Once your brand profile is ready, you can move directly into asset generation. The platform uses these assets alongside your text inputs to generate a variety of design options. Follow these steps to produce your first set of banners.
- Navigate to projects. Click the creation button on your main dashboard to start a new campaign workflow.
- Select your asset type. Choose whether you want to generate social media banners, video ads, or text copy.
- Define your target audience. Input a brief description of your ideal customer to guide the copy writing algorithm.
- Upload your background images. Choose a high-quality product photo or use the integrated search tool to find stock photography.
- Review the generated layout options. Browse the generated banners and look for the numerical conversion scores assigned to each style.
- Download your final selection. Export your chosen designs in your preferred format and resolution for immediate upload to your active ad networks.
By following this sequence, you avoid wasting generation credits on incomplete campaigns. Beginners should start with a small batch of images to understand how different background scenes interact with automated text overlays.
Selecting the Right Ad Format and Aspect Ratio
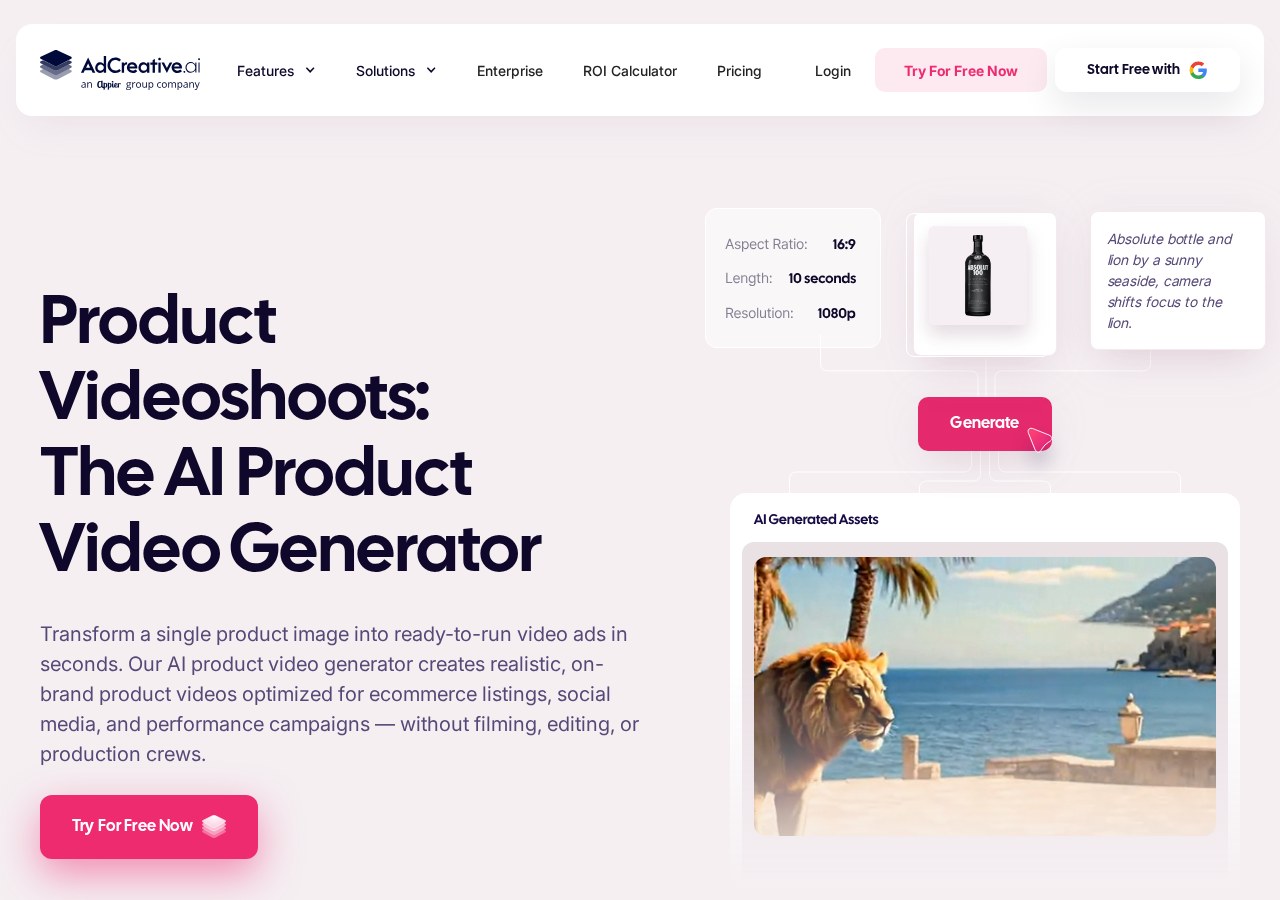
Digital platforms use widely different dimensions for their advertising slots. Before confirming your design batch, you must select the correct shape for your targeted destination. Choosing the wrong scale will result in awkward cropping or pixelated visuals when your ads go live.
The standard square format is the most versatile option for main feeds on social platforms like Facebook and Instagram. This layout provides balanced room for product images and bold headlines without taking up the entire mobile screen. For stories, shorts, and vertical video placements, you must select the vertical aspect ratio to ensure full-screen coverage.
Landscape orientations work best for Google display network campaigns and desktop-focused placements. Setting these parameters before letting the deep learning system generate layouts ensures your text elements sit comfortably within the boundaries of each frame. Creating distinct sets for vertical and square placements will give you the best performance across various user devices.
Writing Performance Copy with Automated Tools
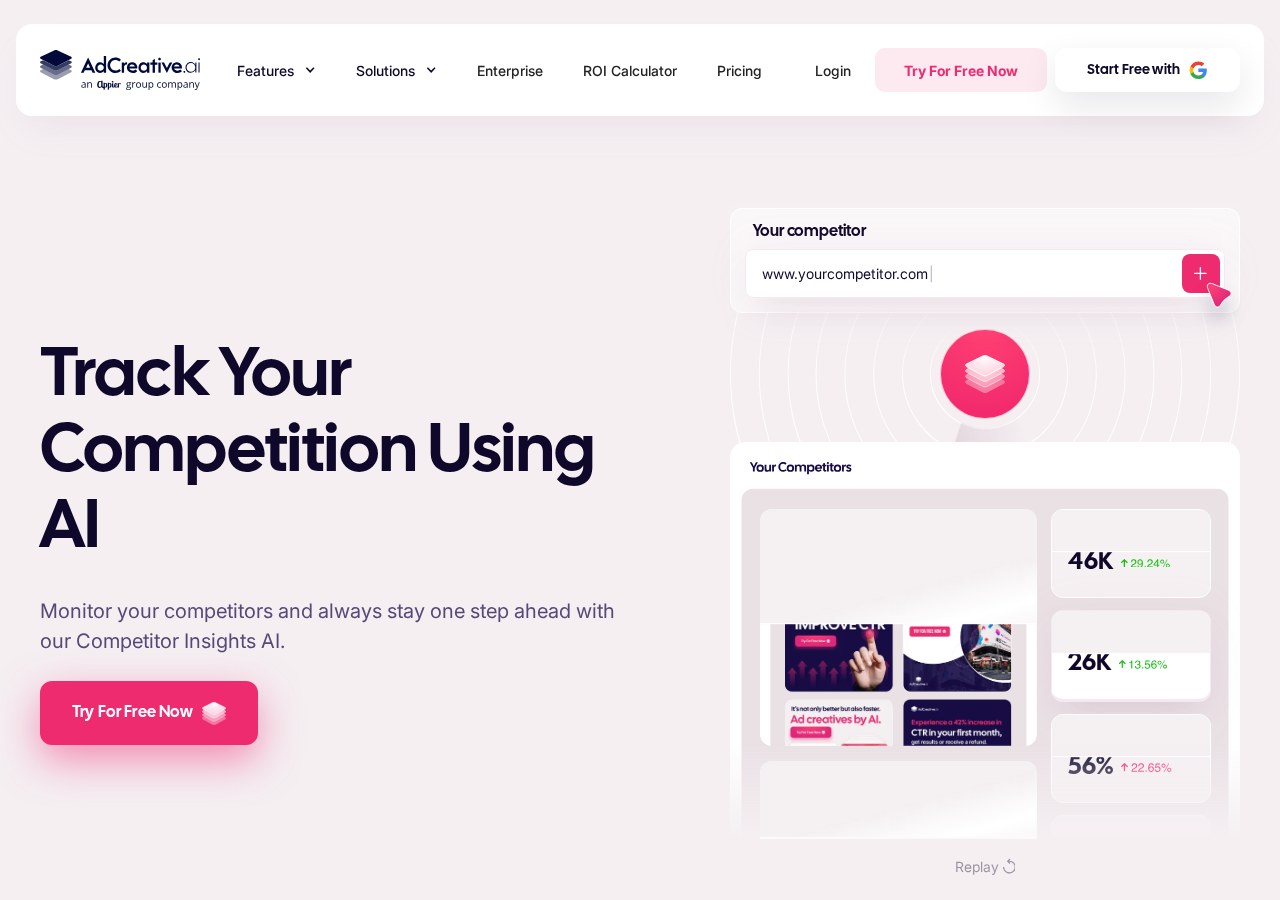
Generating visual layouts is only half the battle; your ads also need compelling text to prompt clicks. The platform features an integrated writing assistant that crafts headlines and call-to-action lines tailored to your target demographic. This utility utilizes marketing frameworks designed to capture user interest quickly.
When inputting your product description, avoid using overly technical language or generic buzzwords. Instead, focus on specific customer benefits and problems your product solves. The system uses this information to draft several copy variations, which you can edit directly before final export.
Each layout template has preset character limits to prevent your text from overlapping or spilling over the visual borders. If your chosen headline is too long, the software will alert you or automatically reduce the font size, which can sometimes hurt readability. Keeping your messaging concise ensures your ads look clean and professional on every screen size.
Choosing and Editing Your Background Images
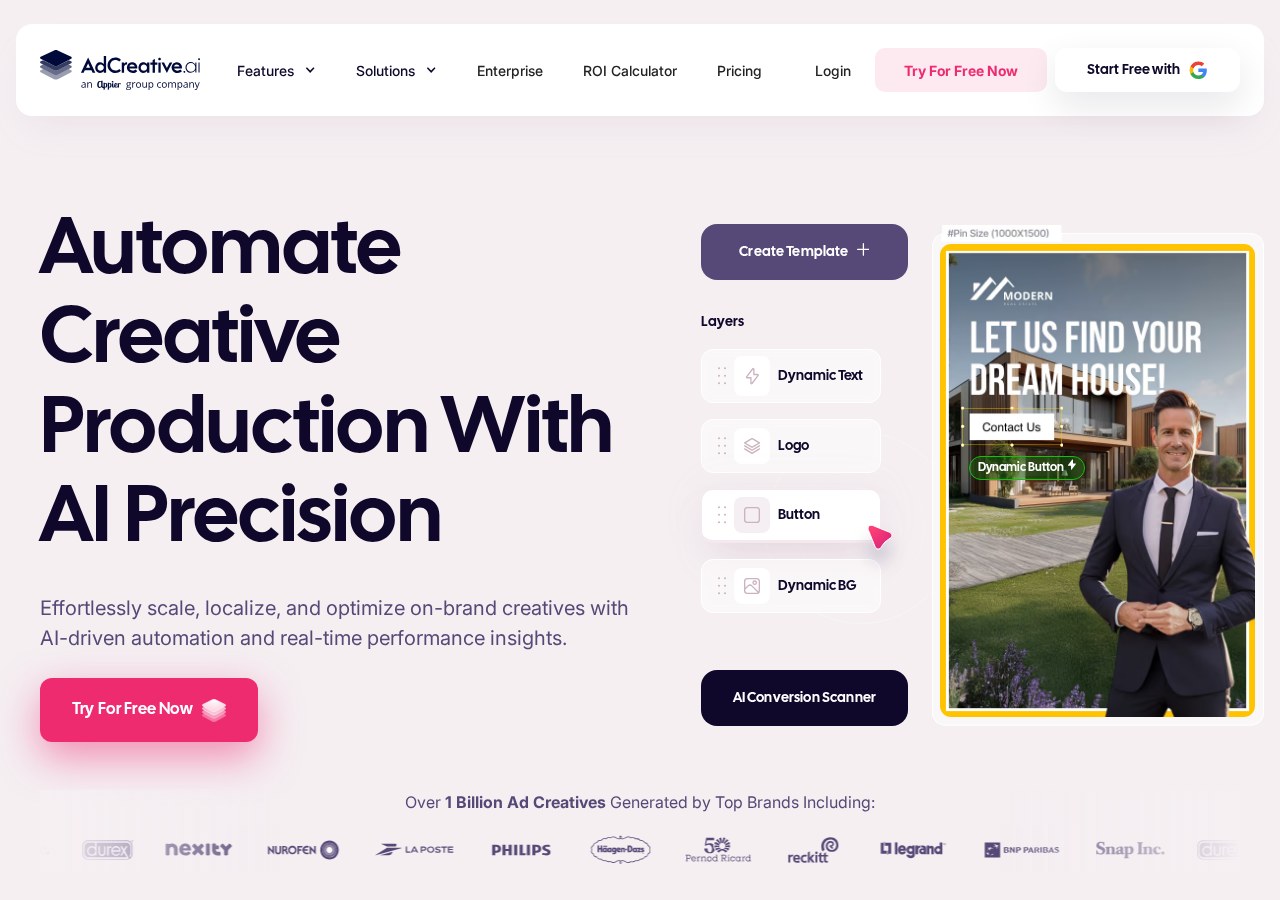
The background image serves as the foundation of your banner design. You can upload your own photography or search the built-in library of stock images. For physical product campaigns, utilizing a clean, high-resolution photo with minimal clutter yields the cleanest results.
If your original image has a busy background, you can use the integrated background remover tool. This feature isolates your product, allowing the template colors and textures to frame your item clearly. Placing an isolated product shot onto a solid or minimalist background helps the automated text overlays stand out without distracting visual competition.
When using stock photography, select visuals that feel authentic rather than overly staged. Ensure the color temperature of the photograph aligns with your established brand colors. Making these small adjustments before finalized generation guarantees a unified appearance across your entire advertising catalog.
Deciding on Formats: Which One Should You Pick?
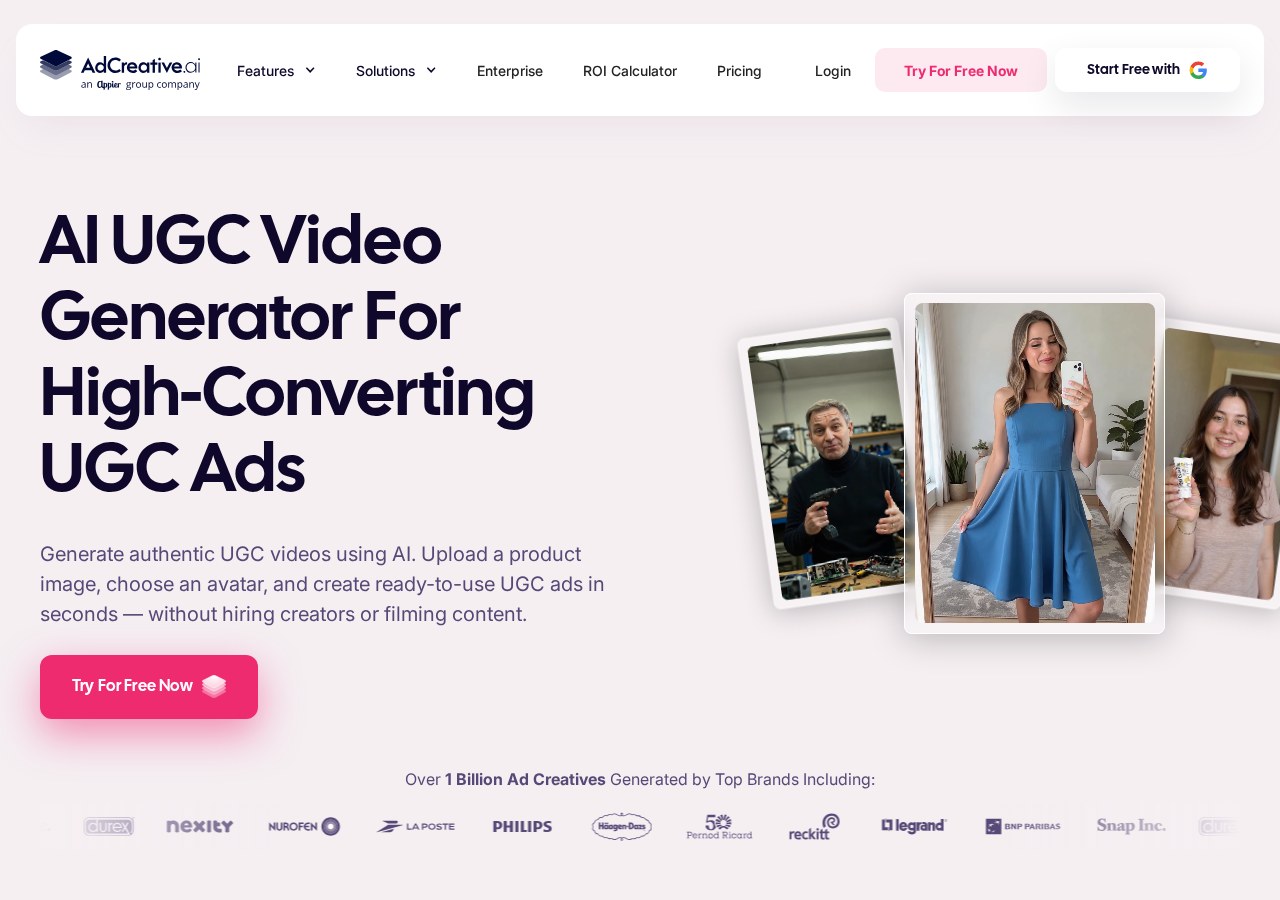
As a beginner, you do not need to generate every single asset format at once. Choosing the right creative format depends entirely on your current marketing channel and campaign objectives.
- Aspect: Square banners are ideal for standard social media feeds and quick-turnaround retargeting campaigns, whereas vertical formats are necessary for video-first platforms.
- Performance focus: Static banners excel at presenting clear, direct product offers with prominent discount text, while video ads are better at explaining product functions or showing real-life usage.
- Resource cost: Standard banner generation requires very few image assets and can be completed in minutes, while high-converting video projects require multi-layered editing and longer render times.
- Platform match: Use banner formats if your main budget is allocated to Google Display, but pivot to short vertical videos if you are scaling your presence on TikTok or Instagram Stories.
For most beginners starting out, a combination of square banners for general audience building and vertical videos for story interactions provides the most balanced approach. For a complete look at how these formats perform in live scenarios, read our detailed AdCreative.ai Review 2026: AI Ad Creatives, Copy and Campaign Insights to compare their real-world outcomes.
Frequently asked
As an Amazon Associate I earn from qualifying purchases. This does not affect the price you pay. Affiliate disclosure