
Why Do My AirPods Keep Falling Out? 6 Fit Fixes
AirPods may fall out because their shape does not match your ears, they are inserted at an unstable angle, or oil and sweat reduce their grip. These steps can help you find a more secure fit.
This article is informational and does not place shopping buttons in the story. Related buying guides may include affiliate links.
As an Amazon Associate I earn from qualifying purchases. This does not affect the price you pay. Affiliate disclosure
On this page9 sections
The short answer
- AirPods fit varies because ear shapes differ, and one ear may need a different adjustment or AirPods Pro tip size than the other.
- Clean and dry the earbuds before adjusting their position; oil and sweat can make their smooth surfaces slip.
- AirPods Pro owners should test the included tip sizes separately in each ear and use Apple’s Ear Tip Fit Test if available.
- Silicone covers, wings, or over-ear hooks can add grip, but many must be removed before the AirPods go into their charging case.
- If repeated adjustments cause discomfort or still do not hold, choose a different earbud or headphone design rather than forcing the fit.
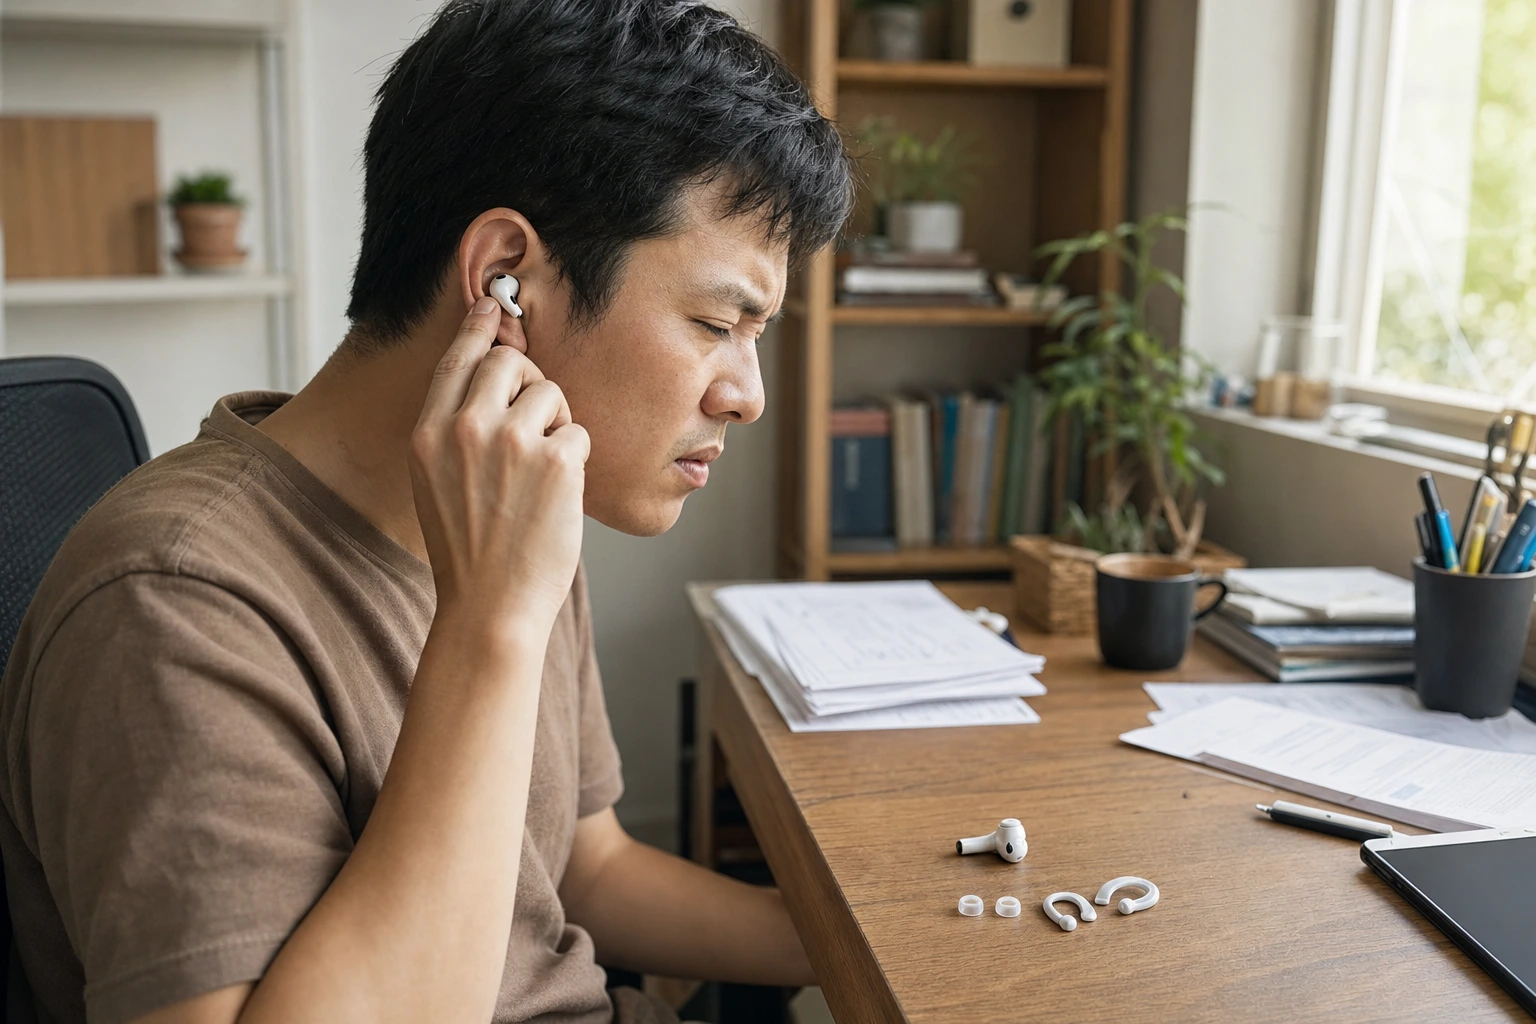
AirPods usually keep falling out because their fixed shape does not fit your ears securely. Oil, sweat, movement, or the wrong AirPods Pro tip size can make the problem worse. Start by cleaning the earbuds, changing their insertion angle, and testing different tip sizes. If that fails, try removable grips or ear hooks.
Why Your AirPods Keep Falling Out
The most common explanation is a simple fit mismatch. Standard AirPods have a fixed plastic shape, while ears vary in size and contour. The rounded housing may rest securely in one person’s concha—the bowl-shaped area of the outer ear—but sit too loosely in another. Your two ears can also differ, which explains why only one AirPod may fall out.
Oil, earwax, and sweat can make the smooth housing or silicone tips more slippery. Movement adds another challenge: running, talking, chewing, or repeatedly turning your head can gradually shift an already loose earbud. AirPods Pro models introduce another variable because their replaceable tips must form a stable seal. A tip that is too small may not grip well, while one that is too large may work loose or feel uncomfortable.
The practical answer is to identify whether the problem is caused by cleanliness, insertion angle, tip size, or the basic earbud shape. Change one factor at a time so you can tell which adjustment helps.
Clean and Dry the AirPods Before Adjusting Them
Before buying accessories, remove anything that may be making the earbuds slippery. Wipe the AirPods with a soft, dry, lint-free cloth, paying attention to the surfaces that touch your ear. If they are damp after exercise, let them dry before putting them back in. Do not run them under water or allow liquid to enter the openings.
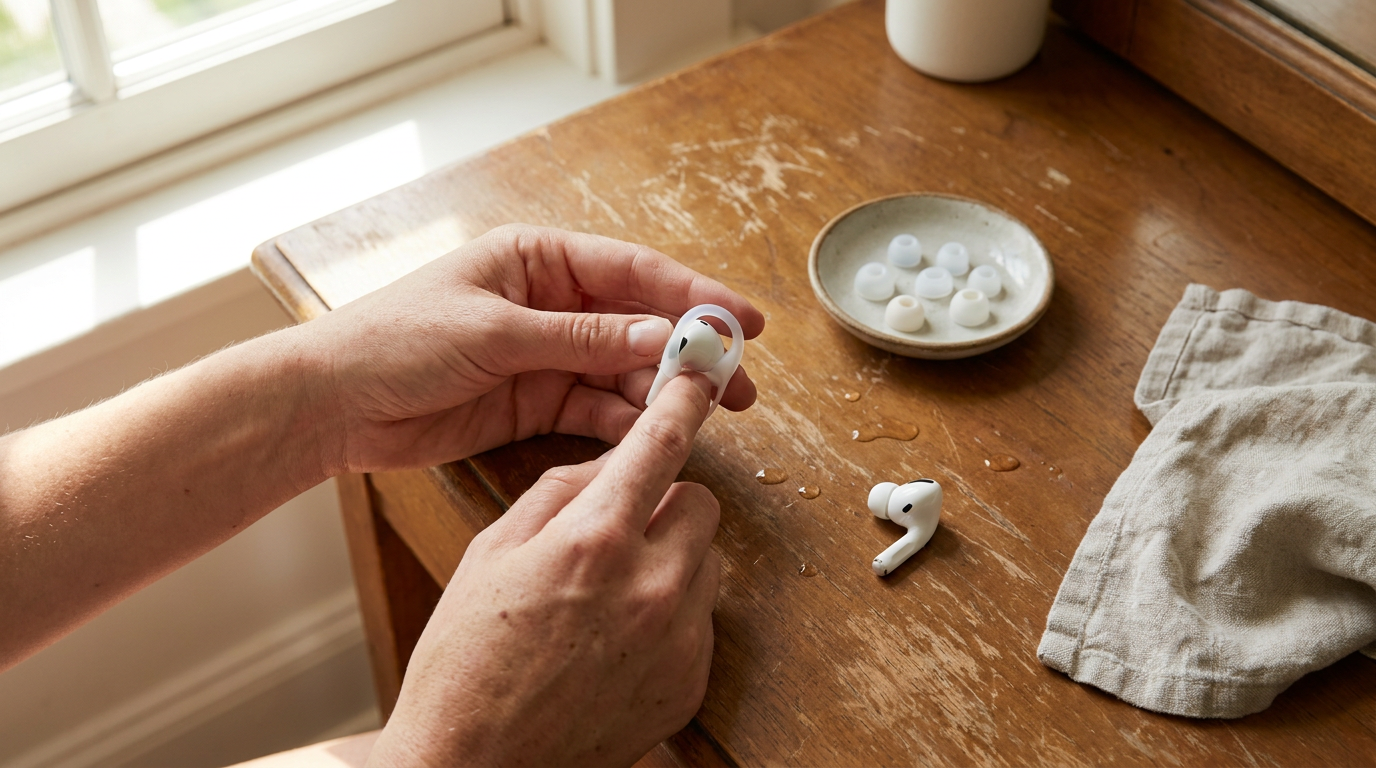
If you use AirPods Pro, remove the silicone tips and follow Apple’s care instructions for cleaning them. Make sure the tips are dry before reattaching them. Check that each tip is seated properly rather than sitting crooked or partly detached. Avoid sharp tools around the speaker mesh, and do not push debris farther into an opening.
It can also help to dry the outer part of your ears before insertion, especially during a workout. Do not put objects into your ear canal. The goal is simply to restore contact between clean, dry surfaces. A dry fit is usually more stable than an oily or sweaty one, although cleaning cannot correct a fundamental shape mismatch.
 See the picks in our buying guide
Reinsert and Rotate Each AirPod
A small change in angle can make a noticeable difference. First, confirm that the AirPod marked L is in your left ear and the one marked R is in your right. Place the rounded part in the ear, then gently rotate the stem until the housing rests against the contours of your outer ear. Do not force it deeper or keep twisting after it feels secure.
There is no single correct stem angle for every person. Some people get a better hold with the stems pointing mostly downward; others need a slight forward or backward angle. Test small adjustments while standing still, then talk, smile, and turn your head to see whether the earbud shifts. Repeat the process separately on the other side rather than assuming both ears need the same position.
After finding a promising angle, wear the AirPods at home for several minutes before taking them outside or exercising. Use gentle rotation, not pressure. If the housing causes soreness or will not stay in place without being wedged tightly, move on to tip sizing or an accessory instead.
Try Different AirPods Pro Tip Sizes
This step applies to AirPods Pro, which use replaceable silicone ear tips. Try each supplied size instead of assuming the preinstalled pair is correct. Insert the AirPod, rotate it into a comfortable position, and check whether it remains stable when you move your head and speak. A secure tip should feel steady without painful pressure.
Test the ears independently. You can use different tip sizes in each ear if that produces a better fit. On compatible Apple devices, the Ear Tip Fit Test in the AirPods settings can help assess the acoustic seal, but comfort and physical stability still matter. A result from the test does not mean you should tolerate a tip that hurts or repeatedly works loose.
Third-party foam tips are another option for AirPods Pro. They compress during insertion and then expand toward the shape of the ear canal, which some people find more secure. Fit and case compatibility vary by product, so confirm that the tips attach firmly and that the case closes normally. Replace damaged, loose, or deteriorating tips rather than continuing to use them.
Add Covers, Wings, or Ear Hooks
If cleaning and repositioning do not solve the problem, an aftermarket attachment can create another contact point. Thin silicone covers add texture around the AirPod housing. Wing-style grips brace against the folds of the outer ear, while over-ear hooks loop around the ear and provide the strongest physical restraint during running or other high-movement activities.
Choose an accessory made for your exact AirPods generation because the housing and sensor positions differ. It should not cover microphones, sensors, speakers, or charging contacts. After attaching it, check that nothing pinches your ear and that the AirPod remains easy to remove. Stop using an attachment that causes pain or irritation rather than tightening or forcing it.
Many covers, wings, and hooks must be removed before the AirPods fit into their charging case. That adds a small storage task and creates another item to lose, but it may be worthwhile if your earbuds otherwise fit well. Keep accessories clean and inspect them for stretching or tears. If a different Apple design may be more suitable, compare the available options in our Apple Headphones Buyer's Guide (2026).
Know When a Different Design Makes More Sense
Some ears simply do not hold a particular AirPods shape reliably. If standard AirPods continue to fall out after cleaning and angle adjustments, there is no tip size to change because those models use a fixed shell. A silicone cover or hook may help, but it is also reasonable to choose another form factor.
AirPods Pro provide interchangeable tips, although they still will not suit every ear. Earbuds with integrated wings or over-ear hooks add physical support for movement. Neckband, on-ear, and over-ear headphones avoid relying on the same in-ear fit. Each design has trade-offs in size, comfort, portability, and isolation, so base the choice on where and how you listen.
Do not keep forcing an earbud into place if it becomes sore. A secure fit should not require painful pressure. If AirPods fall out during running, commuting, or work despite reasonable adjustments, changing the design may be more practical than repeatedly catching or readjusting them. Compare the available form factors in our Apple Headphones Buyer's Guide (2026).
Frequently asked
Sources

As an Amazon Associate I earn from qualifying purchases. This does not affect the price you pay. Affiliate disclosure