
How to Turn a Script into a Voiceover with ElevenLabs
Convert any written script into a realistic voiceover using ElevenLabs by choosing the right voice model, adjusting stability settings, and formatting text.
Some links are affiliate links: we may earn a commission if you sign up or buy through them, at no extra cost to you.
On this page8 sections
- 1The short answer
- 2Navigating the ElevenLabs Speech Synthesis Dashboard
- 3Selecting the Perfect Voice from the Library
- 4Fine-Tuning the Stability and Clarity Sliders
- 5Formatting Text to Guide AI Pacing and Pauses
- 6Step-by-Step Guide to Generating Your Audio
- 7Organizing Generated Files in Your History Tab
- 8Frequently asked
The short answer
- Paste your script into the Speech Synthesis tab and choose a suitable voice model.
- Use the stability and clarity sliders to fine-tune the emotional expression of the narration.
- Format punctuation carefully to guide the natural pauses and pacing of the AI voice.
You can turn a script into a professional voiceover with ElevenLabs by pasting your text into the Speech Synthesis tool, choosing a pre-made or cloned voice, and clicking generate. This quick process transforms written prose into highly realistic synthetic speech in seconds.
Creating voiceovers historically required hiring talent, booking studios, and spending hours editing audio files. AI tools have streamlined this workflow, allowing creators to produce high-quality narration from their desks. To learn more about the platform's capabilities, read our comprehensive ElevenLabs Review for an in-depth breakdown of features.
The key to a successful voiceover lies in choosing the correct model, adjusting the behavior settings, and formatting your text to guide the synthetic voice naturally. By understanding these settings, you can avoid robotic cadences and produce professional-grade audio for videos, podcasts, or presentations.
The quick version
- Input your written text
- Confirm your voice settings
- Click the generate button
- Review the generated audio player
- Download the completed file
Navigating the ElevenLabs Speech Synthesis Dashboard
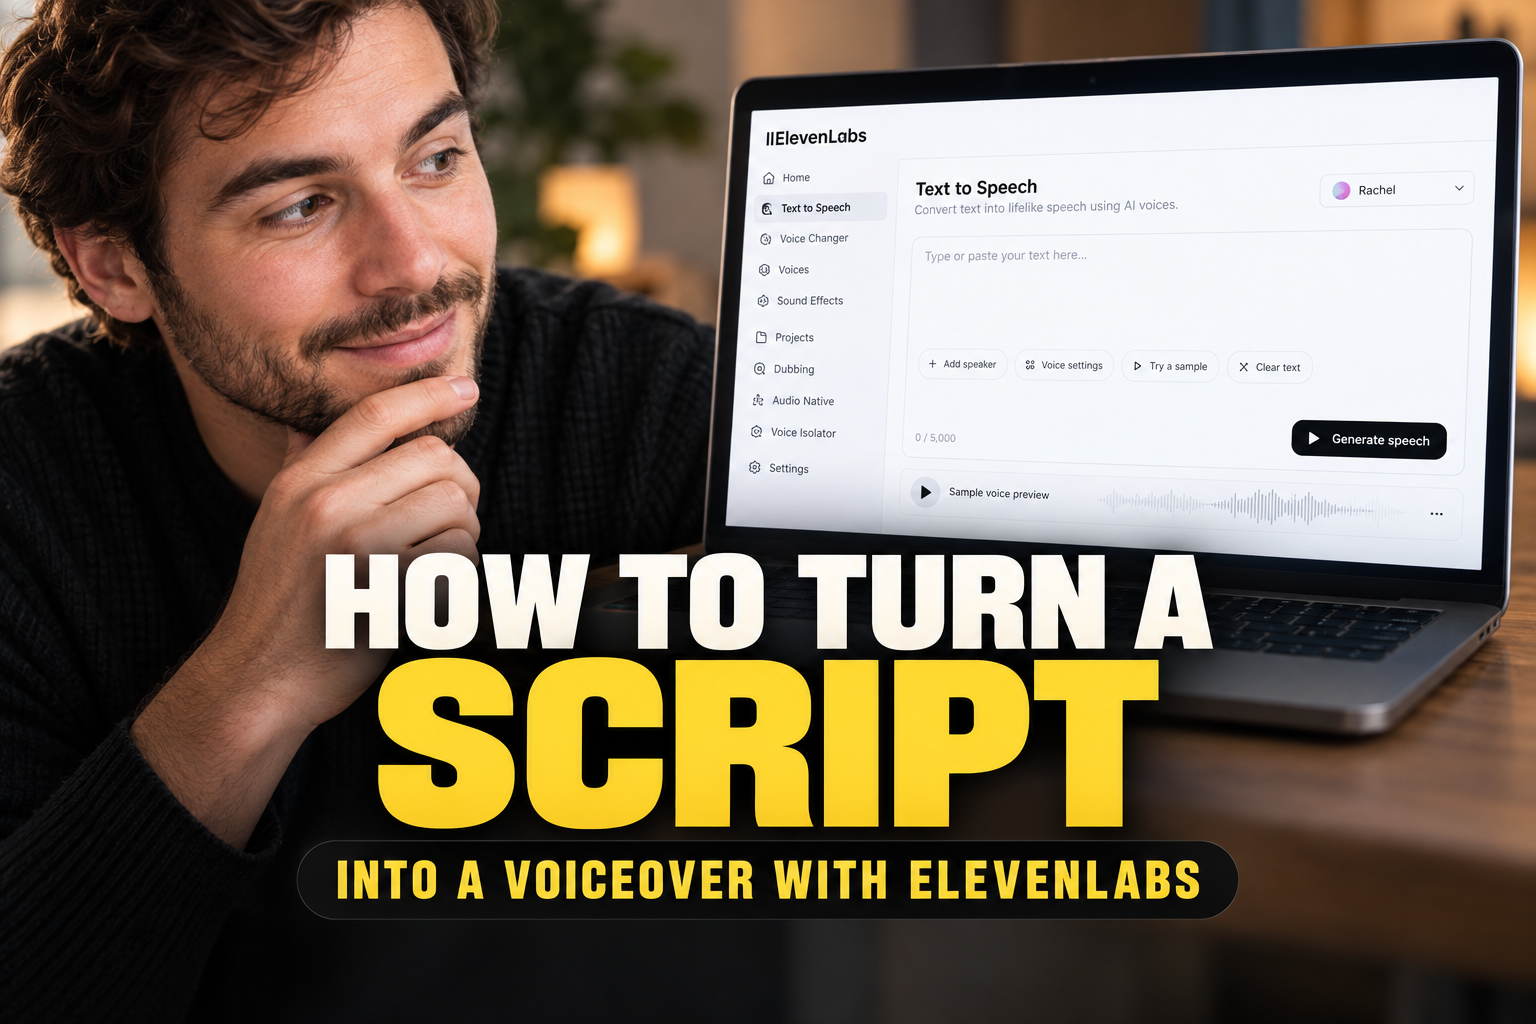
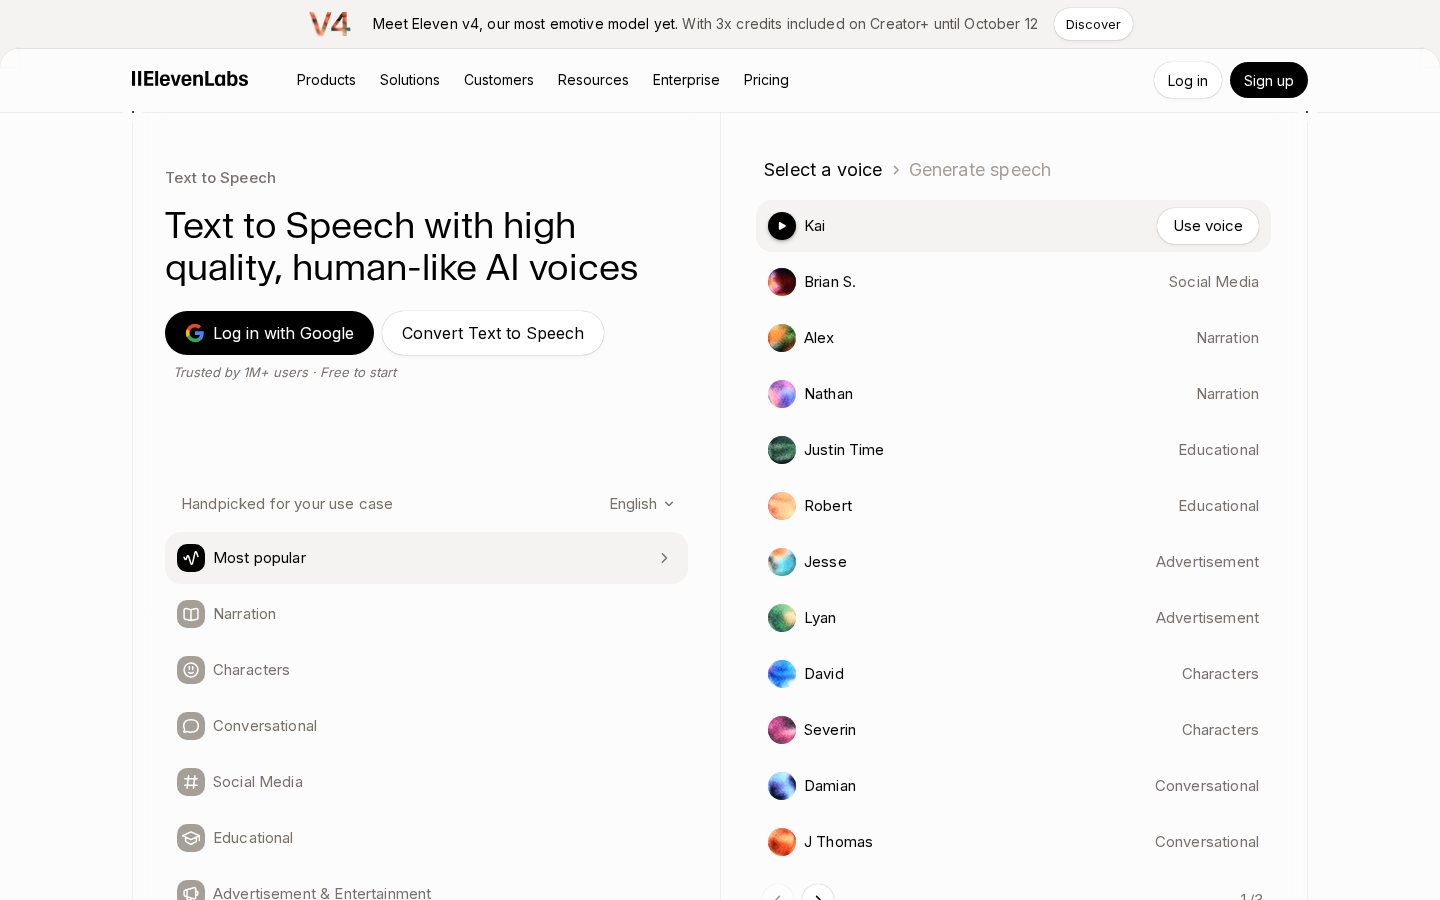
When you first log in to your account, you are greeted by the primary workspace where all generation occurs. The central tool for converting written documents is the Speech Synthesis tab, located in the primary navigation sidebar. This workspace is designed with simplicity in mind, presenting a clean text entry box flanked by dropdown menus for voice selection and model configuration.
Before typing a single word, you must decide which AI engine will power your generation. ElevenLabs offers multiple models, typically categorized into multilingual and monolingual options. Multilingual models are excellent for diverse languages and accents, while monolingual models excel at capturing highly nuanced English inflections. Selecting the correct engine from the model dropdown ensures your voiceover maintains a consistent tone throughout the script.
This interface also keeps track of your character usage, which updates dynamically as you add text. Keep an eye on this counter at the bottom of the box, as complex scripts can rapidly consume your monthly allocation. Managing your workspace layout effectively prevents unexpected interruptions during long generation sessions.
Selecting the Perfect Voice from the Library
The platform provides an extensive library of pre-made voices, each with distinct age, gender, accent, and use-case characteristics. To open this panel, click on the voice selection dropdown menu situated directly above the text input area. Here, you can search for voices specifically tagged for narration, video games, or conversational content.
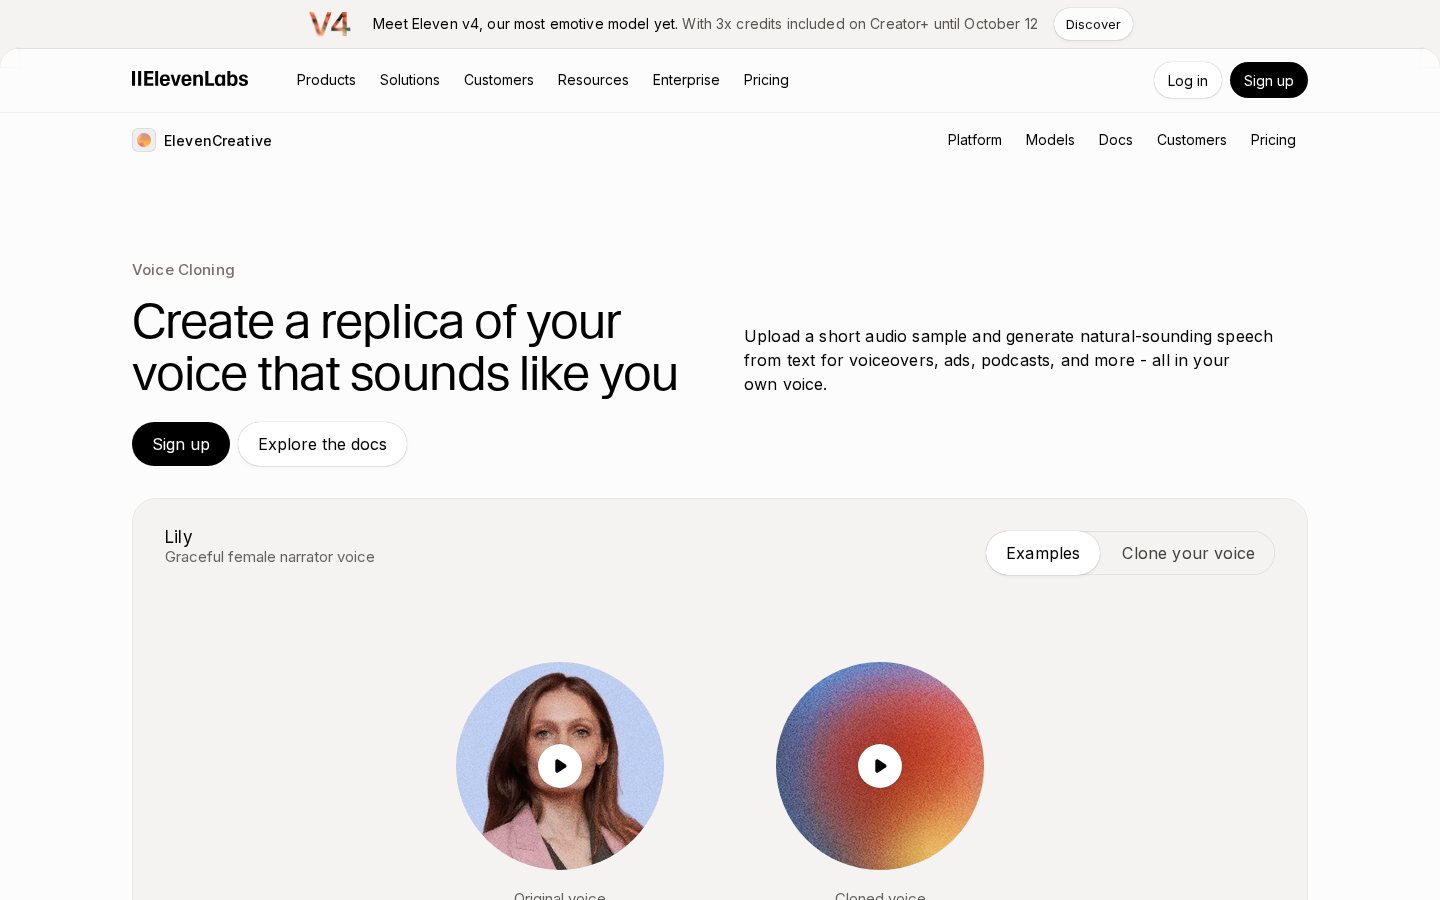
If the default selections do not fit your creative needs, you can explore the community-driven Voice Library. This repository features thousands of unique voices shared by other users, which you can easily add to your personal dashboard. It is essential to sample several options using the play button before committing, as some voices naturally handle dramatic scripts better than upbeat promotional material.
Additionally, creators can access the Voice Design tool to generate entirely custom voices by adjusting age, gender, and accent sliders. This is highly useful for projects that require a unique brand identity without cloning a real person's voice. Take your time during this step to find a voice that matches your target audience's expectations.
Fine-Tuning the Stability and Clarity Sliders
To make a voiceover sound less synthetic, you must master the Voice Settings panel. Located directly beneath the voice selection dropdown, this menu contains sliders for stability, clarity, and style exaggeration. Adjusting these parameters directly influences how the AI interprets the emotional weight and consistency of your script.
The stability slider controls how predictable the voice remains. Lowering stability makes the performance more expressive and dynamic, though setting it too low can result in erratic, whispered, or unstable delivery. Conversely, raising stability ensures a consistent, calm tone, which is perfect for corporate presentations or technical instructional videos but can sound flat if set to maximum.
The clarity and similarity slider determines how closely the generated audio matches the original voice sample. High clarity ensures crisp output but can sometimes introduce digital artifacts if the source recording was imperfect. The style exaggeration slider helps the AI emphasize emotional peaks, though it requires careful balance to avoid over-the-top caricatures.
Formatting Text to Guide AI Pacing and Pauses
AI voice generators read text differently than humans, meaning your standard script might need some adjustments to sound natural. Formatting text to guide the natural pauses is essential for realistic delivery. A simple period tells the engine to take a breath, while a comma introduces a brief, natural pause within a sentence.
If you need a longer pause between ideas, do not rely on standard line breaks alone. You can insert ellipses (...) or use em-dashes (—) to stretch out the transition between clauses. For highly dramatic pauses, some users insert dedicated silent blocks or break the script into smaller, separately generated paragraphs to maintain complete control over the timing.
Spelling also plays a critical role in correct pronunciation. If the voice mispronounces a specific brand name, technical acronym, or unusual word, try spelling it phonetically. For example, writing out numbers as words like 'one hundred' instead of '100,' helps the AI deliver a smoother and more predictable performance.
Step-by-Step Guide to Generating Your Audio
Once your workspace is fully prepared and your script is formatted, you are ready to compile the final product. Follow these clear steps to run the cloud synthesis process and save your files.
- Input your written text. Copy your final script and paste it directly into the large text input box, ensuring you remain within your character limit.
- Confirm your voice settings. Verify that your chosen voice, model, and stability adjustments are active before initiating the render.
- Click the generate button. Press the primary 'Generate' button at the bottom of the screen to start the cloud synthesis process.
- Review the generated audio player. Listen to the complete output using the built-in media controls to check for any mispronunciations or awkward pauses.
- Download the completed file. Click the download icon on the audio player to save your voiceover as an MP3 or WAV file to your computer.
If the generation is not perfect, do not immediately rewrite the whole script. You can often fix individual sentences by generating just that specific paragraph again, which saves you both time and character credits.
Organizing Generated Files in Your History Tab
Every time you click generate, the platform will save your output to the History tab. This is incredibly useful if you accidentally close your browser window or need to retrieve an older version of your voiceover. The history dashboard displays a chronological list of all your creations, complete with the date, voice used, and the exact text snippet.
From this panel, you can batch-download multiple files or delete old tests that you no longer need. This helps keep your local storage uncluttered. It is also an excellent safety net, ensuring you never lose your work if your internet connection drops mid-generation.
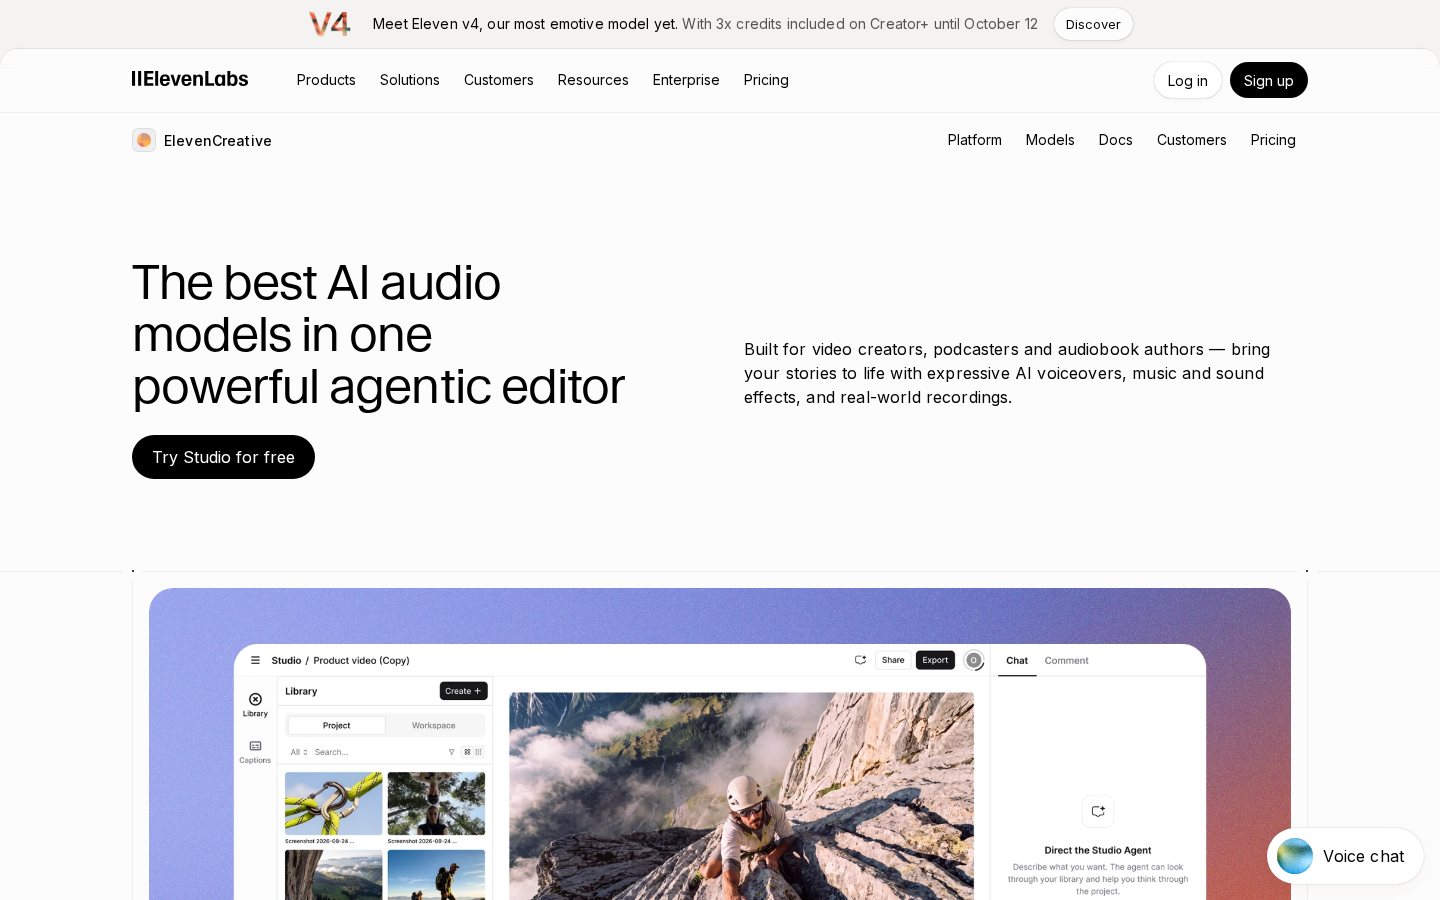
If you are working on a multi-chapter project, consider using the 'Projects' tool instead of simple text-to-speech synthesis. The Projects interface allows you to manage long-form content, such as audiobooks or lengthy training videos, by organizing your work into distinct chapters. This keeps your script structured and makes the ultimate compilation process much easier to manage. Refer to our ElevenLabs Review to see how the platform compares to traditional audio workstation setups for large projects.
Frequently asked
As an Amazon Associate I earn from qualifying purchases. This does not affect the price you pay. Affiliate disclosure