Where Can You Watch Fire TV Sticks, and What Do You Need?
Learn exactly what displays and equipment you need to set up a Fire TV Stick, from active HDMI ports to reliable Wi-Fi networks.
This article is informational and does not place shopping buttons in the story. Related buying guides may include affiliate links.
As an Amazon Associate I earn from qualifying purchases. This does not affect the price you pay. Affiliate disclosure
On this page9 sections
The short answer
- A display with an HDMI input is required to view video from the streaming player.
- High-speed Wi-Fi and a free Amazon registration are essential for initial device activation.
- Power must come from a wall adapter rather than a television's low-power USB port.
You can watch a Fire TV Stick on any television or display equipped with an active HDMI port, provided you have a reliable wireless internet connection and a standard power outlet. To get started, you will also need a registered Amazon account, which is completely free to create and link to your new media player.
These compact dongles transform standard monitors and older screens into interactive entertainment hubs. As long as your display meets the basic hardware requirements, you can access streaming services from almost anywhere in the world.
Understanding what is required before unboxing your device helps ensure a quick installation. Here is everything you need to prepare for a seamless entertainment setup.
The quick version
- Connect the power adapter
- Insert the stick into the display
- Select the input source
- Insert the remote batteries
- Connect to your network
- Register the media stick
The Core Requirements: What You Must Have
Before plugging anything in, you must gather a few essential components to ensure the system functions correctly. The media player itself relies on three main inputs: a physical connection to your screen, a stable feed of electricity, and an active internet signal. While the package includes the device and remote, you must supply the background infrastructure yourself to make the system operate.
First, a standard wall outlet or USB power source is necessary to keep the media player running. While many people attempt to plug the USB cable directly into the back of their television, standard TV ports often fail to supply enough current, leading to endless reboot cycles or performance drops. Utilizing the provided wall block adapter is always the safest and most reliable way to power your gear without interruption.
Second, you need a high-speed wireless internet connection to download applications and stream movies. The device cannot store video files locally, meaning every second of video you watch is retrieved in real-time from online servers. Having a home router located within a reasonable distance of your entertainment center will prevent buffering and dropouts during your favorite shows.
Third, you must have your Amazon account credentials ready during the initial startup process. You do not need a paid membership to use the hardware, but the operating system requires a registered profile to save your preferences, track app downloads, and manage parental controls. You can set this up on a smartphone or computer beforehand if you do not have one.
Compatible Displays: Where You Can Watch
One of the greatest advantages of these media players is their adaptability across different hardware configurations. The most common location to install the device is a standard living room television. Even if your television is older and lacks built-in smart capabilities, any model with a standard port on the back or side can instantly become a smart entertainment station. This breathes new life into older screens that would otherwise require replacement.
Computer monitors represent another excellent option, especially for office setups, bedrooms, or college dormitories. Many modern PC monitors feature built-in audio outputs or headphone jacks to pass the sound through to external speakers. If your monitor does not have speakers, you will need to pair wireless Bluetooth headphones directly to the player through its system menu in order to hear the audio.
Projectors are increasingly popular for outdoor movie nights and home theaters, and they are fully compatible with portable media sticks. By inserting the adapter directly into the projector's input slot, you can project high-definition content onto a screen or wall. Ensure your projector is positioned near a power source to keep both the projector and the streaming stick active throughout the movie.
Finally, travelers can bring their favorite shows along on business trips or vacations. You can hook up the hardware to hotel televisions, provided you can access the display's input settings on the physical TV buttons. Keep in mind that hotel networks often require web-based authentication, which the operating system is designed to handle through an on-screen browser window during network connection.
 See the picks in our buying guide
Step-by-Step Guide: How to Connect Your Device
Setting up your new player takes only a few minutes when you follow the proper sequence. Preparing your physical connections beforehand prevents configuration errors during the startup phase. Here is how to complete the physical and digital setup:
- Connect the power adapter. Plug the smaller end of the USB cord into the side of the streaming stick and the other end into the wall adapter.
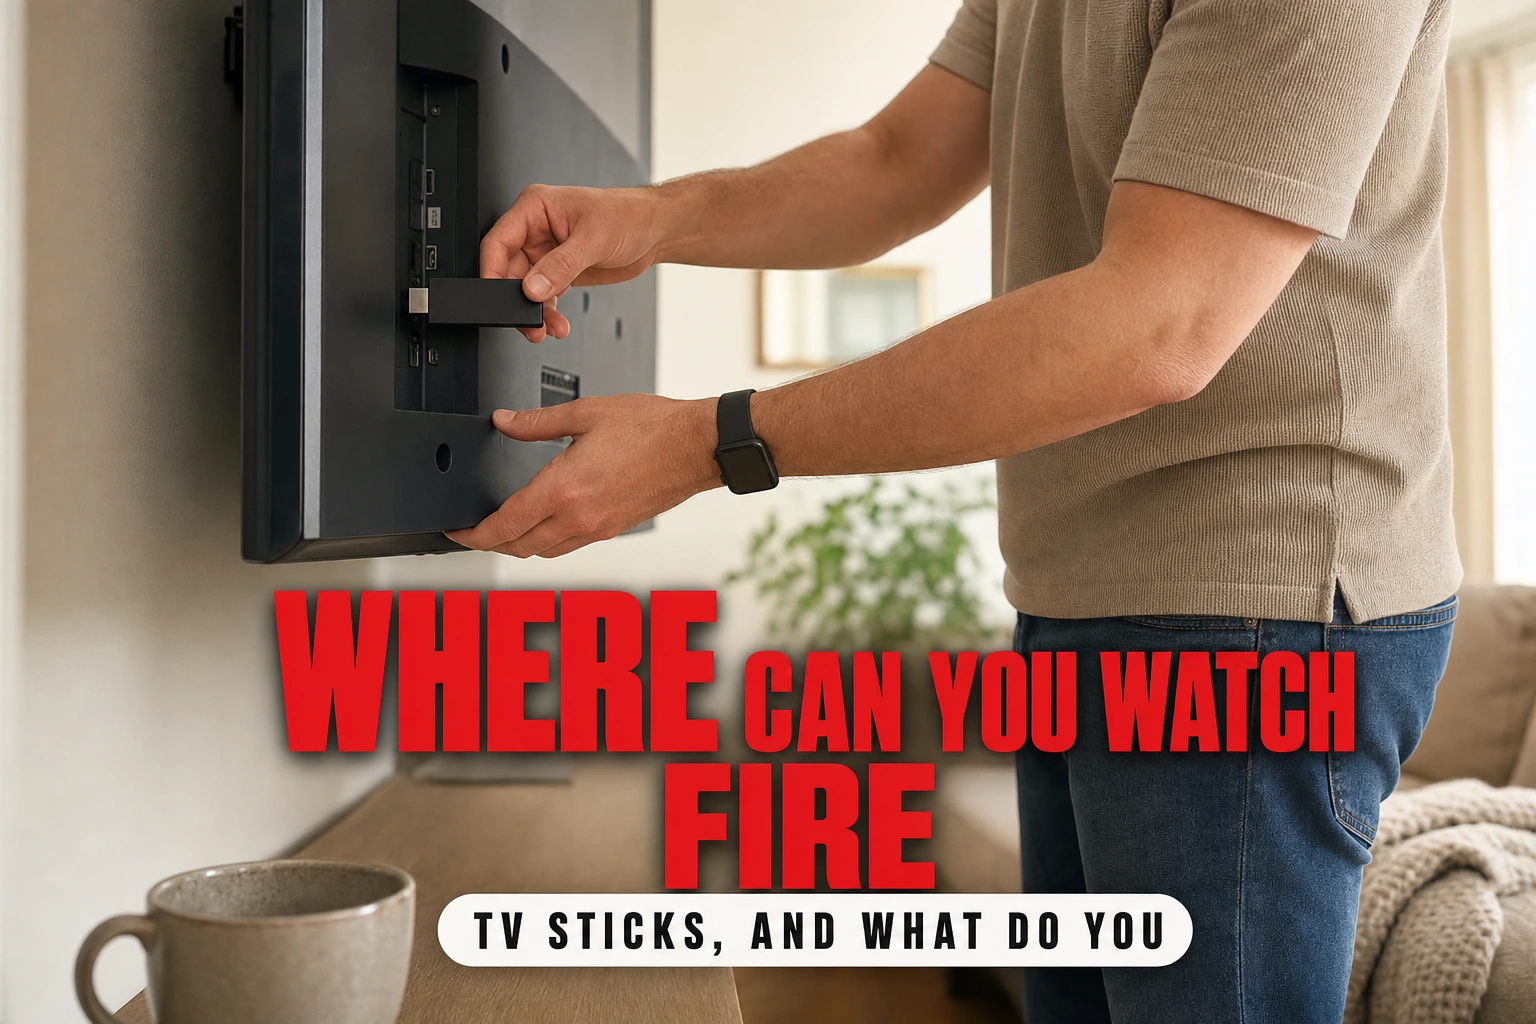
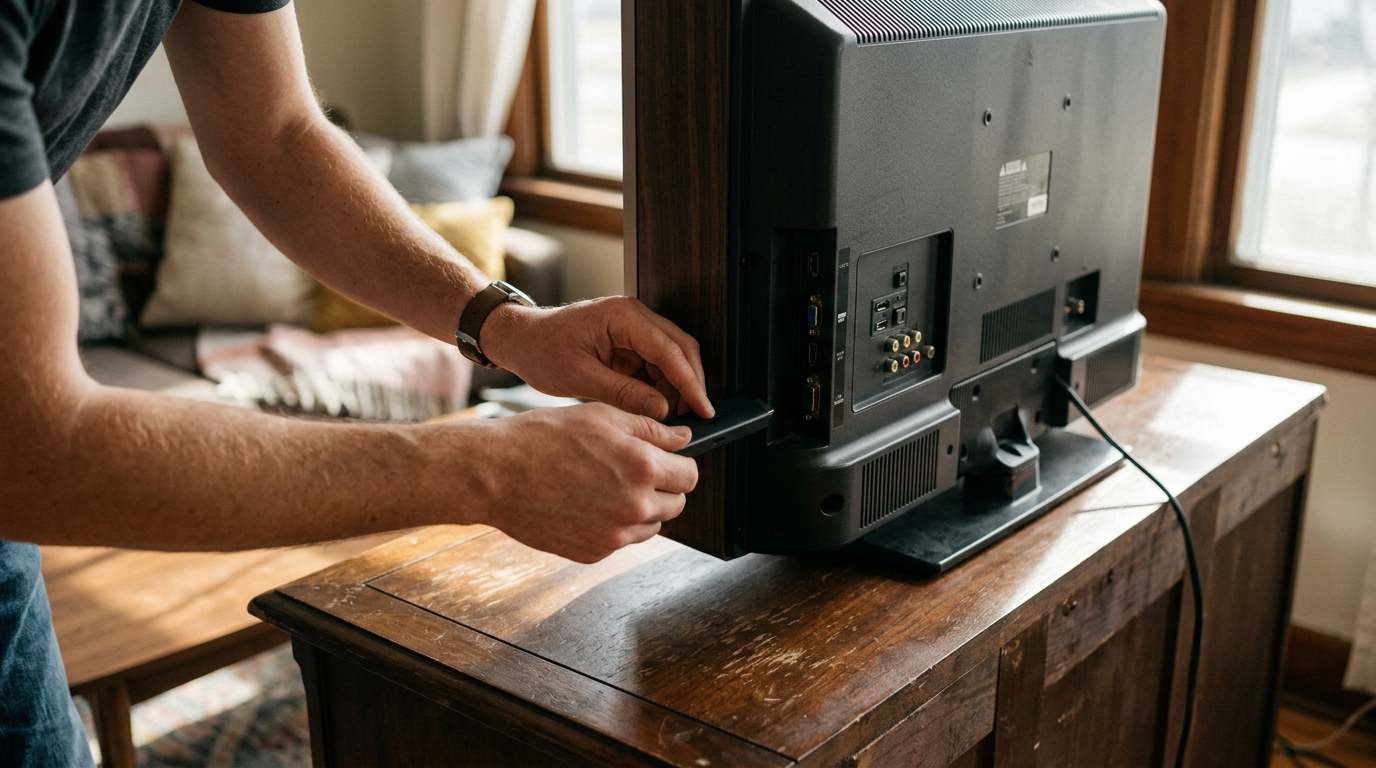
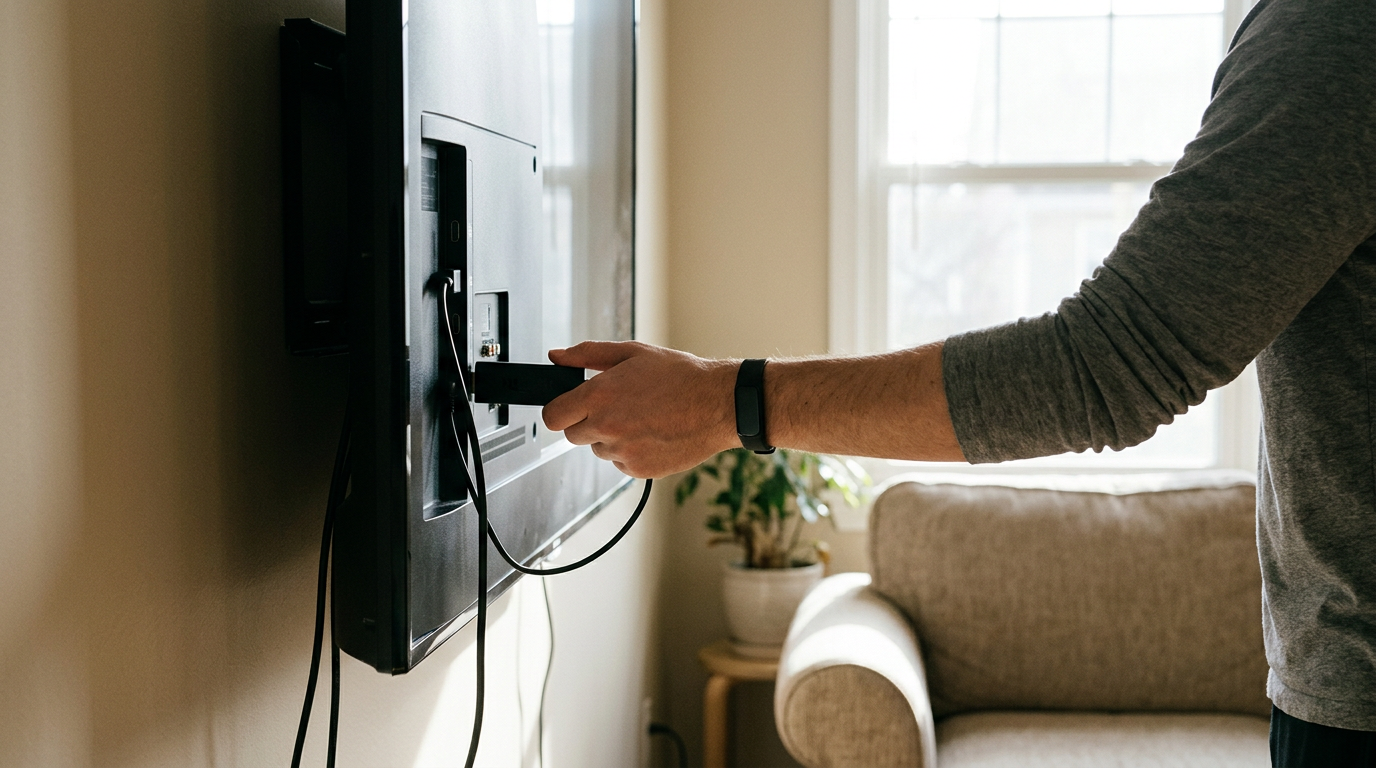
- Insert the stick into the display. Plug the media player directly into an open HDMI port on the back or side of your screen.
- Select the input source. Turn on your screen and switch the television to the corresponding HDMI channel using your TV's original remote control.
- Insert the remote batteries. Place the included AAA batteries into the voice remote and hold down the Home button to pair it.
- Connect to your network. Select your local Wi-Fi network from the on-screen list and enter your password using the directional pad.
- Register the media stick. Input your Amazon credentials when prompted on the screen, or scan the on-screen QR code with your mobile device.
The Network Factor: Internet Speeds and Wi-Fi Setup
To enjoy clear images without constant interruptions, you must understand how network bandwidth affects your experience. The system continuously downloads data as you watch, meaning a slow or congested network will automatically lower the video quality. If you share your home connection with multiple people who are downloading large files, you might experience issues during peak evening hours.
High-definition streaming generally requires a continuous speed of at least five megabits per second, while ultra-high-definition content demands significantly more speed. If your router is located on a different floor of your home, physical barriers like plaster walls, heavy metal appliances, or brick fireplaces can degrade the wireless signal before it reaches your living room display.
You can improve performance by choosing between the dual bands offered by modern wireless routers. The five-gigahertz band offers faster data transmission but has a shorter physical range, making it perfect for media players located in the same room as the router. Conversely, the two-point-four-gigahertz band handles longer distances and penetrates walls more effectively, though at slower overall speeds.
Which Model Should You Choose?
With several variations of streaming hardware on the market, choosing the right model comes down to your display's resolution and your budget. Basic high-definition players are perfect for secondary screens, guest rooms, or smaller bedroom televisions where ultra-high-definition clarity is not necessary. These entry-level options offer fast navigation and full access to major applications.
For main living areas or dedicated home theaters, upgrading to a model that supports ultra-high-definition video is a smart investment. These models deliver sharper detail, more vibrant colors, and faster processing chips that make menus feel much more responsive. To get a detailed breakdown of how individual models perform side-by-side, check out our comprehensive guide on the Best Fire TV Sticks: 3 Streaming Players Compared.
Additionally, some advanced options feature extra system memory, which helps when running heavy applications or games. If you plan on using your voice assistant to control smart home cameras or lights, look for models with enhanced remote controls that feature dedicated search buttons and television volume control options. The right hardware choice will ensure your entertainment center stays current for years to come.
Troubleshooting Common Setup Roadblocks
Sometimes, even the most straightforward installations encounter minor technical difficulties. If you connect the stick and see nothing but a black screen, verify that the television is set to the exact input port you used. Many displays have three or four ports, and it is easy to accidentally select input one when the device is plugged into input two.
Another frequent obstacle involves remote control responsiveness. If the pointer does not move during startup, try moving closer to the screen or replacing the batteries with fresh ones. If the pairing fails, hold down the Home button for ten full seconds to force the remote to search for the device again.
Finally, app errors or frozen menus are usually resolved by performing a basic power cycle. Instead of looking for a power button, simply unplug the power cord from the wall adapter, wait thirty seconds, and plug it back in. This clears temporary memory caches and forces the device to reload its operating software from scratch.
Frequently asked
Sources
As an Amazon Associate I earn from qualifying purchases. This does not affect the price you pay. Affiliate disclosure