
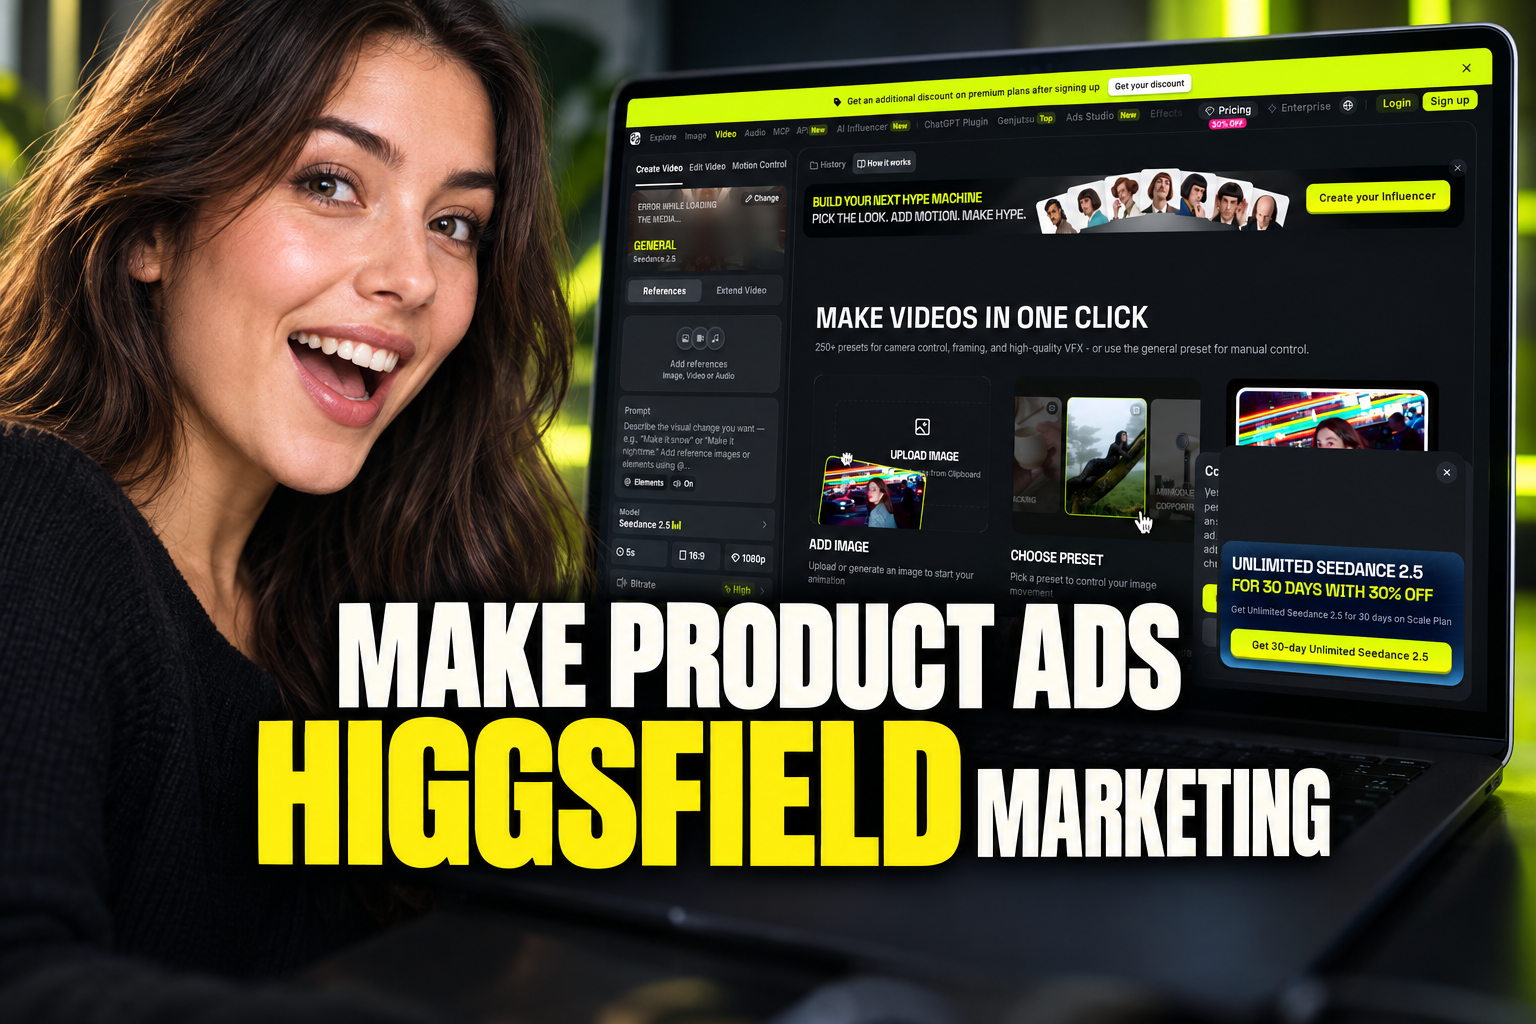
How to Make Product Ads with Higgsfield Marketing Studio
Turn static product photos into realistic video ads using Higgsfield Marketing Studio's masking tools, motion templates, and custom camera controls.
Some links are affiliate links: we may earn a commission if you sign up or buy through them, at no extra cost to you.
On this page9 sections
- 1The short answer
- 2Navigating the Higgsfield Studio Dashboard
- 3Preparing and Masking Your Product Image
- 4Step-by-Step Guide to Generating Your First Ad
- 5Designing Custom Backgrounds and Prompts
- 6Controlling Camera Motion and Angles
- 7Fixing Common Render Anomalies
- 8Optimizing and Exporting Your Video Ads
- 9Frequently asked
The short answer
- Upload high-resolution, front-facing product images to prevent branding details from looking blurry or distorted.
- Use the built-in brush tools to manually clean up boundaries around thin details and reflections.
- Apply low motion intensity levels to maintain the shape of your product during dynamic camera movements.
To make product ads with Higgsfield Marketing Studio, upload a clean image of your product and isolate it using the built-in masking tool before applying a motion template or text prompt to generate the background. This workflow allows you to animate static inventory items into realistic, highly engaging marketing clips in minutes.
Creating professional video ads once required physical studios, motorized slider tracks, and complex lighting setups. With generative AI, product-focused brands can now place their inventory into entirely virtual environments. Higgsfield Marketing Studio specializes in this type of creation, keeping your physical item consistent while rendering and animating a new world around it.
By mastering the workflow of this browser-based platform, you can bypass common issues like product distortion and inconsistent lighting. This guide will walk you through the entire process, step by step, ensuring you produce clean, commercial-ready video files for your social campaigns.
Watch it in action
The quick version
- Upload your product photo to the
- Apply the automatic masking tool to
- Choose a pre-made motion template or
- Write a descriptive text prompt detailing
- Select your target aspect ratio and
- Click the generate button to process
Navigating the Higgsfield Studio Dashboard
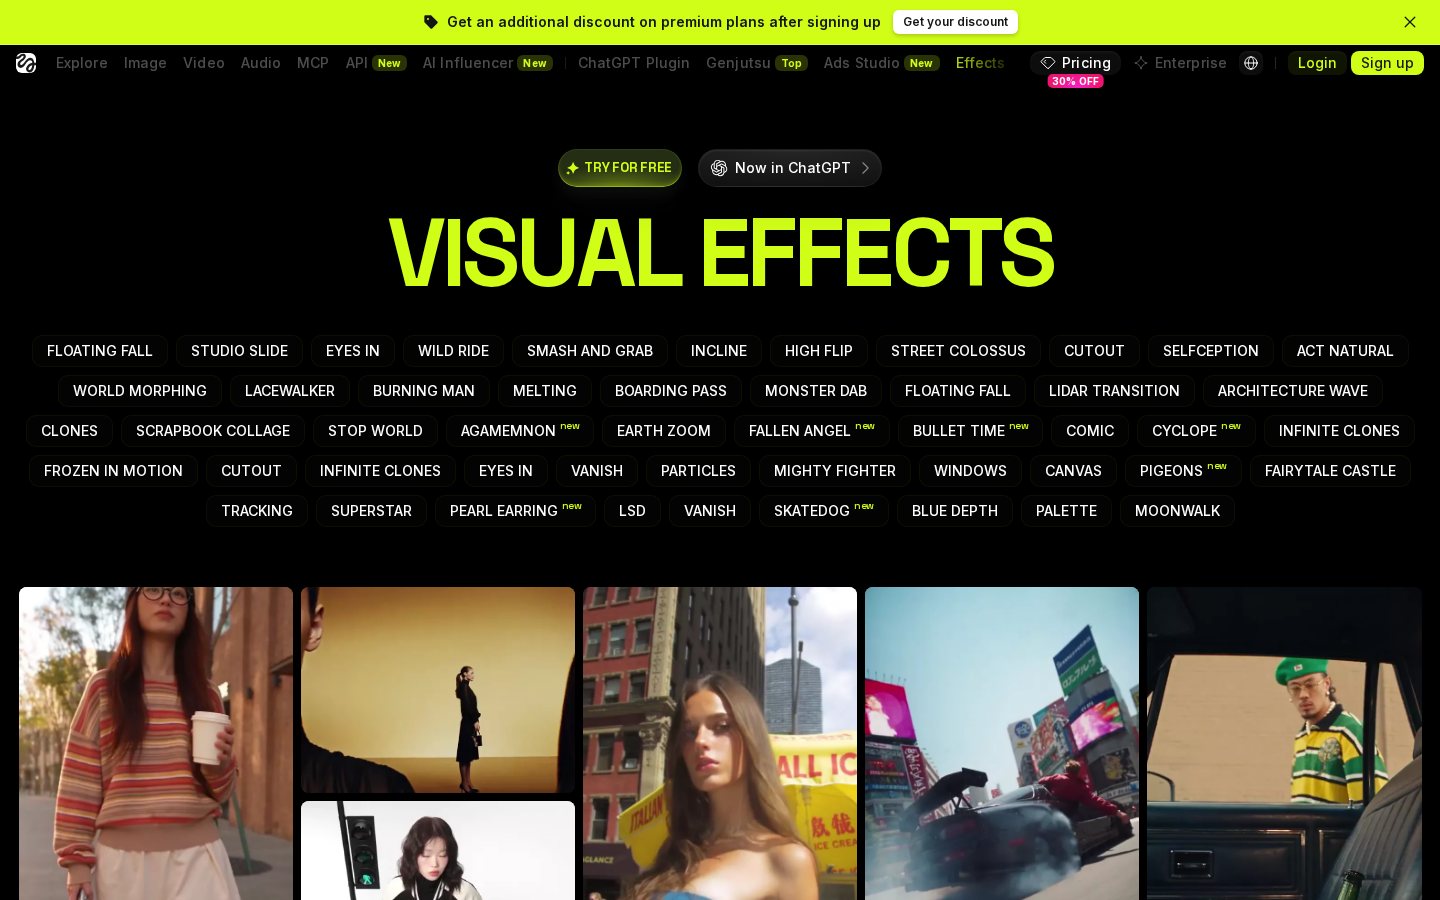
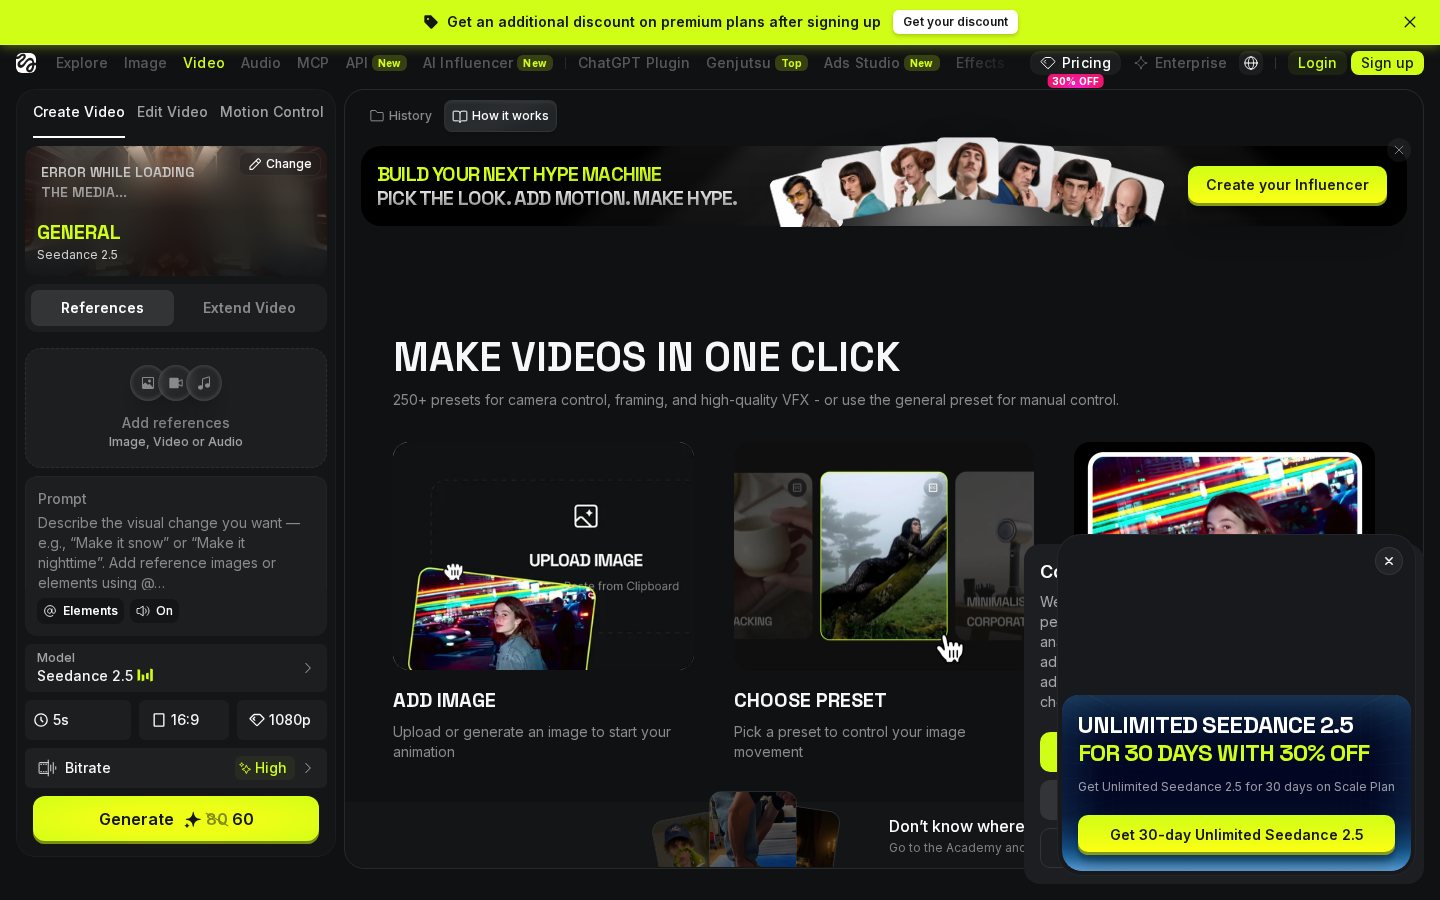
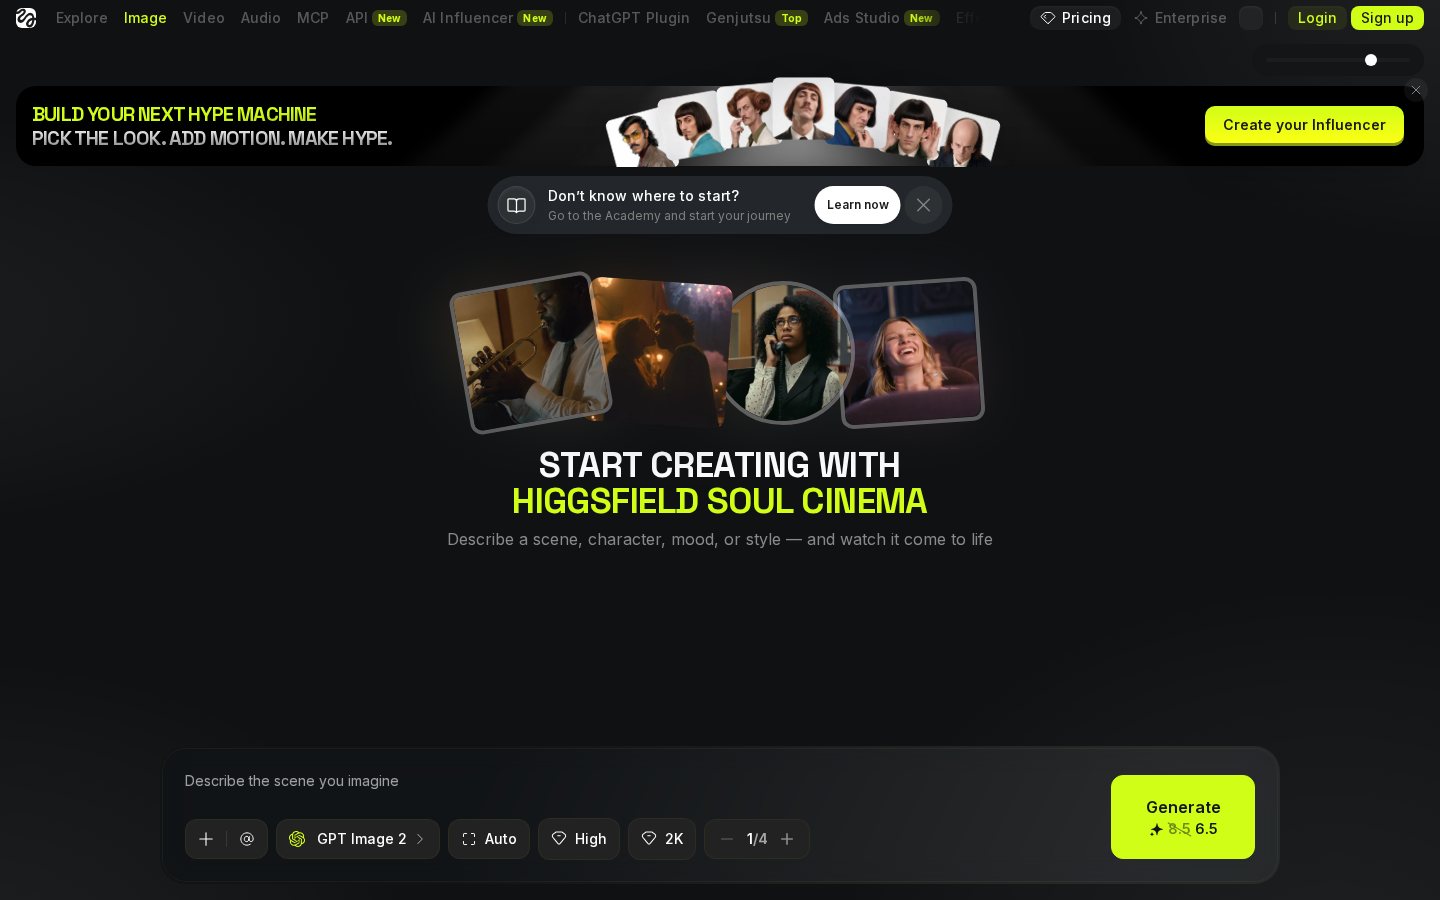
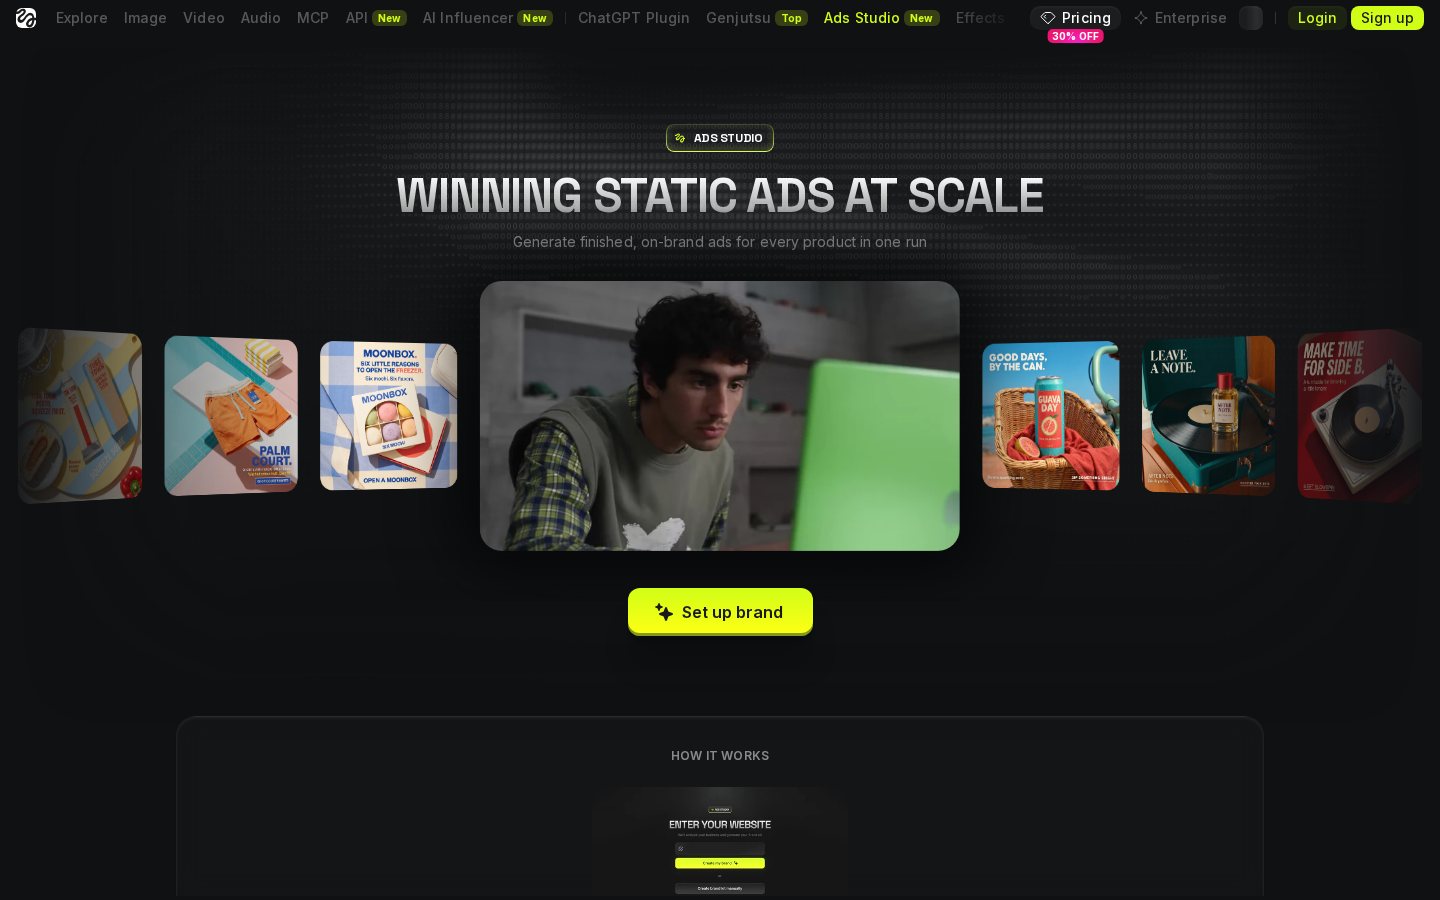
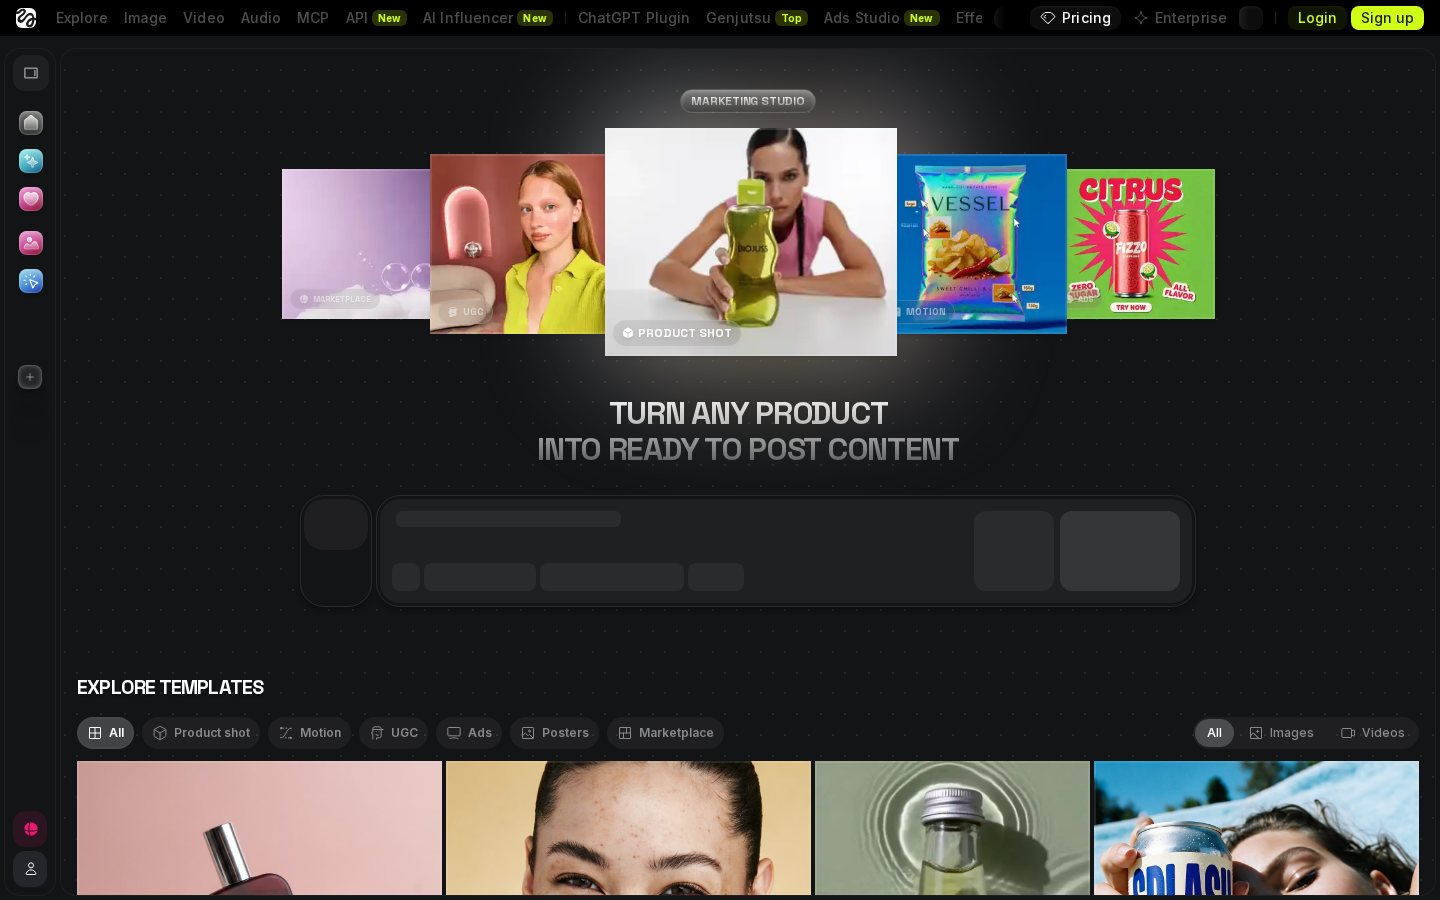
Getting started with a new video platform can feel overwhelming, but the layout of the Higgsfield dashboard is designed to streamline your creative flow. When you first log in, you will find the main workspace split into three distinct zones: the asset library, the generation canvas, and the parameter control panel. Understanding this basic workspace geometry helps you navigate the interface without getting lost in complicated drop-down menus.
If you are deciding whether this software fits your overall marketing workflow, reading a Higgsfield Review can help clarify its positioning. The dashboard is tailored specifically for social-first creators who need rapid design iterations. Instead of offering a generic timeline editor, the interface focuses heavily on prompt inputs, aspect ratio toggles, and direct asset uploading.
On the left-hand panel, you can access your saved projects and pre-loaded assets. This is where your previous product renders are stored for quick access during multi-product campaigns. The central area displays your active canvas, showing real-time previews of your current generations. The right-hand panel contains the primary settings where you adjust the frame rate, motion strength, and stylistic attributes.
Preparing and Masking Your Product Image
The foundation of a successful AI-generated video advertisement is a high-quality source image. Before clicking upload, ensure your product is shot under neutral, even lighting with no harsh shadows or complex textures overlapping the item. A clean background is not strictly mandatory, but it significantly simplifies the next step of the video creation pipeline.
Once you upload the image, the software utilizes automatic image segmentation to detect the boundaries of your product. This automated feature works best when there is high contrast between the item and its immediate surroundings. If your product blends into its background, the AI might accidentally animate parts of the label or container itself.
If the automatic detection misses a spot, you can use the manual brush tools to refine the selection. Pay close attention to handles, thin straps, or reflective glass surfaces, as these are the areas where masking errors typically occur. Taking an extra minute to clean up the edges prevents the final video from looking pixelated or distorted around your physical item.
Step-by-Step Guide to Generating Your First Ad
Transforming your static product image into a motion commercial is a structured process that relies on precise inputs. Following a step-by-step methodology ensures that you do not skip critical settings that dictate the overall quality of the final video. Here is how to construct your advertisement from start to finish.
- Upload your product photo to the media library. Click the import button on the main panel and choose a high-resolution file.
- Apply the automatic masking tool to isolate the item. Verify that the boundaries match your physical product perfectly.
- Choose a pre-made motion template or select the custom prompt option. This determines the background and the active environment.
- Write a descriptive text prompt detailing the scene. Describe the surface your product sits on, the lighting, and the background atmosphere.
- Select your target aspect ratio and motion intensity. Choose the layout that matches your planned social media distribution channel.
- Click the generate button to process the initial video frame. Wait for the engine to render the scene before making adjustments.
If the generator produces an unexpected result during the final step, check your input settings immediately. Often, a small error in the prompt or an overly high motion slider is the culprit. Re-rendering with a slightly lower motion intensity usually resolves flickering issues and preserves product shapes.
Designing Custom Backgrounds and Prompts
While templates offer a fast starting point, custom prompts are where you customize the look to match your brand's unique identity. To make your product stand out, you must write a descriptive prompt outlining the desired background environment and motion. Focus on nouns and adjectives that convey physical materials, such as "polished marble countertop," "soft studio lighting," or "defocused tropical foliage."
Avoid vague terms like "cinematic" or "hyper-realistic" when writing prompts in Higgsfield. The AI engine responds much better to concrete descriptions of light direction and atmosphere, such as "warm golden hour sunlight streaming from the left side." For deeper context on prompt engineering and platform capabilities, consult a detailed Higgsfield Review to see how various artistic styles perform.
"A good prompt describes the scene as if directing a photographer, not just listing keywords."
Another key element is defining how the background elements interact with your product. If your product is a skincare bottle, you might want to prompt for "gentle water splashes occurring in the background." This creates a sense of depth and integration, making the product look like it was physically present on a real-life video set rather than pasted on.
Controlling Camera Motion and Angles
Static backgrounds can make an AI video feel lifeless, which is why camera movement is vital. In Higgsfield Marketing Studio, you can use the manual camera controls to direct pan, tilt, and zoom movements. Adding a gentle pan or a slow zoom-in simulates the look of a professional camera crew operating a motorized slider on a physical set.
When setting up camera motion, moderation is key to maintaining a professional aesthetic. Fast, erratic camera movements often trigger visual artifacts, causing the product's shape to warp or bend unnaturally. A subtle tilt or a slow push-in keeps the viewer's focus on the product label while adding dynamic energy to the scene.
If you find that the background moves but the product looks detached, check the perspective alignment. The software tries to match the virtual camera's angle with the original photo's angle. If you upload a flat, top-down photo, attempting to generate a dramatic low-angle upward pan will result in a distorted perspective.
Fixing Common Render Anomalies
AI generation is an iterative process, and your first render may occasionally feature visual anomalies. A common issue is inpainting errors, where the AI attempts to fill in the space behind your product but creates blurry patches instead. When this happens, adjusting your mask boundaries slightly can give the engine a clearer definition of where the product ends and the background begins.
Another frequent problem is flickering, which usually occurs when the motion intensity setting is set too high. To resolve this, navigate back to the generation settings and reduce the motion slider. This forces the system to prioritize consistency across frames rather than extreme movement, resulting in a much smoother final video output.
If the colors of your product look washed out against the new background, the issue is likely lighting mismatch. Try rewriting your prompt to specify lighting that complements the original product shot. For additional troubleshooting techniques and comparisons with alternative editing workflows, our Higgsfield Review covers these nuances in detail.
Optimizing and Exporting Your Video Ads
Before you export your final video, you need to select the optimal aspect ratio and resolution for your target platform. Higgsfield Marketing Studio supports multiple standard layouts, including vertical formats for TikTok and Instagram Reels, as well as widescreen formats for traditional video campaigns. To ensure maximum impact, export the finished ad in the correct dimensions for your target social platform.
Exporting in high resolution is critical for maintaining professional quality when the ad goes live. Keep in mind that scaling up a low-resolution generation post-export will only result in pixelation. Use the platform's native upscaling tools before initiating the download to ensure that your text overlays and product details remain sharp.
Once the video is downloaded, you can import it into your preferred editing software to add music, voiceovers, and text call-to-actions. Higgsfield excels at creating the visual footage, but combining this raw video with crisp audio and clear marketing copy is what ultimately drives conversions for your ecommerce store.
Frequently asked
As an Amazon Associate I earn from qualifying purchases. This does not affect the price you pay. Affiliate disclosure