
Use an AI Avatar for a Talking-Head Video in VEED
Build a VEED talking-head video with an AI avatar, natural voice, clean framing, captions and practical lip-sync fixes.
Some links are affiliate links: we may earn a commission if you sign up or buy through them, at no extra cost to you. Affiliate disclosure
On this page10 sections
- 1The short answer
- 2How to use an AI avatar for a talking-head video in VEED
- 3Prepare a script that works with text to speech
- 4Choose a voice and generate the avatar clip
- 5Frame and position the talking-head presenter
- 6Add captions, supporting visuals, and audio
- 7Fix lip-sync, pronunciation, and rendering problems
- 8Preview and export the finished video
- 9Frequently asked
- 10Sources
The short answer
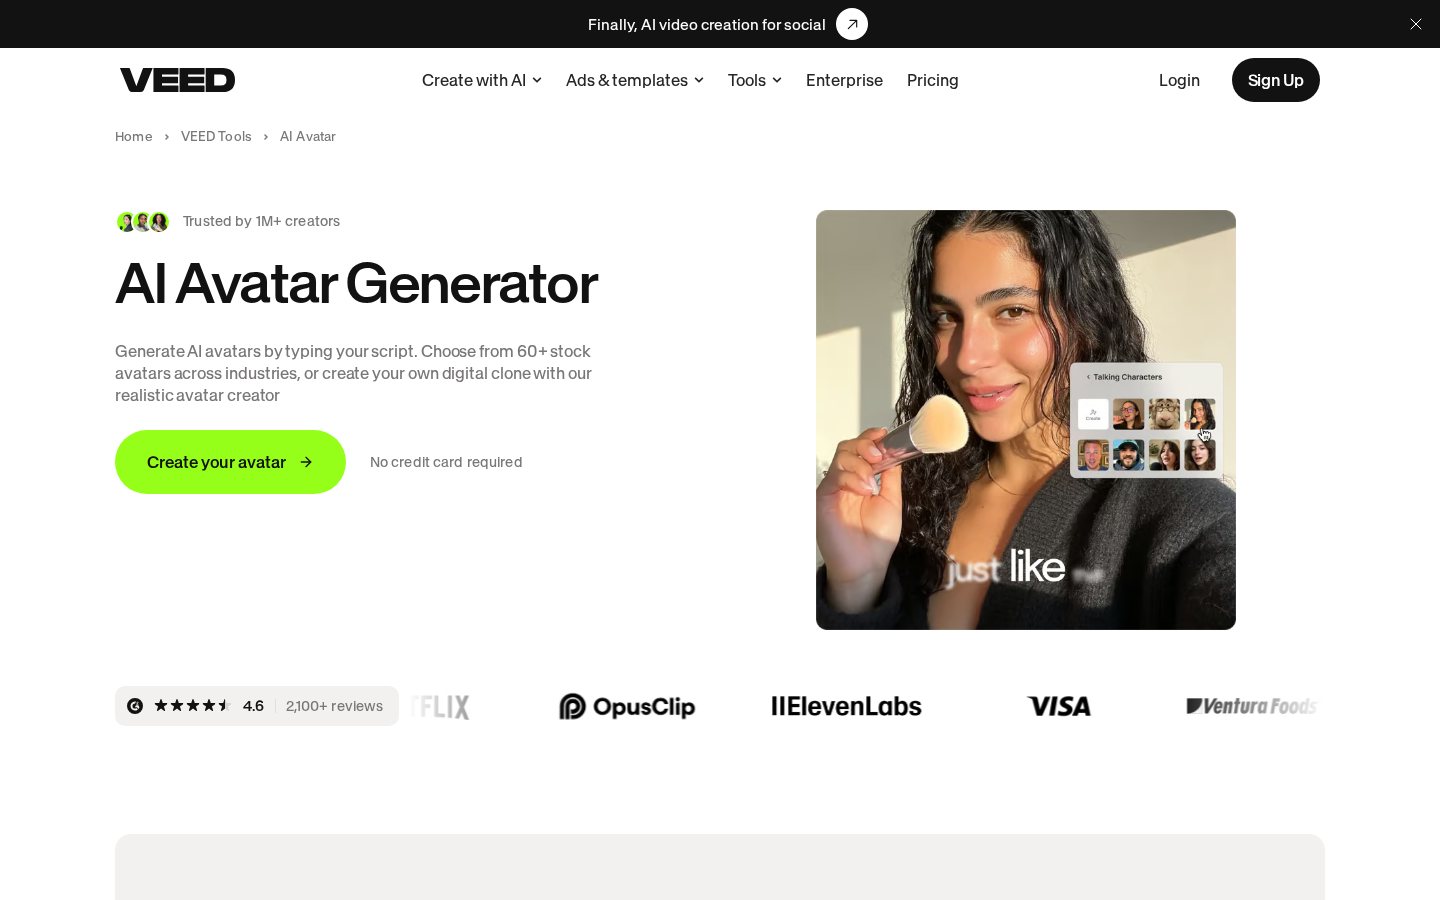
- Access avatars via the Video tab under the Talking Characters sub-menu to begin creating.
- Use advanced text-to-speech punctuation to control pacing and prevent a robotic delivery style.
- Position your avatar in a corner crop or center-screen depending on your presentation layout.
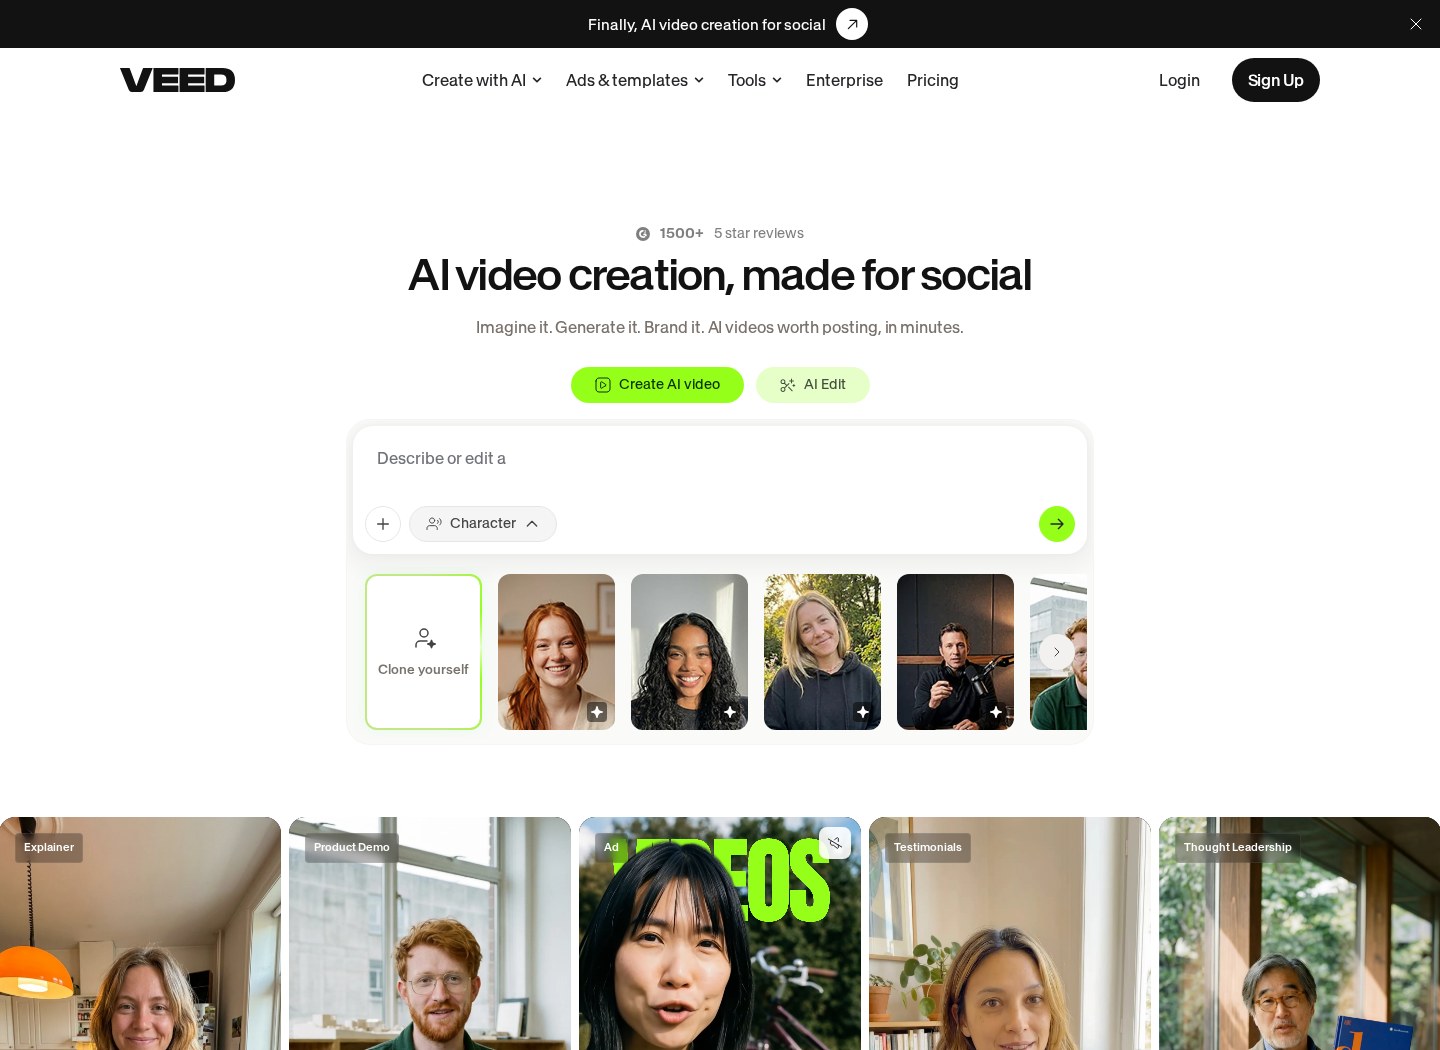
<p>To <strong>use an AI avatar for a talking-head video in VEED</strong>, open a video project and find AI Avatars or Talking Characters in the editor. Choose an avatar, enter your script, select a voice, and generate the clip. Then position the presenter, add captions or background media, preview the result, and export the finished video.</p><p>VEED combines avatar generation with its browser-based editing tools, so the generated presenter can sit beside slides, appear over background footage, or fill the frame. You can also arrange text, captions, music, and other visual elements around the speaker without recording a conventional talking-head performance.</p><p>A convincing result depends on more than selecting a character. Script punctuation affects pauses, voice choice shapes the delivery, and framing determines whether the presenter competes with titles or supporting visuals. For a broader look at the editor beyond this workflow, see our <a href="/reviews/veed-review">VEED Review and feature overview</a>.</p>
What's inside
Everything you get with VEED
How to use an AI avatar for a talking-head video in VEED
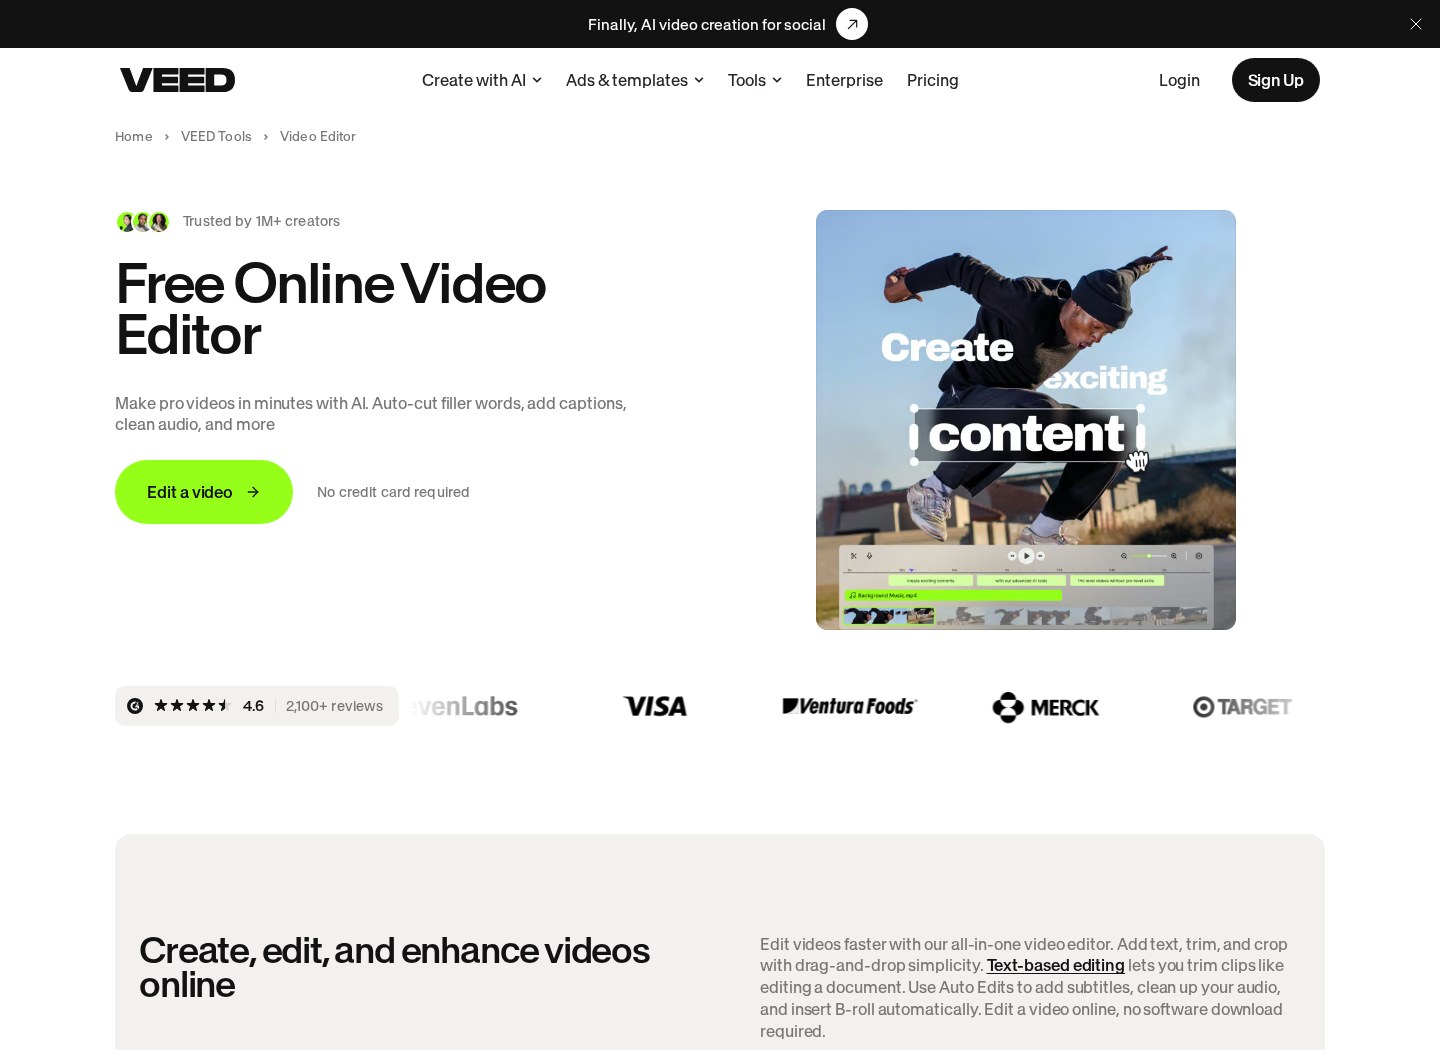
<p>Start by signing in to VEED and opening a new or existing video project. Set the canvas aspect ratio for the destination of your video before arranging the presenter. A vertical frame requires a different composition from a widescreen presentation, and deciding early reduces repositioning later.</p><p>Open the editor’s media or video tools and look for <strong>AI Avatars</strong> or <strong>Talking Characters</strong>. VEED’s support material describes selecting an avatar, entering text, choosing a voice, and adding the generated result to the project. Interface labels and placement can change, so use the editor’s search or AI tools area if the option is not immediately visible.</p><p>Choose a presenter that suits the format and subject. Next, type or paste the words you want the avatar to speak. Select an available language and voice, then generate the talking-head clip. Once processing finishes, place the clip on the canvas and timeline. Preview the entire segment before adding detailed edits, because script or voice changes may require you to generate it again.</p>
Prepare a script that works with text to speech
<p>Edit the script before generating the avatar. Remove notes, stage directions, URLs, and formatting marks that should not be spoken. Break long passages into short paragraphs or separate scenes. Smaller sections are easier to revise and can help you control where visual changes occur.</p><p>The text-to-speech system interprets punctuation as part of the delivery. Use full stops to create clear endings and commas for shorter pauses. Read the text aloud yourself: if a sentence is difficult to say in one breath, split it. Avoid a long wall of text, which makes errors harder to find and limits your control over pacing.</p><p>Check names, acronyms, product terms, and specialist language carefully. If a word is pronounced incorrectly, try a phonetic spelling in the spoken script while keeping the correct spelling in on-screen text and captions. Generate a brief sample before processing a long passage. This lets you assess the voice, pronunciation, and pacing with less rework.</p>
 See the picks in our buying guide
Choose a voice and generate the avatar clip
<p>After entering the script, review the voices available for the selected language. Listen for clarity and a delivery style that fits the material. An instructional video may need a measured pace, while a short introduction may suit a more conversational voice. Do not rely on the voice label alone; preview the actual script because punctuation and word choice affect the result.</p><p>VEED’s talking-avatar workflow uses voice synthesis to turn the script into speech and pair it with the avatar’s facial movement. Generate one section, then watch and listen from beginning to end. Check whether the first and final words are complete, pauses occur in sensible places, and key terms sound correct.</p><p>If a passage needs changes, revise the source text rather than trying to hide a poor take with cuts. For a longer presentation, create several manageable avatar segments and arrange them on the timeline. This approach also makes it easier to add slides, examples, or B-roll between sections. Our <a href="/reviews/veed-review">full VEED review</a> covers the platform’s wider editing workflow.</p>
Frame and position the talking-head presenter
<p>Decide whether the avatar is the main subject or a supporting presenter. For a presenter-led video, use a larger central placement and a simple background. For slides, demonstrations, or screen recordings, scale the avatar down and place it where it does not cover essential information.</p><p>Leave clear space around headings, subtitles, charts, and interface controls shown in the footage. Keep the presenter’s size and position consistent between related scenes unless a deliberate change supports the narrative. If the avatar covers another element, adjust its position or the layer order on the timeline.</p><p>Use cropping or a mask if those controls are available in the editor and the format calls for a circular or compact presenter frame. Avoid cutting into the avatar’s face. Choose a background that provides visible contrast with the presenter, and check both desktop and mobile-sized previews when creating vertical content. These choices help the <strong>talking-head video</strong> remain readable rather than visually crowded.</p>
Add captions, supporting visuals, and audio
<p>Add captions after the avatar’s speech and timing are settled. VEED includes subtitle tools that can generate captions from audio, but you should review the result. Correct names, punctuation, technical terms, and line breaks. Keep each caption clear of the presenter and other important visual elements.</p><p>Supporting visuals can make an avatar-led video easier to follow. Add slides, screenshots, images, B-roll, or brief text labels where they explain the spoken point. Do not add movement only to fill space; every insert should clarify, demonstrate, or separate ideas. Use transitions sparingly so they do not distract from the narration.</p><p>If you add background music, keep it below the synthesized voice and listen on ordinary speakers as well as headphones. Use fades at scene boundaries to avoid abrupt starts and stops. The editor’s broader caption, media, and timeline options are discussed in our <a href="/reviews/veed-review">review of VEED’s video tools</a>.</p>
Fix lip-sync, pronunciation, and rendering problems
<p>If the mouth movement appears out of step with the speech, first preview the generated avatar clip by itself. This separates an avatar-generation problem from a timeline edit. If the source clip is affected, shorten the script section, remove unusual symbols, simplify punctuation, and generate it again. If only the edited sequence is affected, check for cuts, speed changes, or overlapping audio.</p><p>For incorrect pronunciation, revise the spoken version of the word and test it in a short clip. Acronyms may work better when written as separate letters, while uncommon names may need phonetic spelling. Keep the correct term in captions and on-screen graphics.</p><p>If generation does not complete, preserve the script, then retry after checking the browser and connection. VEED’s support documentation should be the reference for current account limits and technical requirements. Avoid repeated edits while a clip is processing. When a long project is difficult to manage, divide it into shorter scenes and generate them separately.</p>
Preview and export the finished video
<p>Watch the full video from the beginning before exporting. Check the avatar’s pronunciation, facial movement, position, and size in every scene. Confirm that captions match the final speech and remain inside the visible frame. Listen for clipped words, sudden volume changes, overlapping narration, or music that masks the voice.</p><p>Review transitions between generated segments carefully. A small gap may sound awkward, while a tight cut can remove the start or end of a word. Adjust scene boundaries and audio fades where necessary. Also check that the background, clothing, and text have enough contrast to remain distinct.</p><p>Select an export format and resolution appropriate for the place where the video will be published. After export, play the resulting file rather than relying only on the editor preview. This final check can reveal caption placement, compression, or timing issues. If you need context on the rest of the platform before committing to a workflow, read the <a href="/reviews/veed-review">complete VEED Review</a>.</p>
Frequently asked
Sources
As an Amazon Associate I earn from qualifying purchases. This does not affect the price you pay. Affiliate disclosure