
How to Translate and Dub a Video with VEED
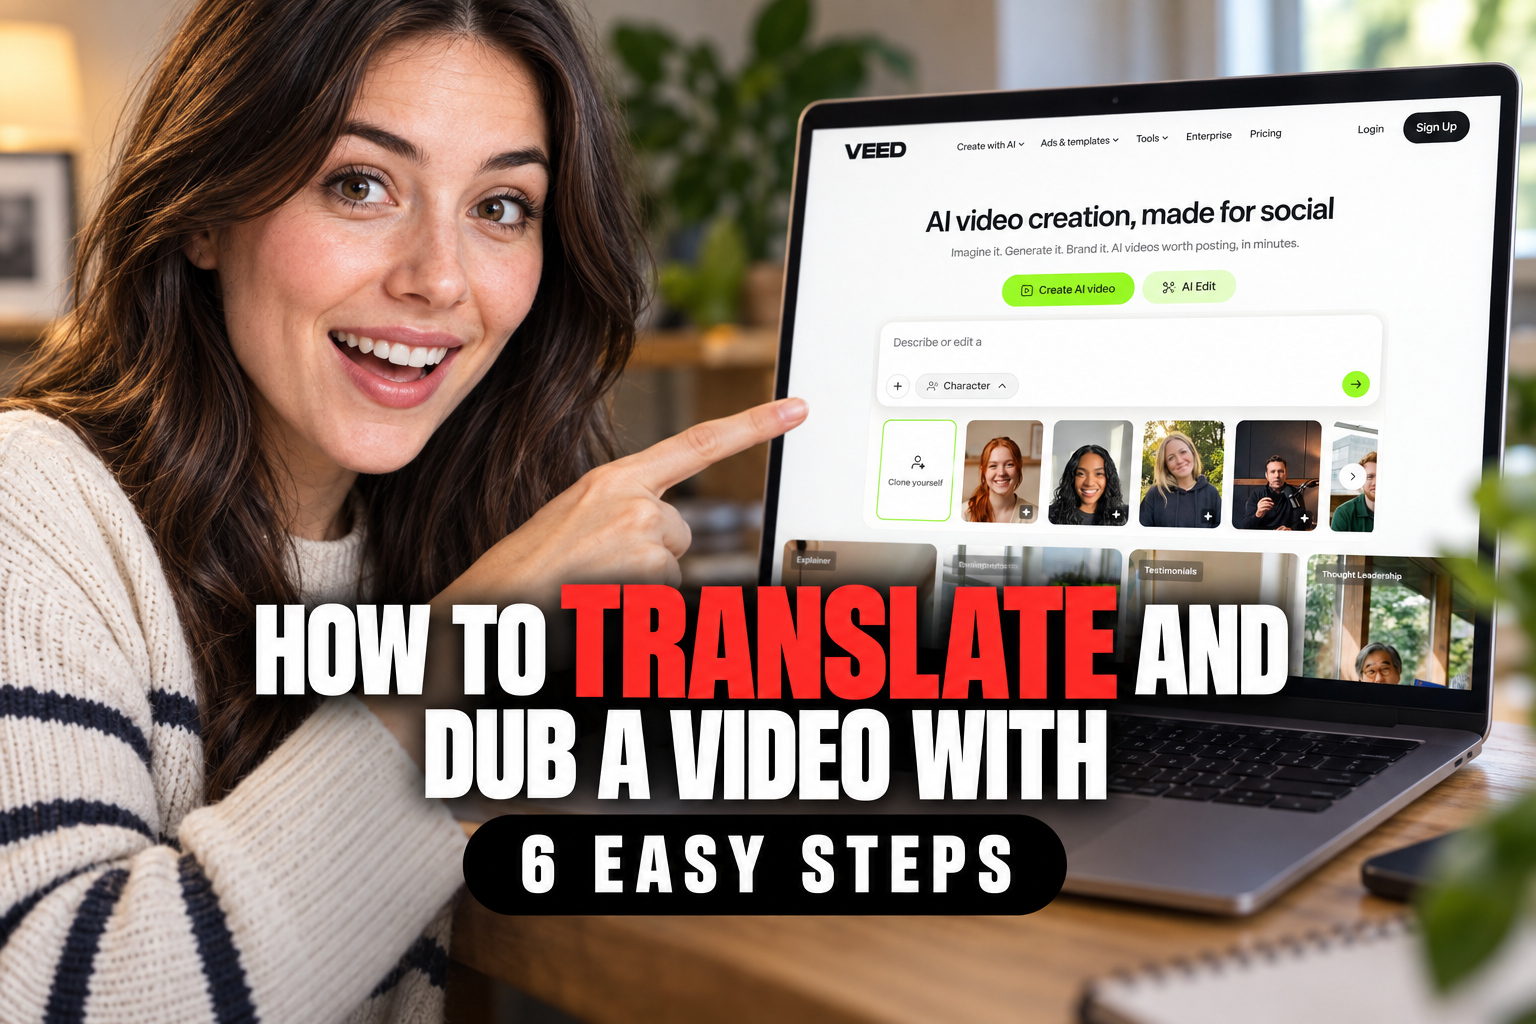
Learn how to translate and dub a video into another language with VEED by transcribing the source audio, translating the subtitles, generating a new voice track, and checking the timing before export.
Some links are affiliate links: we may earn a commission if you sign up or buy through them, at no extra cost to you.
On this page9 sections
- 1The short answer
- 2How to Translate and Dub a Video into Another Language with VEED
- 3Prepare the Video and Source Audio
- 4Generate and Correct the Source-Language Subtitles
- 5Translate the Subtitles into the Target Language
- 6Generate and Customise the Translated Voice Track
- 7Fix Timing, Pacing, and Lip-Sync Drift
- 8Review and Export the Dubbed Video
- 9Frequently asked
The short answer
- Upload clear audio to ensure the initial auto-transcription is highly accurate before translation.
- Translate the generated subtitle track into your chosen target language using the Subtitles menu.
- Convert the translated text into an AI voice and adjust the timing on the timeline.
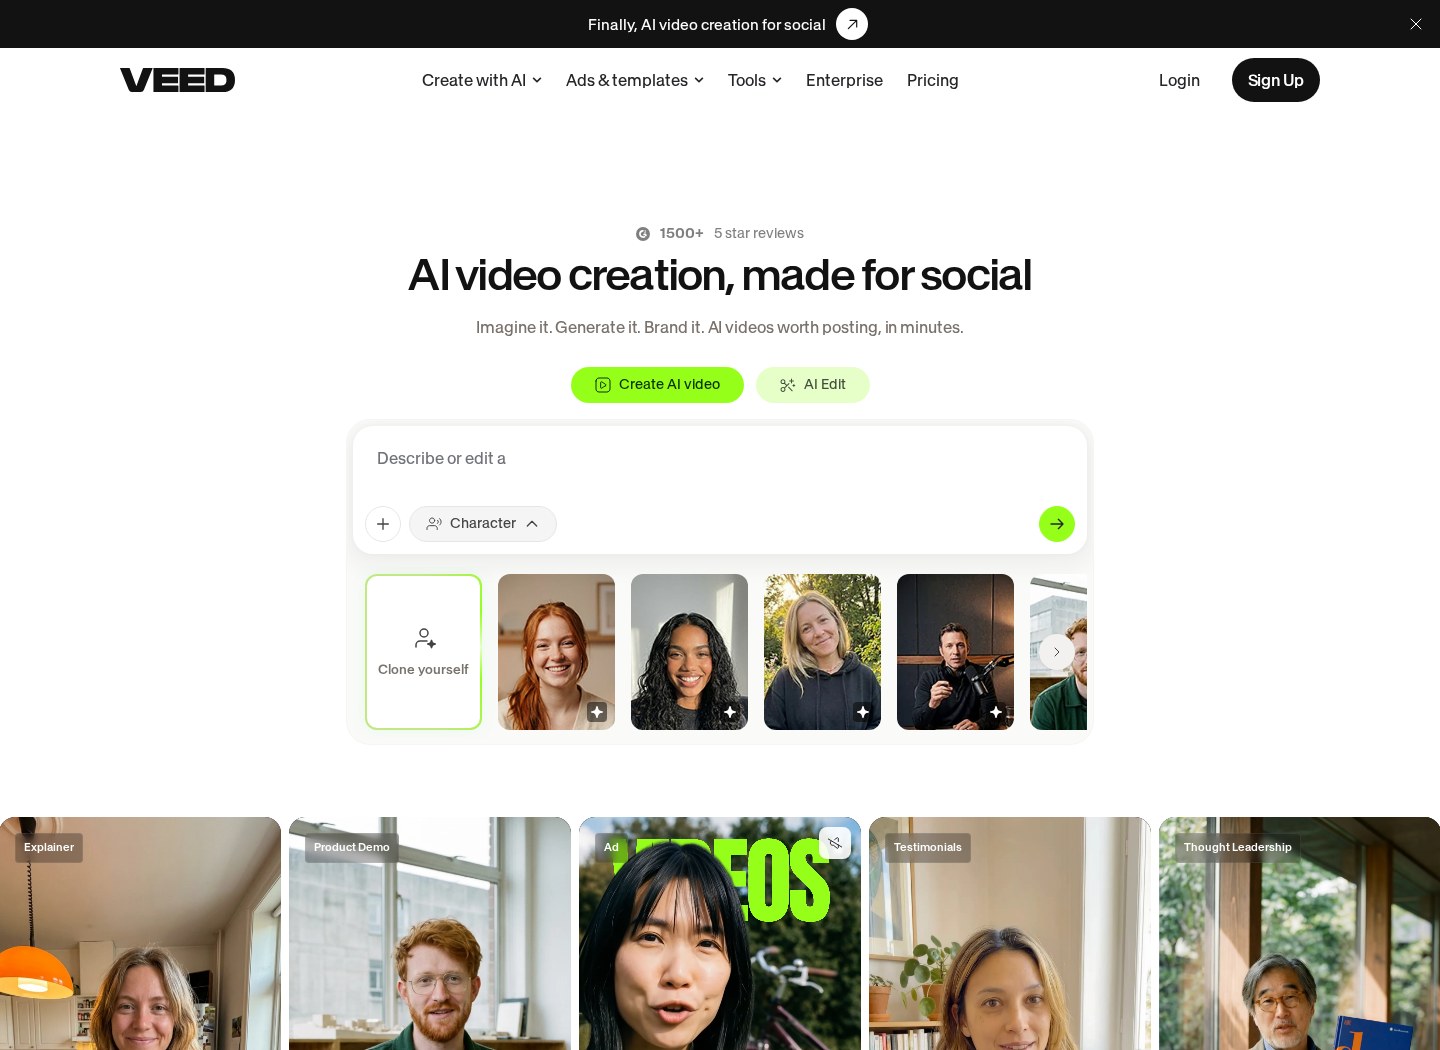
To translate and dub a video into another language with VEED, upload the video, create automatic subtitles in the source language, correct the transcript, translate it, and generate a voiceover from the translated text. Mute or lower the original speech, align the new audio with the visuals, and review the complete video before exporting.
The quality of the result depends on the source recording and the edited transcript. Background noise, overlapping speakers, names, slang, and missing punctuation can cause errors that carry into the translation and generated voice. Cleaning these elements before dubbing reduces the amount of correction required later.
The workflow below covers media preparation, transcription, translation, voice generation, timing adjustments, and export. For a broader look at the editor and its workflow, see our VEED interface and features review.
Watch it in action
The quick version
- Upload your video and review its
- Generate subtitles in the language spoken
- Correct transcription errors, punctuation, a…
- Translate the edited subtitles into the
- Generate a new voice track from
- Lower or mute the original speech,
How to Translate and Dub a Video into Another Language with VEED
The complete workflow has six stages:
- Upload your video and review its source audio.
- Generate subtitles in the language spoken in the original recording.
- Correct transcription errors, punctuation, and subtitle timing.
- Translate the edited subtitles into the target language.
- Generate a new voice track from the translated text.
- Lower or mute the original speech, adjust the translated track, and export the video.
Do not skip the transcript review. The translation is based on the written subtitles, so a misheard name or broken sentence can produce an inaccurate translated line. After generating the new audio, watch the timeline from beginning to end. Check whether each phrase starts at the right visual cue, whether consecutive lines overlap, and whether the original voice remains audible beneath the dub. VEED’s interface and related editing tools are covered separately in our full VEED Review.
Prepare the Video and Source Audio
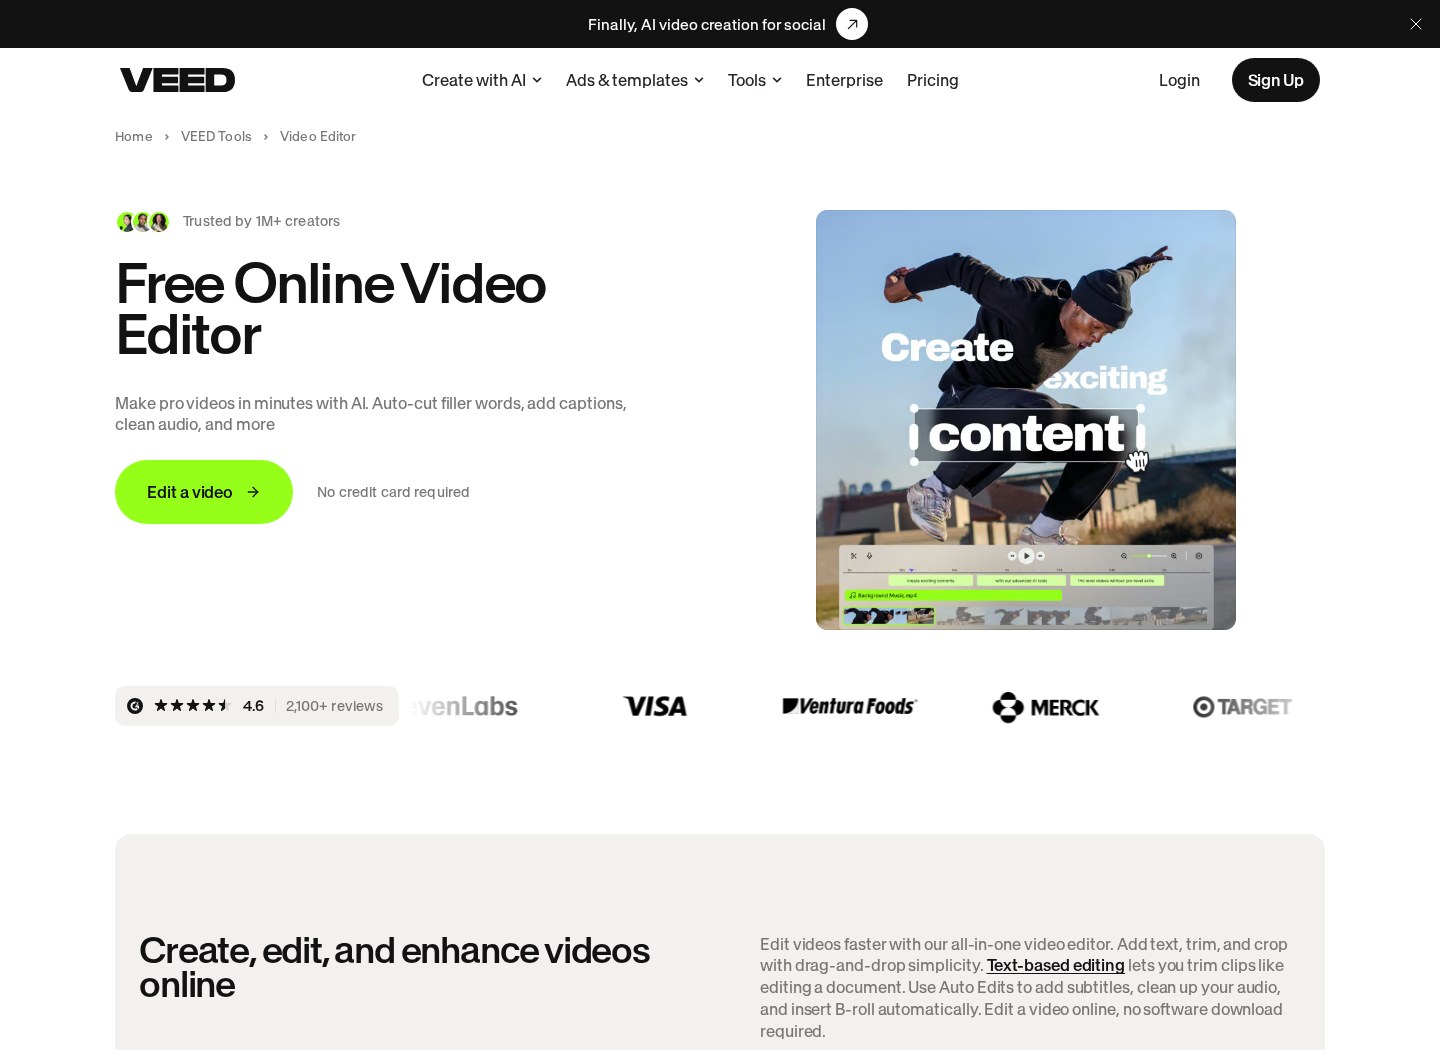
Before you upload your video file to the editor workspace, you must ensure the source audio is as clean as possible. Background music, heavy environmental noise, or multiple people speaking at once can confuse the speech-to-text algorithm. If your original file has low-quality sound, the initial transcription may contain errors that carry into the final translation.
Start by creating a new project and uploading the video from your device. Once the upload completes, review the media on the central timeline. If there are long silences at the beginning or end of the clip, trim them before generating subtitles. Listen for unclear speech, overlapping dialogue, or music that masks words. If the project contains multiple speakers, note where each person begins and ends so you can review their translated lines separately. These checks make the later transcription, translation, and timing stages easier to manage.
Generate and Correct the Source-Language Subtitles
The translation workflow relies on text, meaning you must first convert your spoken audio into a written transcript. Open the subtitles tool, choose the automatic subtitle option, select the language spoken in the original video, and begin transcription. VEED will create timed subtitle blocks along the timeline.
Do not move directly to translation. Read every generated line and correct spelling, names, acronyms, technical terms, slang, and words that were misheard. Check that the selected source language matches the recording. Review punctuation as well, because periods and commas can affect how the generated voice pauses. Inspect the timecodes for each subtitle block. If one block contains several ideas or extends across a visual cut, split it into shorter phrases. Keep complete thoughts together where possible so the translated script remains understandable and the voice does not pause in the middle of a phrase.

Translate the Subtitles into the Target Language
With the corrected base subtitles ready, generate the translated script from the subtitles panel and select the required target language. The editor should create a translated set of timed text based on the source transcript. Compare the new text with the meaning of the original rather than accepting every line without review.
Automated translation can produce phrasing that is too literal, especially with idioms, humour, abbreviations, brand terminology, or sentences that depend on context. Edit any line that changes the intended meaning or sounds unnatural. Also compare the length of each translated line with its available time. Languages do not express every idea in the same number of words, so a direct translation may be too long for its subtitle block. Shorten or rephrase crowded lines without removing essential information. If accuracy is critical and you do not understand the target language, arrange for a qualified speaker to review the script before generating the dub.
Generate and Customise the Translated Voice Track
Once the translated text is refined, use VEED’s dubbing or text-to-speech controls to convert the translated text into a new voice track. Choose an available voice that suits the tone of the video, then preview it before applying it to the entire script. Listen for pronunciation, pacing, emphasis, and whether questions or statements sound appropriate.
After generation, place or review the new audio on the timeline. Lower or mute the original spoken audio so it does not compete with the translated track. Take care if speech, music, and ambient sound are combined in one source track: muting that entire track may also remove the background sound. If your project already has separate audio layers, adjust the dialogue layer while preserving the others. For multiple speakers, review each person’s lines individually and use distinct voices where the available controls and project setup allow it. See our VEED editing workflow review for wider context on the editor.
Fix Timing, Pacing, and Lip-Sync Drift
The final editing stage involves aligning the generated voice track with the action on screen. A translated sentence may take more or less time to speak than the original, creating lip-sync drift or leaving an unnatural silence. Zoom in on the timeline and compare the start and end of each generated phrase with the corresponding visual moment.
Move a voice block if it begins too early or late. If a sentence runs beyond the available space, first shorten the translated wording while preserving its meaning. You can also split a long sentence at a natural pause, provided the result remains clear. Avoid forcing every phrase into exactly the same duration if doing so makes the delivery difficult to understand. Check transitions between consecutive blocks, because small timing errors can accumulate and cause later speech to drift further from the visuals. For talking-head footage, pay particular attention to visible mouth movements; for screen recordings or demonstrations, align speech with clicks, labels, scene changes, and other relevant actions.
Review and Export the Dubbed Video
Play the complete timeline before exporting. Listen through headphones if possible and confirm that the translated narration is clear, consistent, and not competing with the original speech. Check that no generated line is cut off, duplicated, missing, or placed over the wrong scene. Review subtitle spelling if translated captions will remain visible in the finished video.
Pay attention to audio levels between lines. A voice that changes volume abruptly can make separate blocks sound disconnected. Also check that music and ambient sound remain audible at an appropriate level beneath the translated narration. Once the timeline is ready, open the export controls and choose the settings required for your destination. After rendering, watch the exported file from beginning to end rather than relying only on the editor preview. This final check can reveal rendered output problems such as unexpected silence, clipping, timing changes, or text that appears outside the visible frame. For more information about the wider editor, visit our VEED Review.
Frequently asked

As an Amazon Associate I earn from qualifying purchases. This does not affect the price you pay. Affiliate disclosure