
How to Use Higgsfield Visual Effects Presets
Learn how to use Higgsfield visual effects presets for short clips, from choosing source media and applying a preset to refining motion and exporting the result.
Some links are affiliate links: we may earn a commission if you sign up or buy through them, at no extra cost to you.
On this page9 sections
- 1The short answer
- 2Choose Source Media That Suits the Preset
- 3How to Use Higgsfield Visual Effects Presets for Short Clips
- 4Choose a Preset for the Subject and Intended Effect
- 5Refine Camera Motion and Prompt Instructions
- 6Check Subject Consistency and Visual Artifacts
- 7Handle Audio and Assemble the Final Short
- 8Review Format and Export the Short Clip
- 9Frequently asked
The short answer
- Choose short source clips under two minutes to maintain fast processing speeds during rendering.
- Apply one of over forty built-in visual styles to automate complex rotoscoping tasks.
- Refine the default movement using specialized camera control settings before starting the generation.
To use Higgsfield visual effects presets for short clips, open the relevant Higgsfield creation tool, upload or select your source image or clip, choose a visual effect or viral preset, review the available settings, and generate the result. Start with a short, clear source so you can assess subject consistency and motion before producing another version.
The exact controls can vary by Higgsfield tool and preset. Some presets transform an uploaded image into a short effect-driven video, while other workflows provide camera motion or prompt controls. Check the preset's on-screen requirements rather than assuming every template accepts the same input or offers the same settings.
Understanding those differences helps you choose a suitable workflow without treating a preset as a full video editor. Our Higgsfield Review covers the wider platform; this guide focuses on using its preset tools for short clips.
Watch it in action
The quick version
- Open the Higgsfield creation area that
- Browse the available templates and select
- Read the preset requirements, including whet…
- Upload the source media and adjust
- Add an optional prompt or choose
- Review the displayed output format and
Choose Source Media That Suits the Preset
Before opening the software platform, you must prepare the visual assets that will serve as your creative foundation. Higgsfield workflows may begin with a still image or video, depending on the selected tool and preset. Check the upload field and preset instructions first so you do not prepare an unsupported asset.
Use sharp, well-lit media with a clearly visible subject. A simple composition gives the generator fewer ambiguous details to reinterpret. For portraits, keep the face unobstructed and avoid placing important features at the edge of the frame. For full-body effects, choose an image that shows the pose and limbs clearly. If you begin with video, avoid unnecessary cuts or abrupt changes during the part you want transformed.
Match the composition to the intended destination. A vertical source is convenient for short-form feeds, while landscape or square media may require cropping. Leave enough room around the subject for any movement introduced by the preset. For a broader look at supported creation features, see our Higgsfield Review.
How to Use Higgsfield Visual Effects Presets for Short Clips
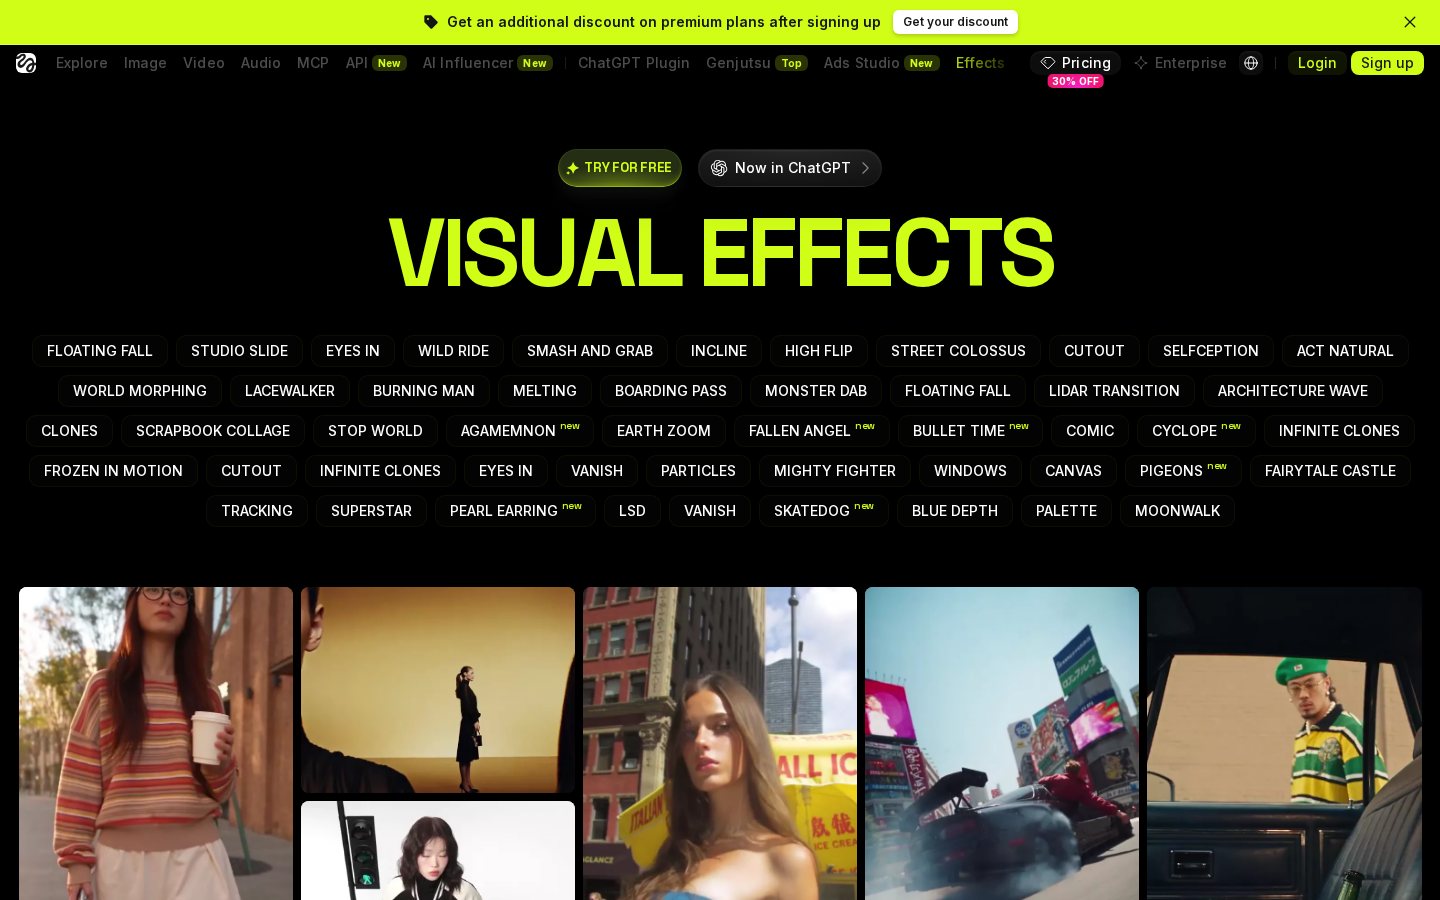
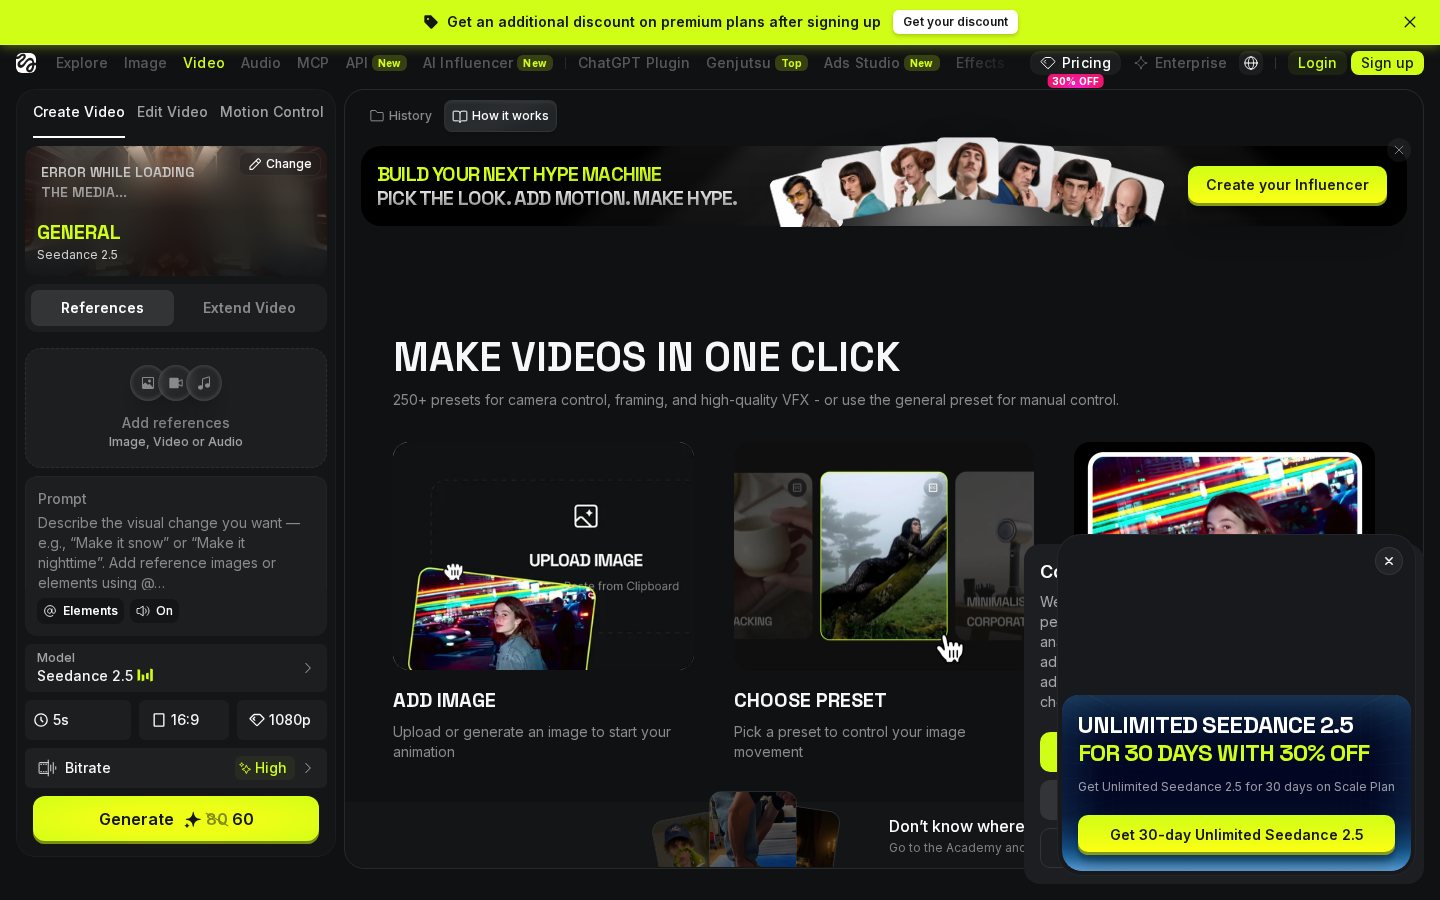
The interface and labels can differ between Higgsfield tools, but the core workflow is straightforward. Use the following sequence and follow any instructions displayed on the selected preset:
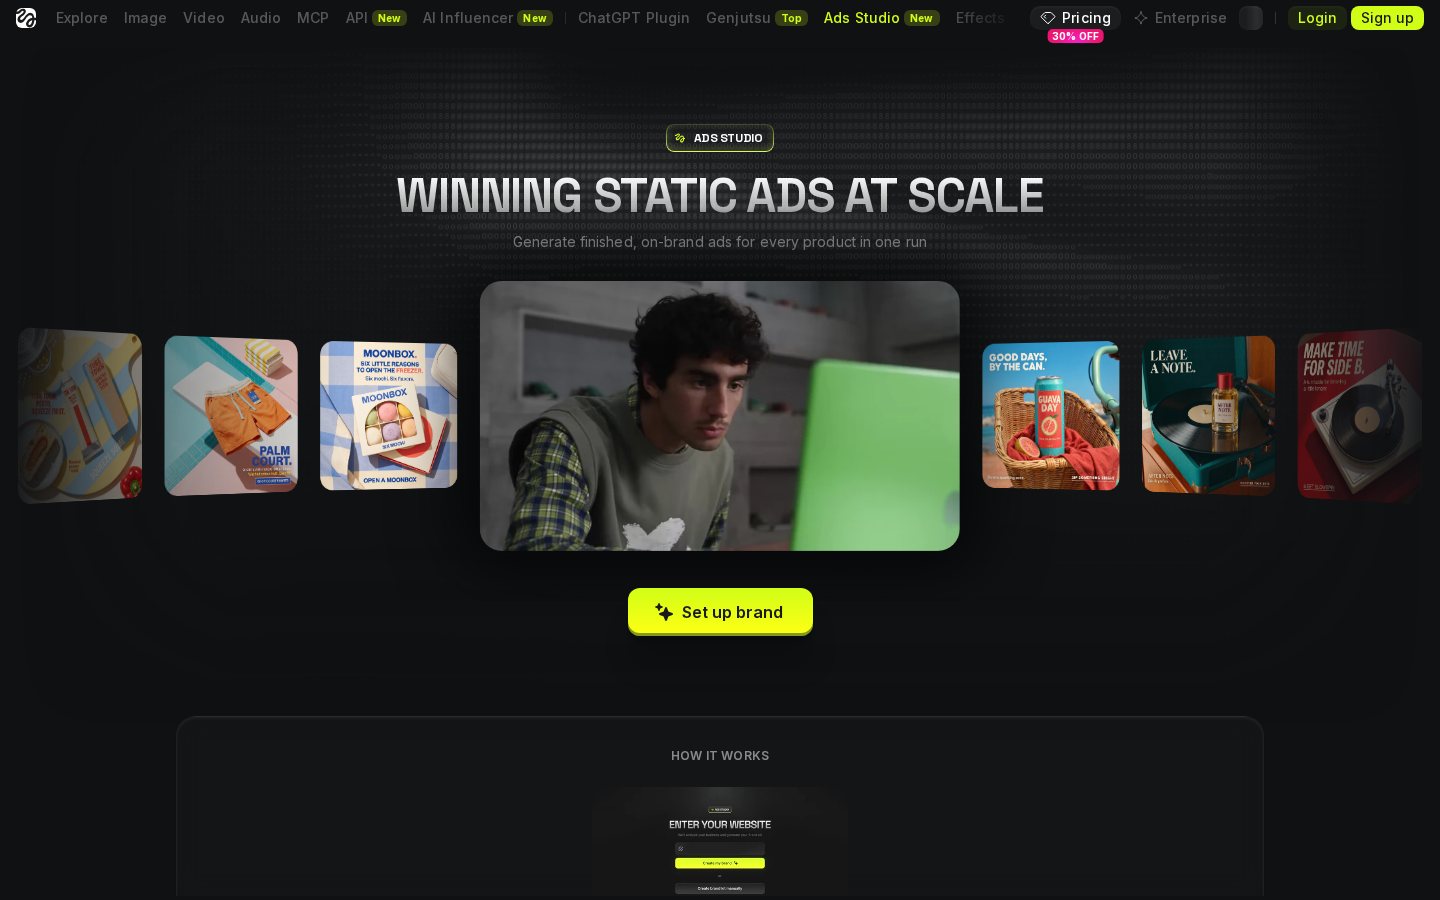
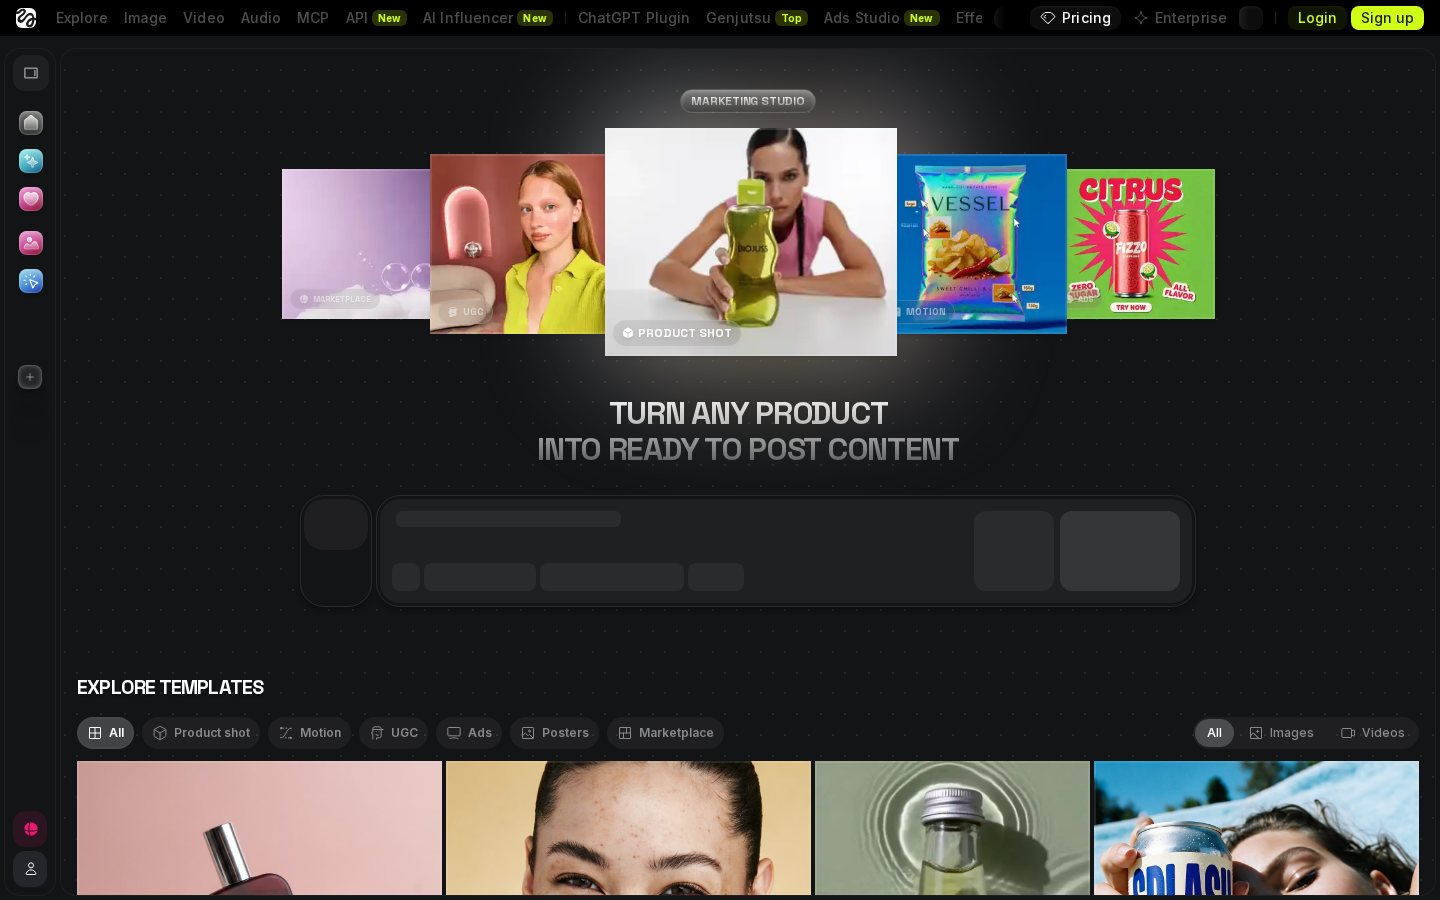
- Open the Higgsfield creation area that contains visual effects or viral presets.
- Browse the available templates and select the effect you want to apply.
- Read the preset requirements, including whether it expects an image, video or particular subject framing.
- Upload the source media and adjust its crop or placement if those controls are shown.
- Add an optional prompt or choose motion settings only when the selected workflow provides them.
- Review the displayed output format and other available generation options.
- Generate the short clip, then inspect it for subject consistency, framing and unwanted background changes.
Test the concept with a short, simple source first. If the result is not usable, change one variable at a time—such as the crop, source image or prompt—so you can identify what improved or weakened the output. Avoid assuming that controls shown in one generator will appear in every preset workflow.
Choose a Preset for the Subject and Intended Effect
A visually striking preset is not automatically suitable for every source. Start by comparing the preset's demonstrated action with the subject in your media. An effect built around a face needs a clear portrait, while an effect that changes pose or body movement benefits from an unobstructed full-body composition. Product shots, animals and group scenes may respond differently from the human examples commonly used in preset previews.
Pay attention to the expected direction and scale of movement. If an effect expands beyond the subject, leave empty space around it. If it creates rapid motion, use a source with a simple background so the viewer can still follow the main action. Choose the preset before finalizing the crop, because the intended movement may require more headroom or side space.
Treat the preview as a description of the transformation rather than a promise that every source will reproduce the same details. For more context on where presets fit within the platform, read the full Higgsfield Review.
Refine Camera Motion and Prompt Instructions
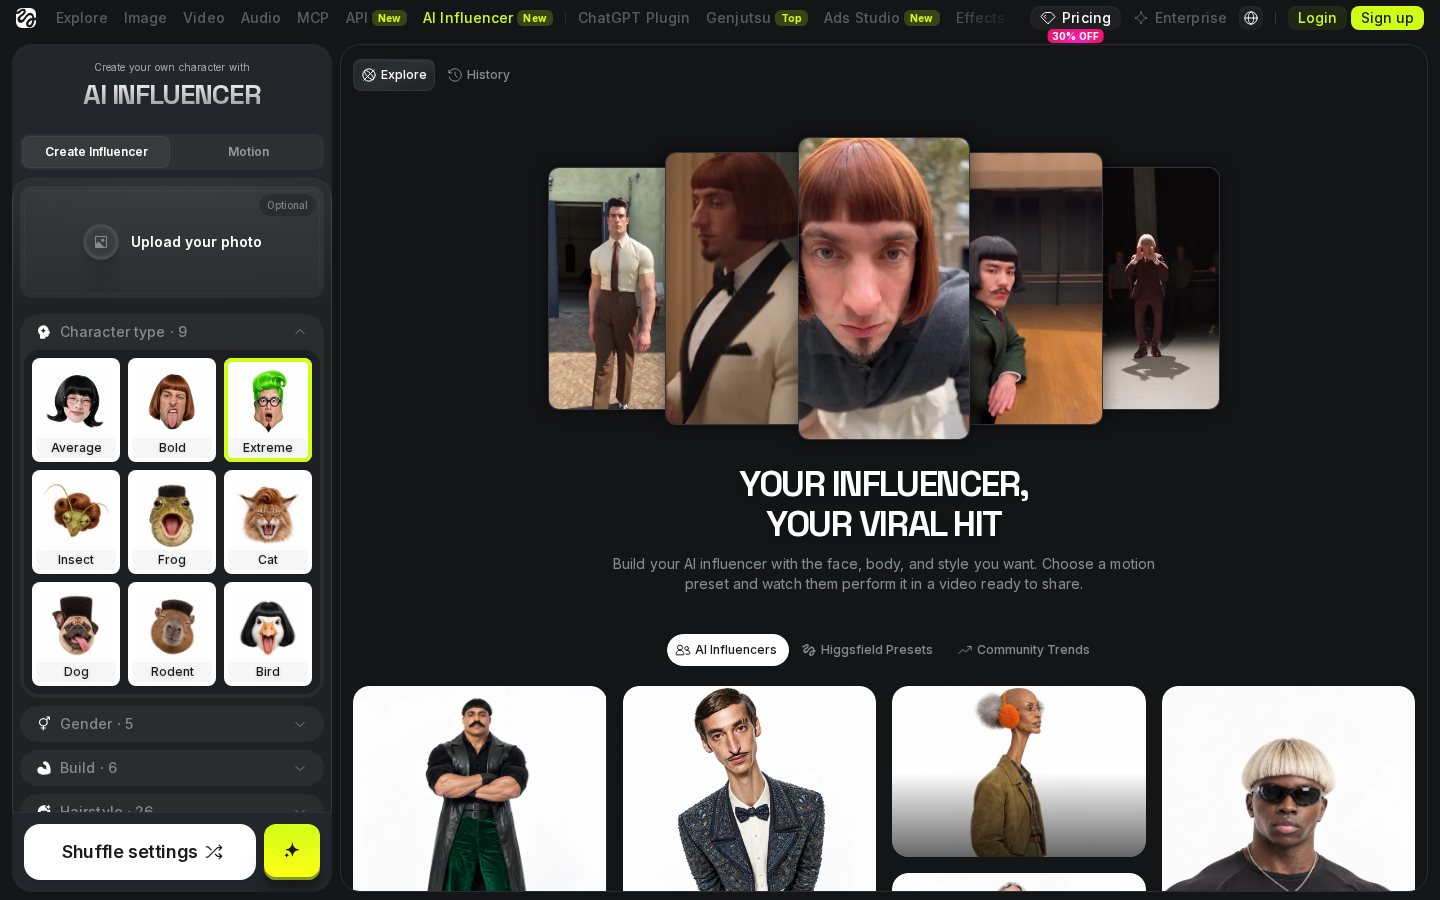
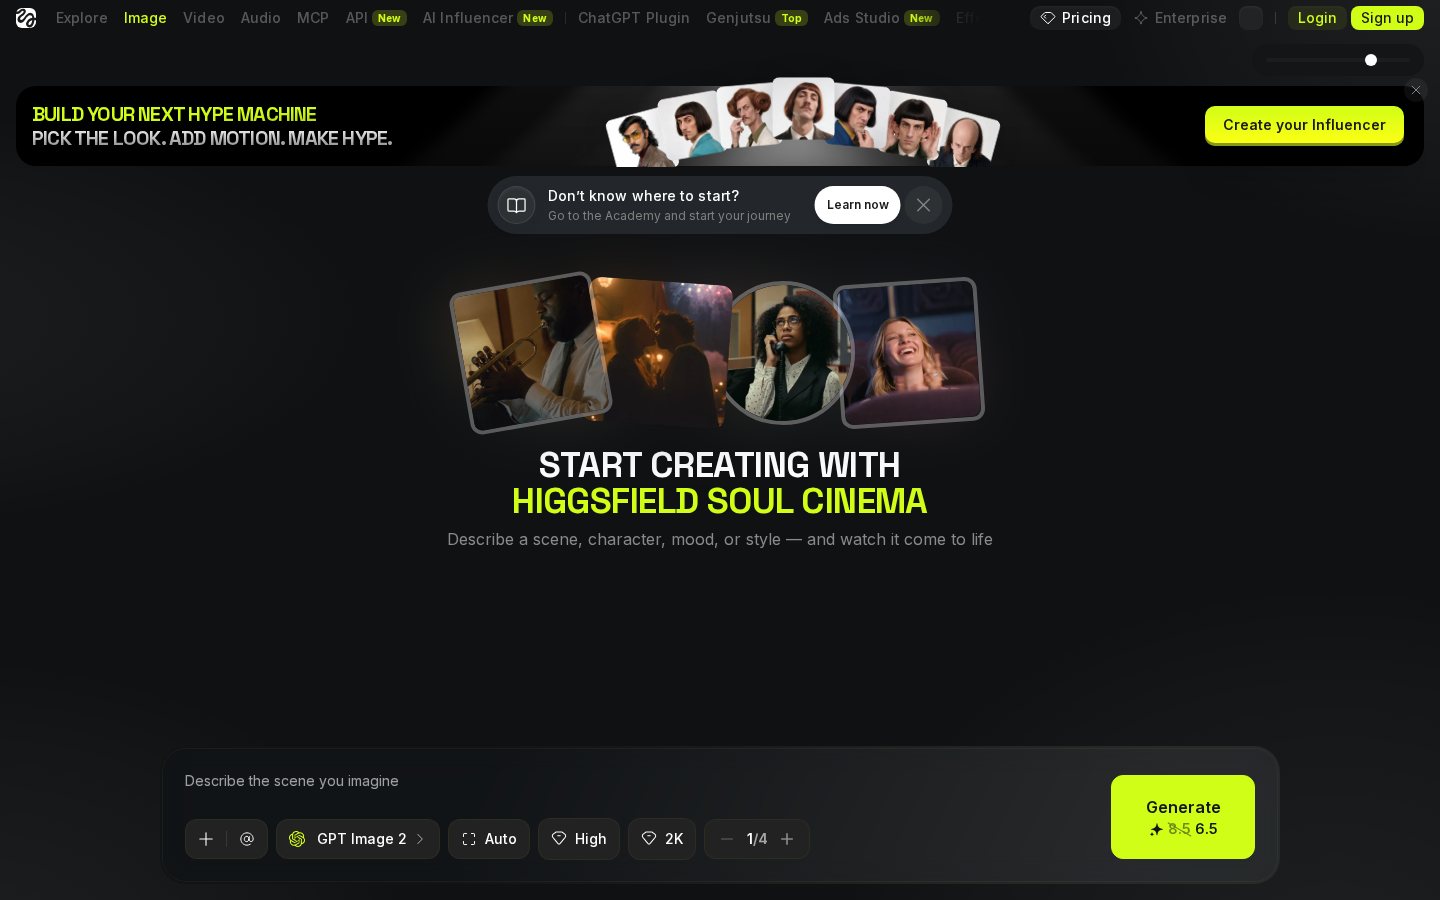
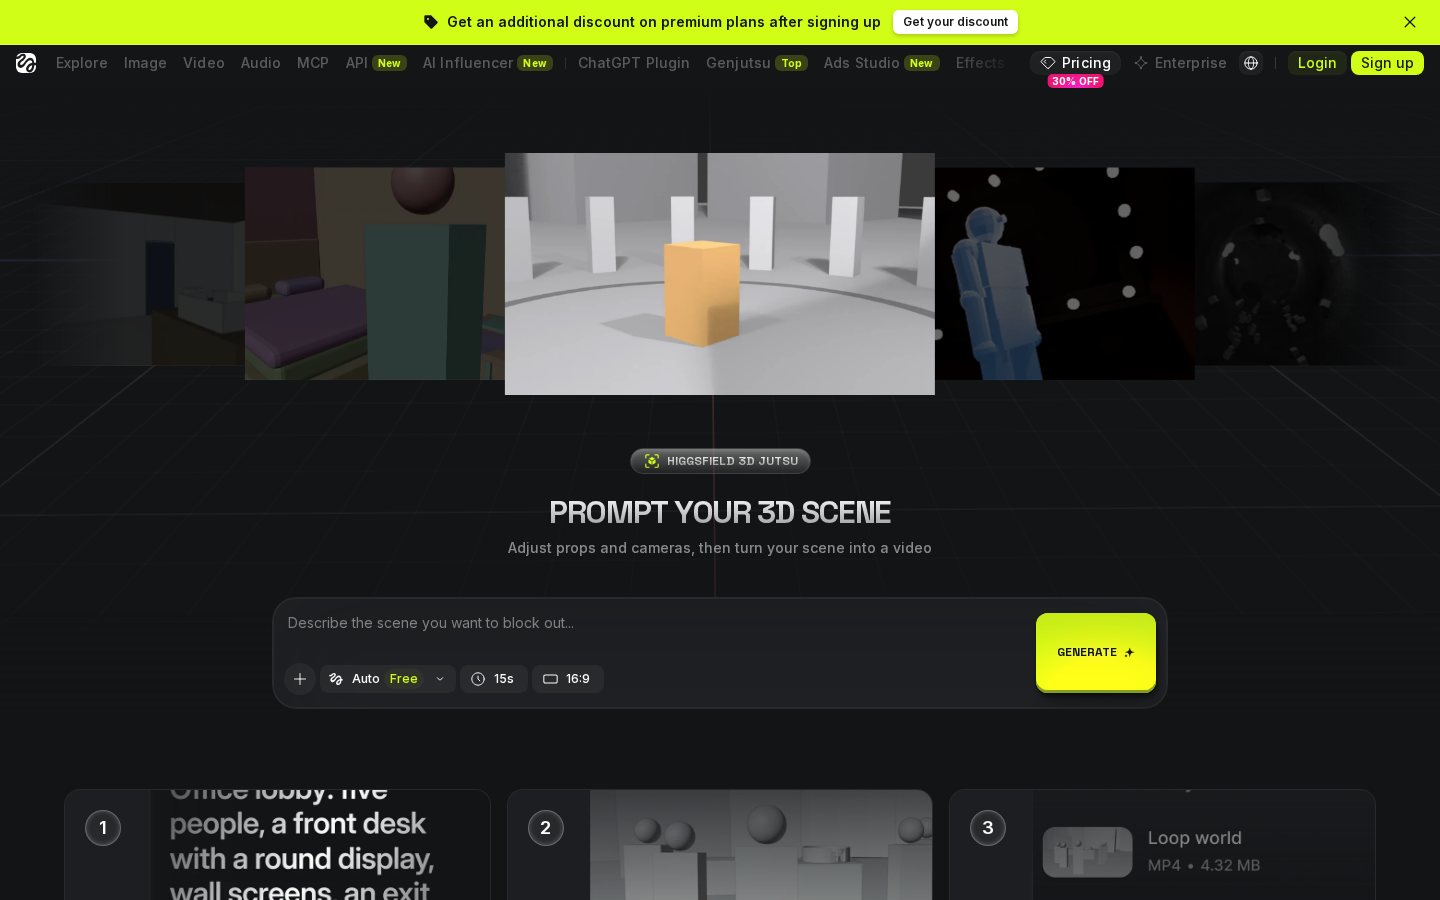
Some Higgsfield workflows include camera movement presets or a motion prompt. These controls serve different purposes: a camera preset describes how the viewpoint moves, while a prompt can describe subject action, atmosphere or pacing. Use only the controls available in the tool you have selected.
Keep instructions short and compatible with the source. Phrases such as “slow push-in,” “gentle pan” or “subtle hair movement” communicate one primary action without stacking several competing directions. Use one clear motion idea per generation when consistency matters. A request for simultaneous zooming, turning, running and background transformation gives the system more details to reconcile.
If the output feels too busy, simplify the prompt or select a less forceful camera movement. If the subject drifts out of frame, revise the crop to create space in the direction of travel. Compare successive outputs by looking at the opening frame, the peak of the effect and the final frame rather than judging only a single still.
Check Subject Consistency and Visual Artifacts
After generation, watch the whole clip at normal speed and then review difficult moments frame by frame. Look for changes to faces, hands, limbs, clothing edges, text, logos and background lines. These details can shift as an AI-generated sequence moves from one frame to the next. A dramatic preset may make those changes less obvious at first glance, so inspect the result before publishing it.
If the subject becomes unrecognizable, try a clearer source with fewer obstructions or choose a preset whose demonstrated action better matches the pose. If the background bends or flickers, simplify the source composition or crop out distracting details. Do not rely on a strong effect to hide continuity problems; rapid transitions can still expose distorted frames when viewers pause or replay the clip.
Also check whether the beginning and ending frames are useful for editing. You may need to trim unstable frames in a separate editor. Keep the original source file so you can compare it with each generated version and decide whether the transformation still serves the intended clip.
Handle Audio and Assemble the Final Short
A preset-generated clip may not preserve or create the audio you need, depending on the workflow. Plan the visual effect and soundtrack as separate parts unless the selected tool explicitly provides audio controls. Keep a copy of any original dialogue, music or ambient sound before processing the visual source.
Once the clip is generated, place it in a timeline editor and add the required audio there. Align dialogue with visible speech, trim the visual to the beat if appropriate, and use fades or cut points to avoid abrupt starts and endings. If lip movement changes during generation, the original spoken track may no longer match; in that case, use a different shot, shorten the transformed segment or place the effect over non-speaking footage.
Use generated effects as short visual moments within a larger edit rather than expecting one preset to complete the entire production. Captions, audio mixing and precise timing are generally easier to manage in a conventional editor after the visual generation is complete.
Review Format and Export the Short Clip
Before downloading the result, confirm that the composition fits the platform where you plan to publish it. Vertical 9:16 aspect ratio is common for short-form social video, but use the format required by your destination. Check that faces, captions and important objects remain inside safe areas and are not crowded against the edges.
Watch the exported clip outside the generator if possible. Confirm that the file opens correctly, motion plays smoothly and the beginning and ending frames do not contain unwanted transitions. If you plan to add captions, leave enough uncluttered space for them during the initial crop. Keep the uncaptioned generated file as a clean master so you can create different edits without repeating the generation.
Generation usage and export options can change, so rely on the settings and account information displayed in Higgsfield rather than assuming that every preview, variation or output uses the same resources. Our Higgsfield platform review provides additional context about the broader service.
Frequently asked
As an Amazon Associate I earn from qualifying purchases. This does not affect the price you pay. Affiliate disclosure