
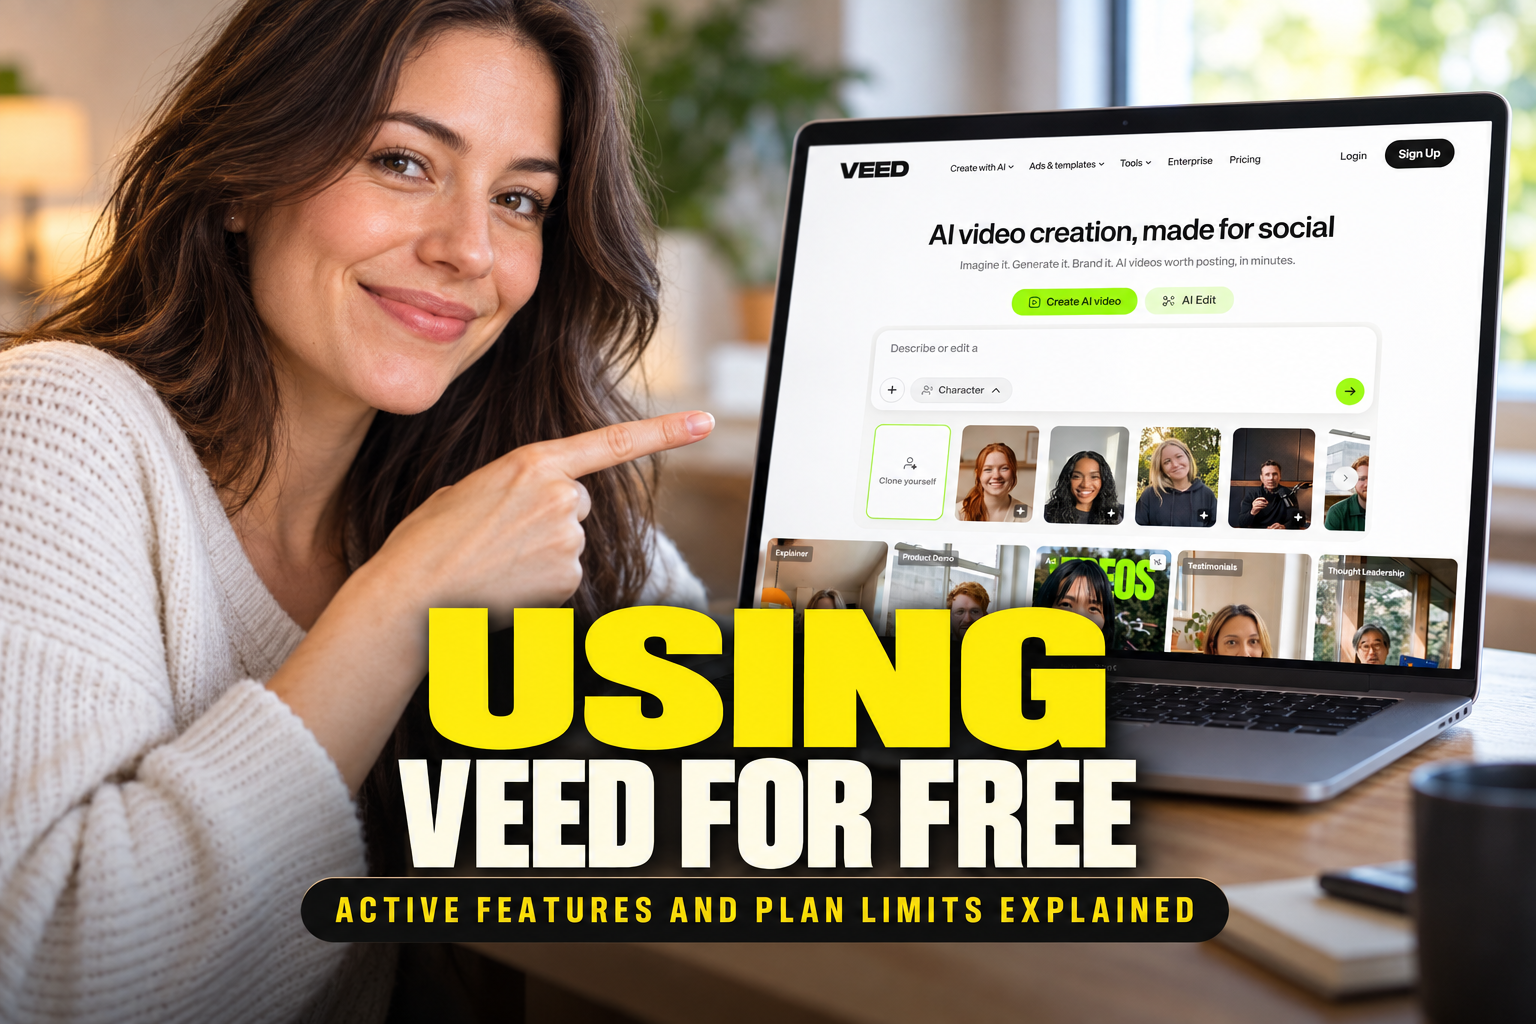
Using VEED for Free: Active Features and Plan Limits Explained
Produce social videos without paying by navigating the resolution caps, mandatory watermarks, and auto-caption restrictions on VEED's free video tier.
Some links are affiliate links: we may earn a commission if you sign up or buy through them, at no extra cost to you.
On this page8 sections
- 1The short answer
- 2Understanding the Free Plan Watermark and Resolution Caps
- 3Navigating the Subtitle Generator and AI Audio Constraints
- 4How to Edit and Export Your First Free Project
- 5Media Library Storage and Asset Restrictions
- 6Comparing Free Editing Against Paid Upgrades
- 7Which Option Fits Your Video Workflow?
- 8Frequently asked
The short answer
- Free exports carry a permanent watermark and are restricted to a maximum resolution of 720p.
- Automated subtitle generation is available but capped at a very low monthly duration limit.
- Project storage is restricted to two gigabytes, making the free tier best for short-term testing.
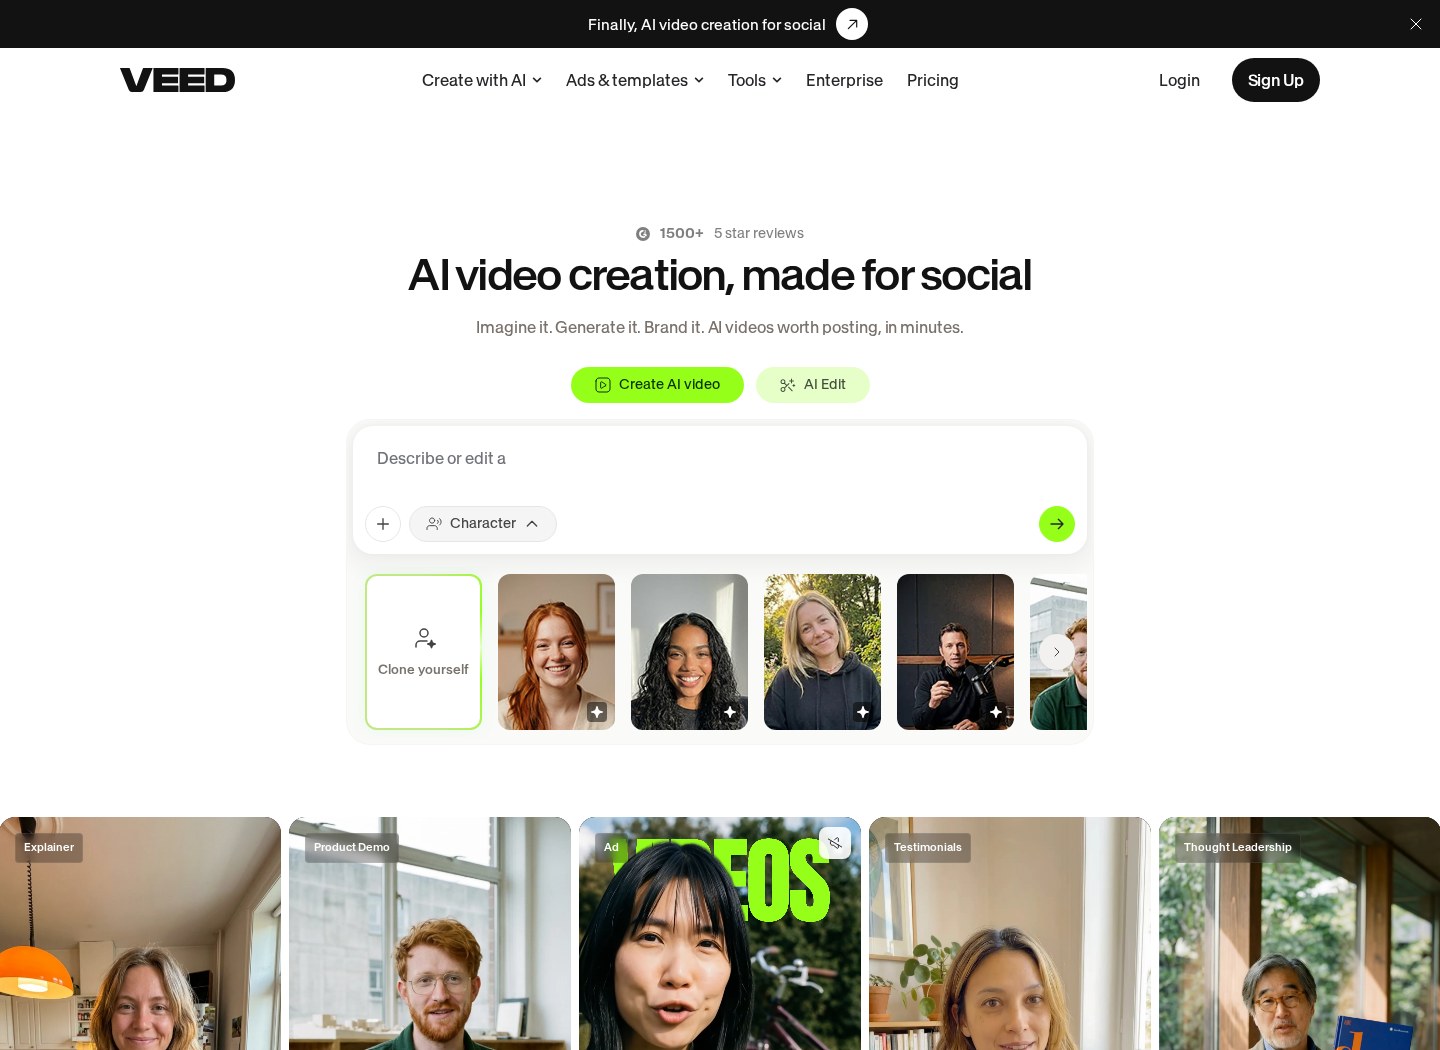
Yes, VEED offers a forever free plan that lets you use its core editing tools. However, every video you export on this tier will carry a visible watermark and is restricted to lower resolutions.
This tier serves as a functional starting ground for hobbyists or creators wanting to test the browser-based timeline editor before committing to a paid subscription. You can upload files, arrange clips, and utilize some of the platform's automated tools without entering a credit card.
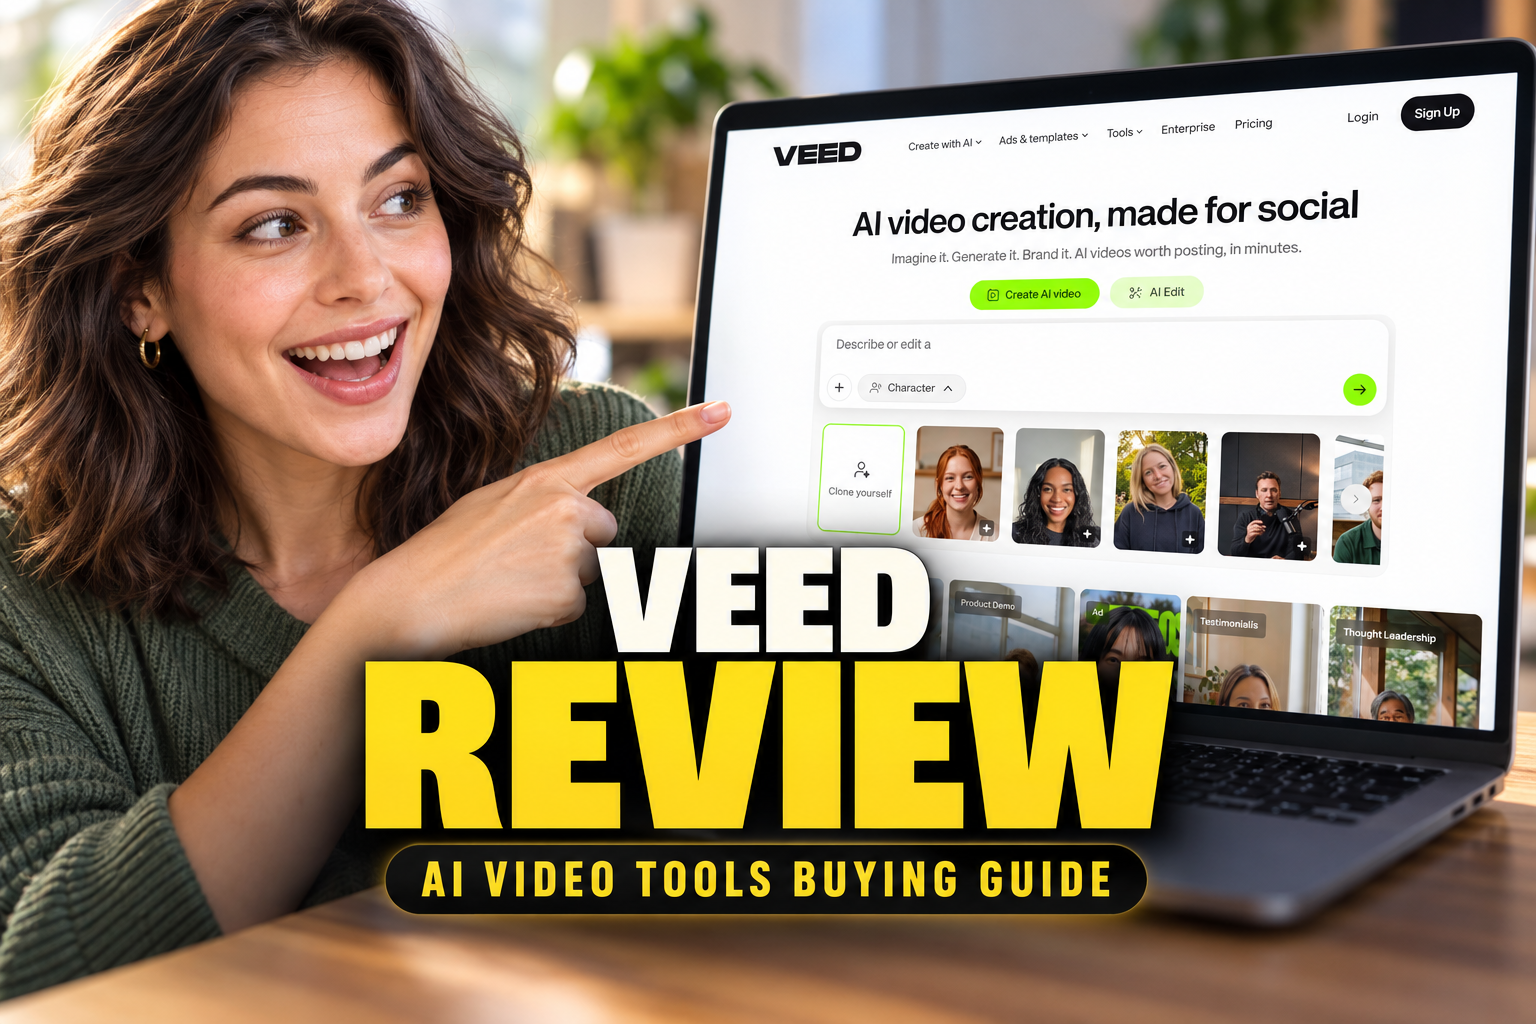
But before you spend hours trimming and refining your next project, you need to understand where the free boundaries lie. The restrictions on export quality, captioning minutes, and storage will quickly dictate whether you can stay on this tier or if you need to consider an upgrade. Our detailed VEED review can help you decide if the premium version fits your creative workflow.
Watch it in action
The quick version
- Upload your source files into the
- Arrange your clips on the timeline
- Open the subtitle menu and generate
- Customize the look of your captions
- Click the export button on the
Understanding the Free Plan Watermark and Resolution Caps
When you complete a project on the free tier, the export screen presents a few immediate boundaries that distinguish it from paid plans. The most visible of these is the permanent brand logo stamped onto the top corner of your finished project. This overlay remains on the video throughout its entire duration, which can make the output look unprofessional if you intend to send it to clients or use it for commercial brand campaigns.
Additionally, the system restricts your output quality to a maximum of 720p resolution. While 720p qualifies as high-definition video, it looks noticeably softer than the standard 1080p or 4K options when viewed on modern mobile screens or desktop monitors. This restricted to 720p quality cap is hardcoded into the free rendering engine, meaning you cannot bypass it without upgrading your workspace. If your viewers demand crisp, high-resolution visuals, this limitation will quickly become an obstacle.
Navigating the Subtitle Generator and AI Audio Constraints
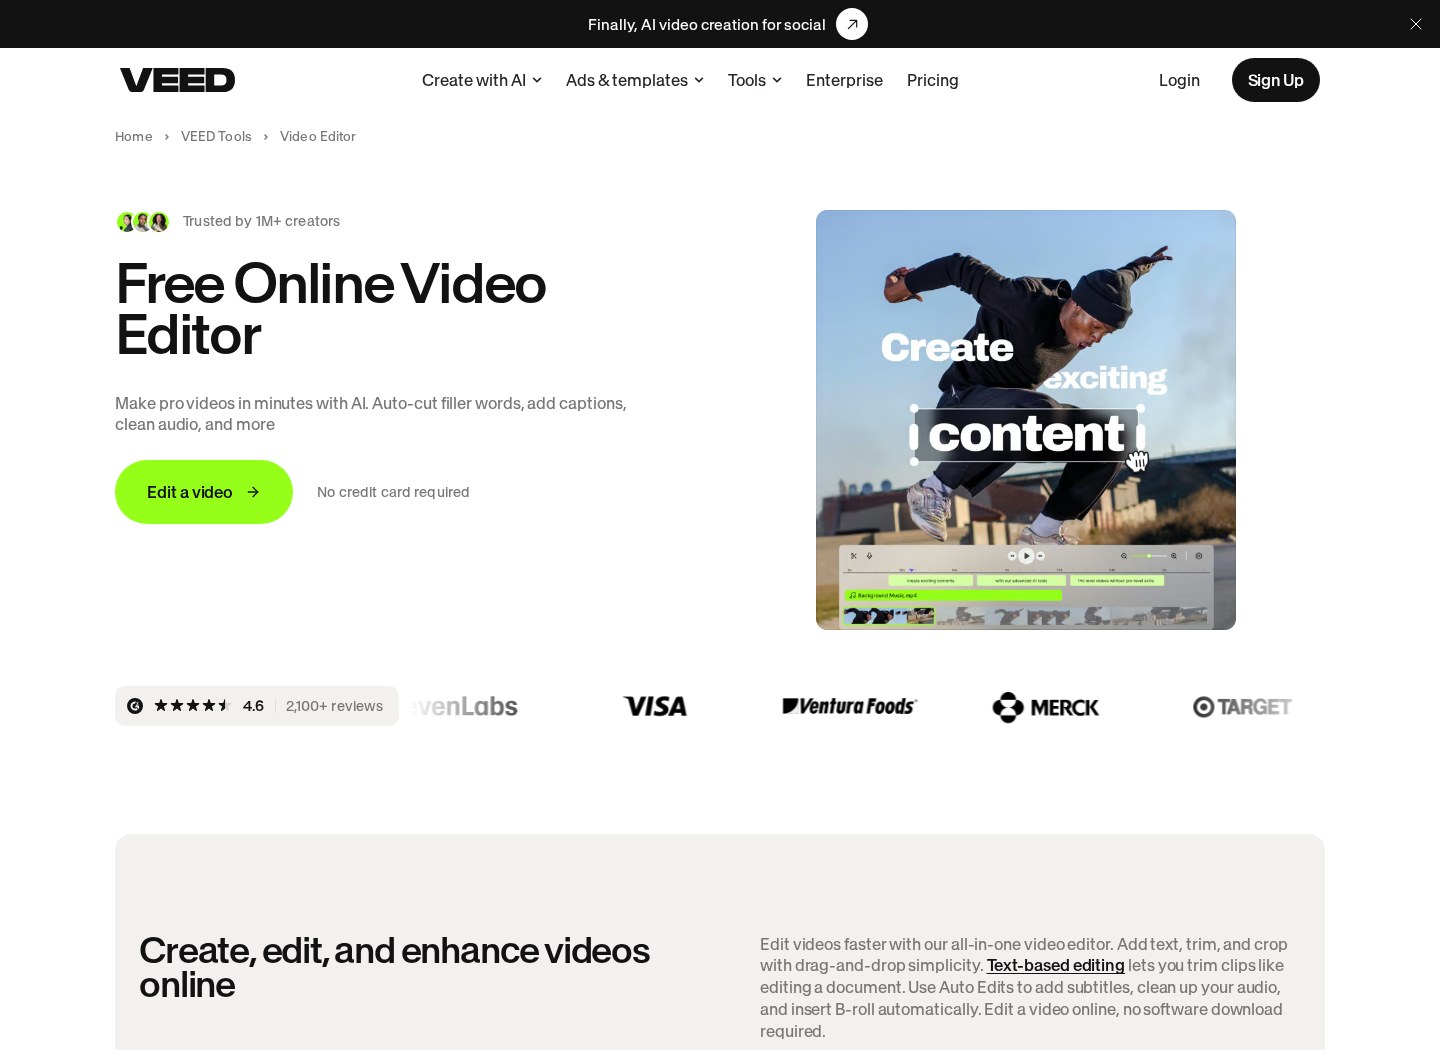
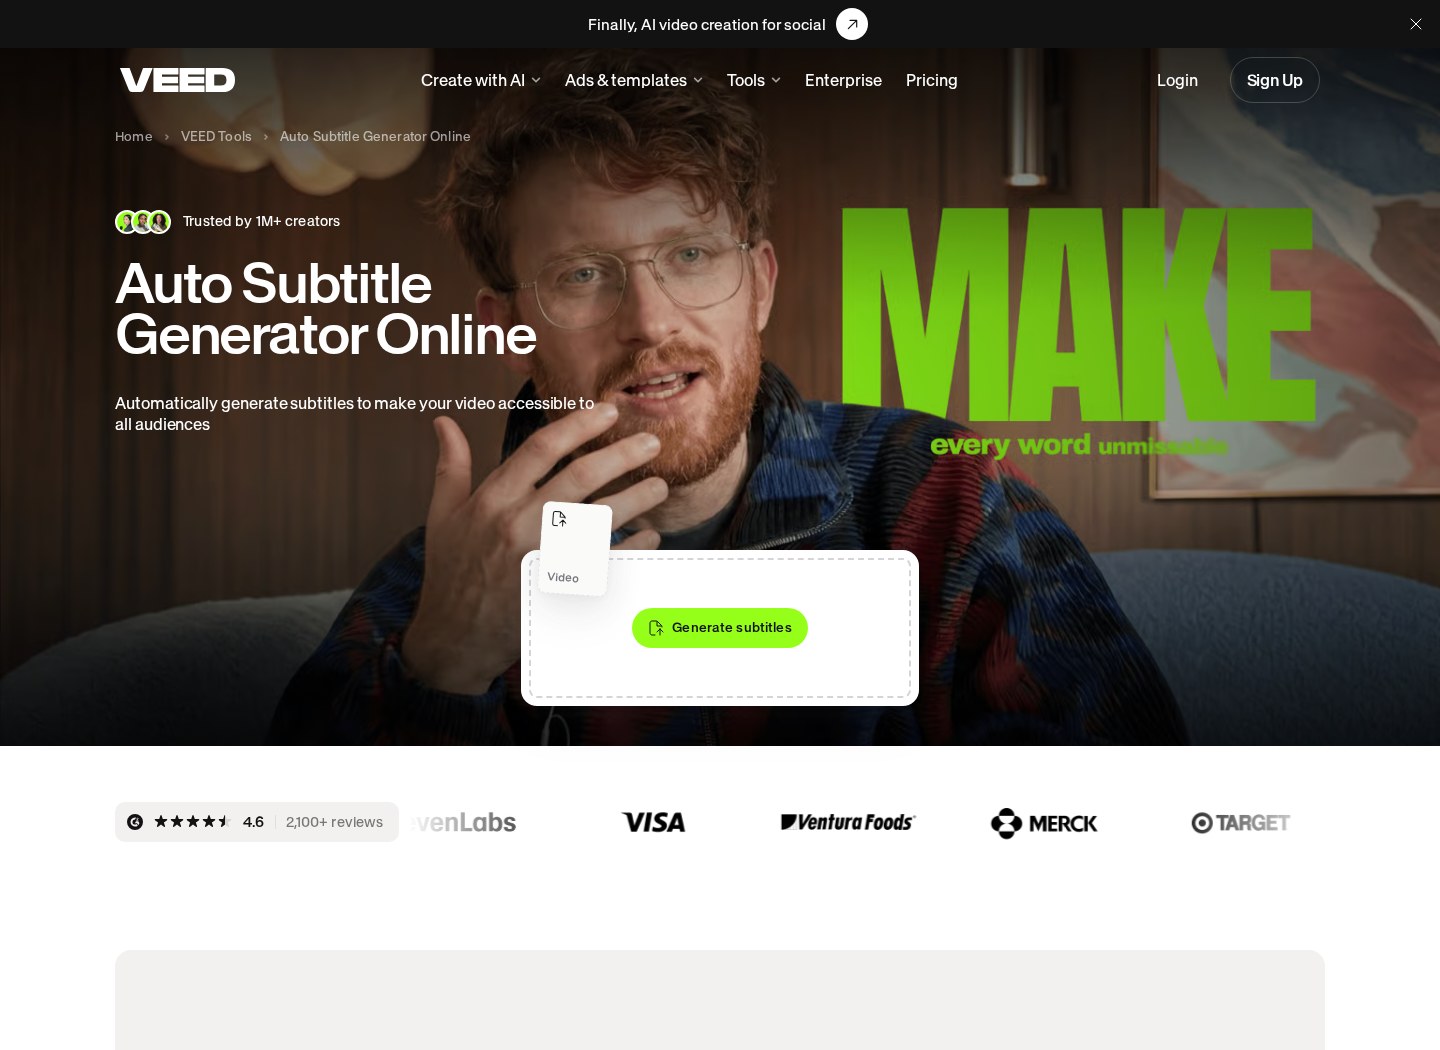
Automated captioning is one of the editor's most popular features, but the free account strictly limits how often you can use it. The platform uses advanced automatic speech recognition to translate voice tracks into on-screen text, which normally saves hours of manual typing. However, free users are bound by a highly restrictive monthly subtitle allowance that only covers a few minutes of audio processing.
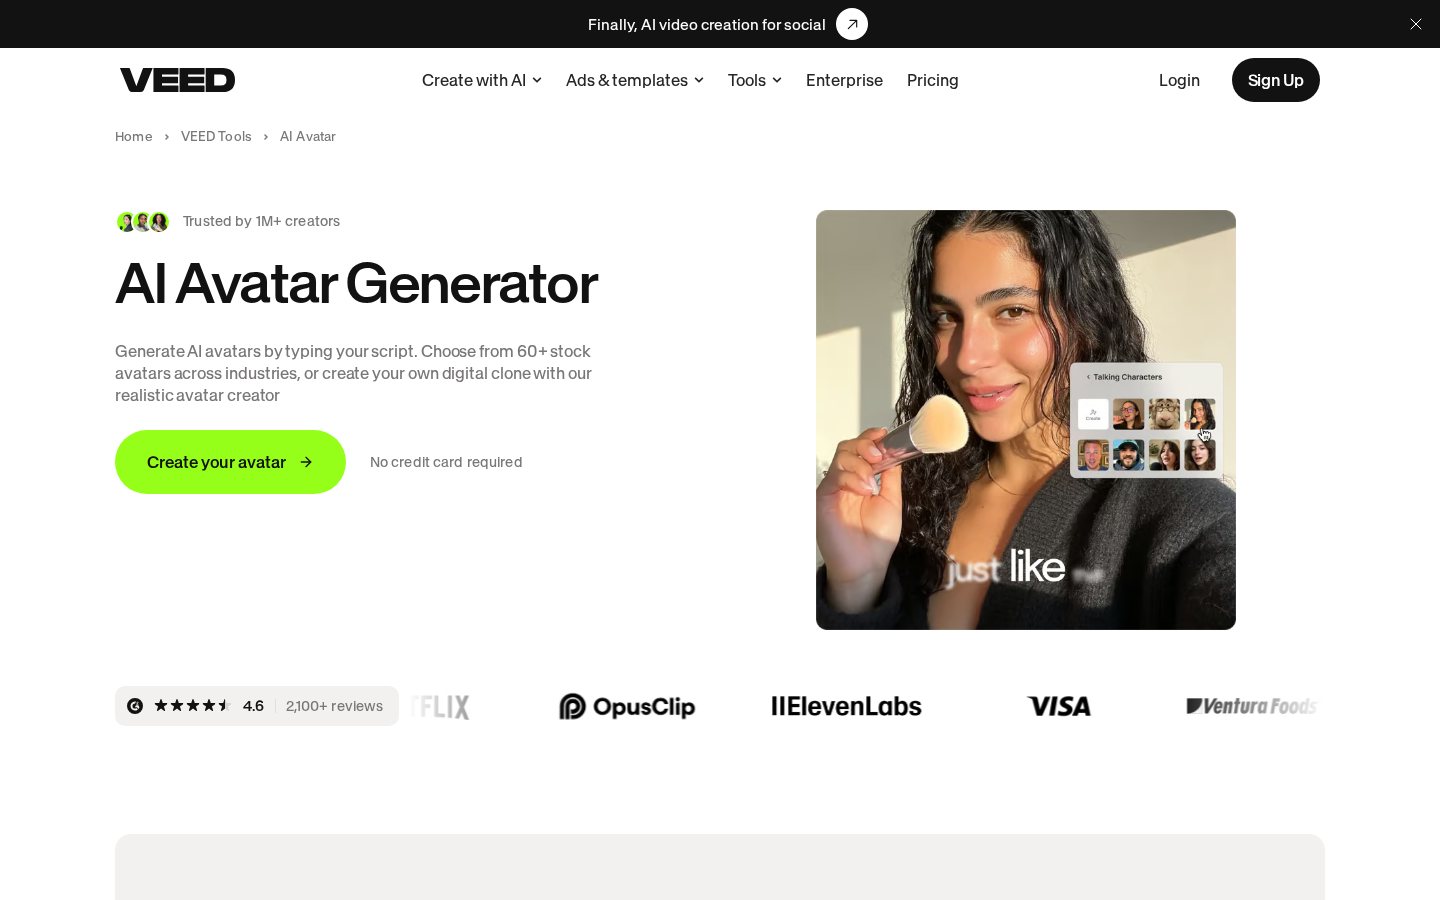
Once you exhaust this small monthly quota, the automated subtitle tool locks you out until the next billing cycle begins. You will still have access to the manual subtitle editor, but typing out every word frame-by-frame is tedious. Furthermore, advanced features like automatic translation into other languages are completely grayed out on the free interface. Audio options are similarly limited, as the text-to-speech voice generator and premium sound effects catalog are reserved for paying subscribers.
How to Edit and Export Your First Free Project
Navigating the free tier successfully requires working within its processing and storage guardrails. If you structure your project carefully, you can produce a usable video without running into errors or unexpected upgrade prompts.
Follow these steps to complete your project within the free parameters:
- Upload your source files into the media library tab. Keep your total upload sizes small to avoid clogging your workspace storage space.
- Arrange your clips on the timeline track editor. Use the trim tool to cut out unwanted footage and bring the final project length well under the ten-minute limit.
- Open the subtitle menu and generate automated captions. Double-check your spelling on the timeline to ensure you do not have to regenerate the track and waste credits.
- Customize the look of your captions using basic text styles. Avoid selecting premium animations or specialized fonts that trigger a checkout screen.
- Click the export button on the top panel and select the standard rendering option. Wait for the cloud-based rendering process to complete, then download your finished watermarked file.
Media Library Storage and Asset Restrictions
Your workspace storage capacity dictates how many active projects you can maintain at one time. On the free account, you are restricted to a two-gigabyte storage ceiling in the cloud. Because raw high-definition video files are notoriously large, uploading just two or three raw smartphone clips can completely exhaust your available room.
When your storage fills up, you will be unable to add new files until you delete older assets or upgrade your account. This limitation makes the free version difficult to use for long-term archiving or complex projects with multiple takes. Additionally, the asset library is heavily restricted; while you can browse the stock video and audio tabs, clicking on a premium asset will place a lock overlay on your timeline. To see if the full media catalog is worth the upgrade for your creative projects, read our comprehensive VEED review.
Comparing Free Editing Against Paid Upgrades
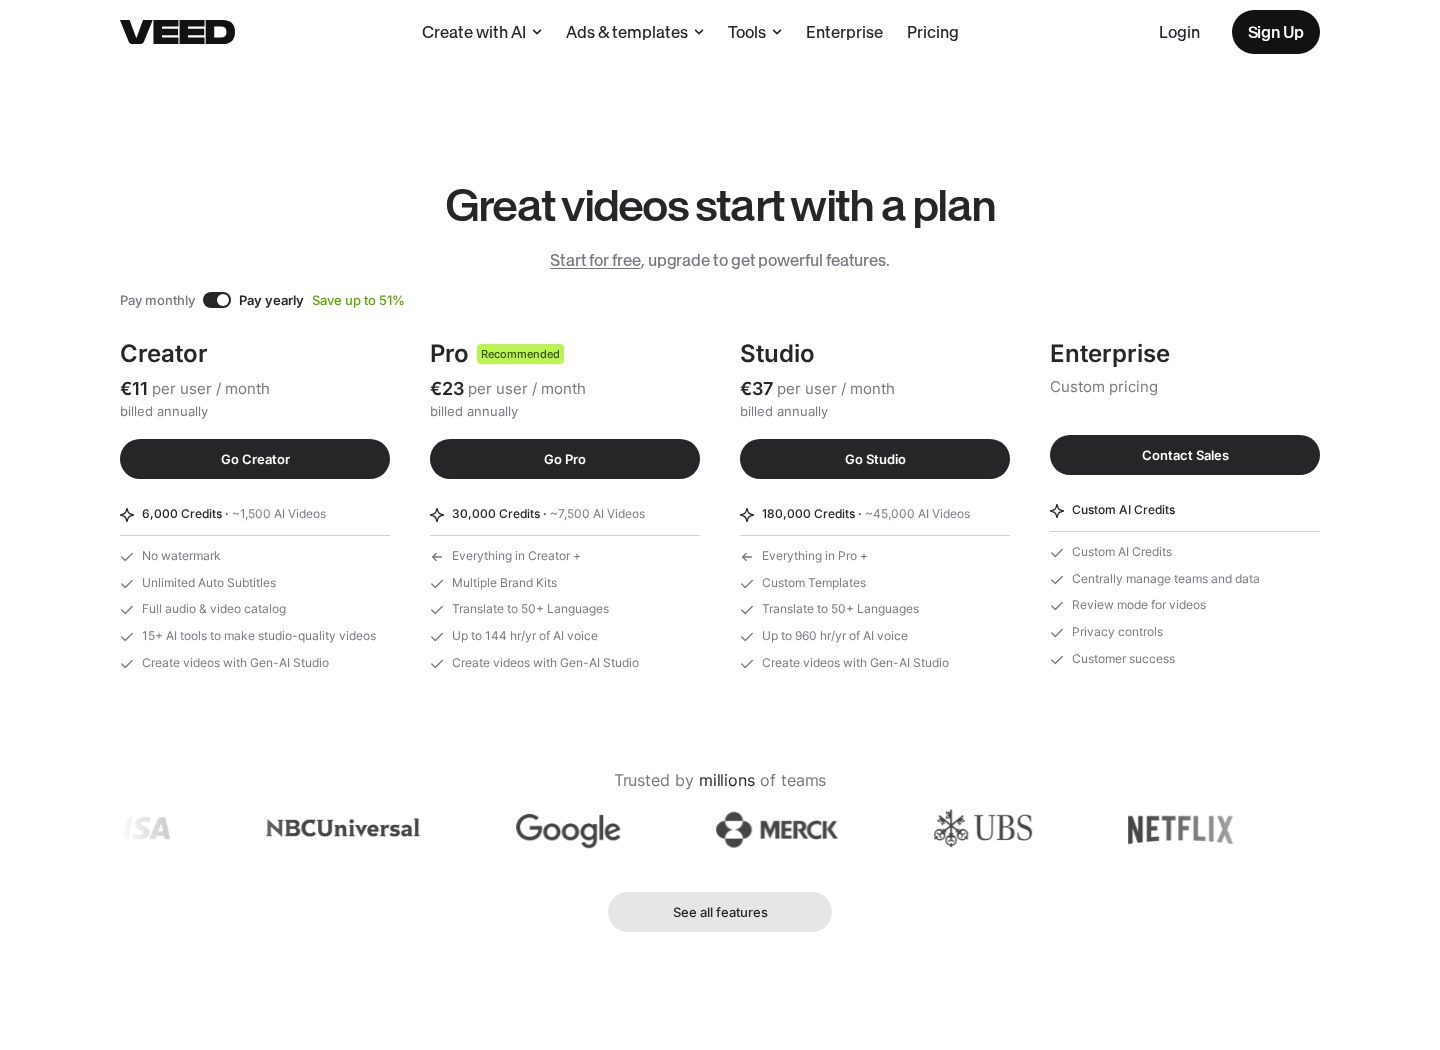
Understanding the exact operational differences between the tiers helps you determine whether staying on the free tier is realistic for your business. The platform maintains a clear division between basic accessibility and premium productivity features across its interface.
The primary differences between the free account and the paid upgrades include:
- Watermark Presence: The free tier always features the company logo in the corner, while all premium plans generate clean, professional exports.
- Video Resolution: Free users are capped at standard 720p resolution, whereas paying members can export in full 1080p and 4K configurations.
- Subtitle Limits: Free gives you a nominal monthly auto-caption allowance, while upgraded tiers enable hours of automatic transcription and translation.
- Asset Library Access: Free editors can only utilize a small selection of basic media, while paid packages provide access to millions of royalty-free stock assets.
- Workspace Collaboration: The free plan is designed for individual users, whereas paid plans offer shared folders, team comments, and collaborative editing lanes.
Which Option Fits Your Video Workflow?
Deciding whether to utilize the free tier or invest in a premium subscription depends entirely on your target audience and production frequency. The free editor serves as an excellent sandbox to learn the layout, test the timeline tools, and experiment with quick social media posts that do not require professional branding. If you are a student, a casual hobbyist, or simply testing the interface, the free version provides plenty of utility without any financial commitment.
However, if you produce content for clients, manage a business channel, or rely heavily on automated captions for long-form content, the free limitations will quickly slow down your production speed. The watermark alone makes it difficult to present the work as your own, and the low resolution will not stand out on modern screens. For these professional scenarios, moving to a paid tier is almost a necessity. You can explore our VEED review to see how it performs relative to other modern editing platforms before making your choice.
Frequently asked
As an Amazon Associate I earn from qualifying purchases. This does not affect the price you pay. Affiliate disclosure