
Is Submagic Worth Buying? 2026 AI Video Editor Review
Evaluate if Submagic's AI-driven captioning, automated B-roll, and audio features justify a subscription for your short-form video workflow.
Some links are affiliate links: we may earn a commission if you sign up or buy through them, at no extra cost to you.
On this page8 sections
- 1The short answer
- 2The Upload and Auto-Transcription Interface
- 3How to Edit Animated Captions Step-by-Step
- 4The Auto-B-Roll and Zoom Transition Editor
- 5Sound Effects and Audio Enhancement Tools
- 6Exporting and Social Media Publishing Controls
- 7Which Captioning Tool Fits Your Creative Workflow?
- 8Frequently asked
The short answer
- Submagic automates transcription, kinetic captions, and B-roll placement to save production time.
- The cloud-based interface eliminates the need for high-end local computer hardware.
- It excels for short-form social creators but lacks advanced multi-track tools.

Submagic is worth buying if you need to rapidly create stylized, animated captions and automated B-roll for short-form social media videos. However, if your projects require multi-track timeline editing or precise manual color grading, traditional video software remains a more practical investment.
Deciding whether to subscribe depends heavily on how much value you place on processing speed versus creative control. Many creators struggle to balance the tedious task of subtitle timing with the demand for consistent content delivery. This platform attempts to bridge that gap by automating the heavy lifting.
If you want to understand if this browser-based tool fits your specific workflow, exploring its individual interfaces is the best place to start. Let's look at how automated short-form video editors function from raw file upload to final export. For a deeper look at overall capabilities, check out our comprehensive Submagic Review.
The quick version
- Choose a caption style template from
- Select your primary and secondary brand
- Adjust the font size and text
- Customize the maximum number of words
- Highlight specific words to apply custom
- Toggle the auto-emoji feature on or
The Upload and Auto-Transcription Interface
When you open the platform, the dashboard presents a clean drag-and-drop upload zone. Users import vertical or horizontal raw video files directly from their local drives or cloud storage. This step requires you to choose the primary spoken language of your audio track from a dropdown menu. Accurate language selection ensures the speech-to-text algorithm processes your dialogue with minimal spelling errors.
Once the upload completes, the browser-based software initiates its transcription engine. This tool processes the audio to generate synchronized timestamped text blocks. Instead of manually typing out every word, you receive an interactive script on the side of your preview screen. This layout allows you to spot check the words as the draft video plays back in real-time.
Correcting misspellings or adjusting capitalization is straightforward in this view. You simply click on any word in the generated transcript to type corrections directly. The program automatically updates the timing of the words to keep everything in sync with the speech. This interface is built specifically for speed, helping users bypass the traditional hassle of manual caption timing.
How to Edit Animated Captions Step-by-Step
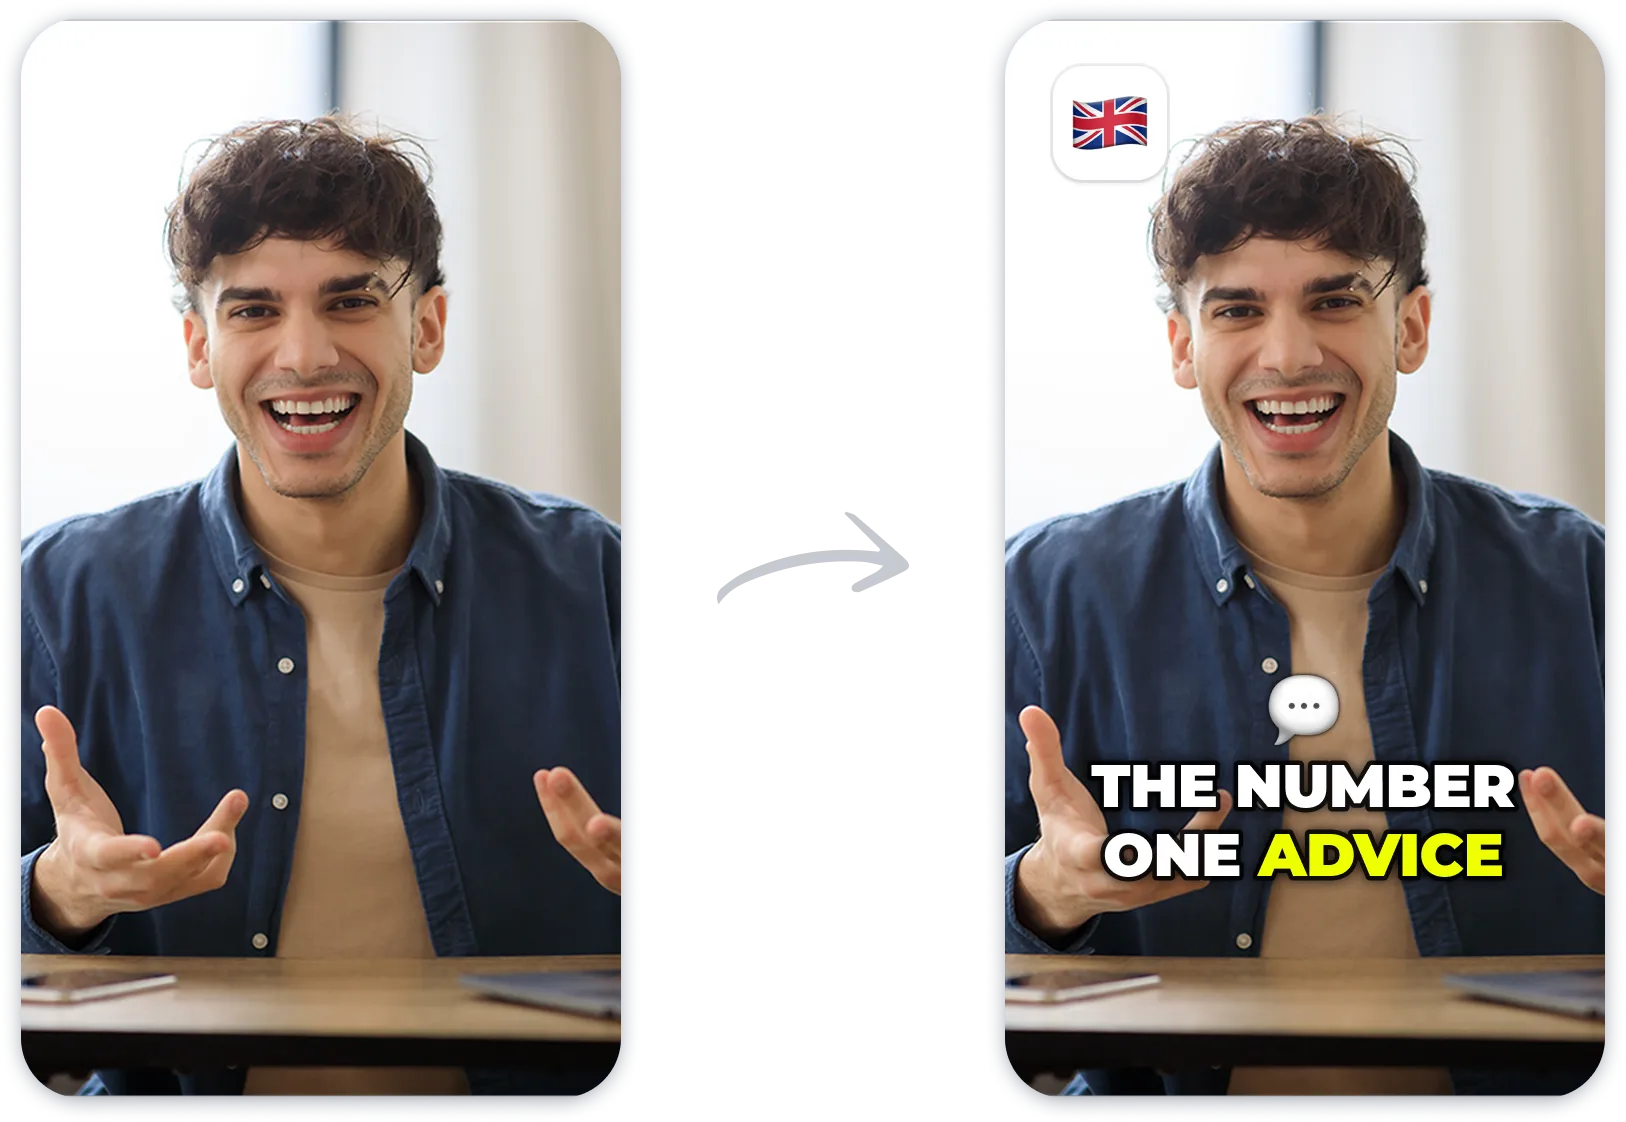
After transcription, the platform transitions to the style library where you customize the visual appearance of your subtitles. Creators often use kinetic typography to keep viewers engaged throughout a short clip. Here, you select templates that match the popular visual styles of mainstream online influencers.
- Choose a caption style template from the sidebar. This selection applies preset fonts, animations, and color schemes to your text instantly.
- Select your primary and secondary brand colors. These shades will highlight important keywords to make your captions pop visually.
- Adjust the font size and text position using the slider controls. Moving these settings ensures your captions do not block vital visual elements in your video frame.
- Customize the maximum number of words shown per line. Keeping the word count low forces faster, snappier animations that hold viewer interest.
- Highlight specific words to apply custom emojis or alternative colors. This manual override adds emphasis to critical phrases or punchlines in your script.
- Toggle the auto-emoji feature on or off. The system will automatically detect key nouns and insert relevant graphic icons above your text.
The caption editor interface simplifies what used to take hours in complex desktop software. Users do not have to keyframe individual letters or manually anchor graphics to moving text. Instead, the automated system handles the placement and tracking, letting you focus entirely on the overall presentation. If you want to compare how this process aligns with other editing suites, refer to our Submagic Review.
The Auto-B-Roll and Zoom Transition Editor
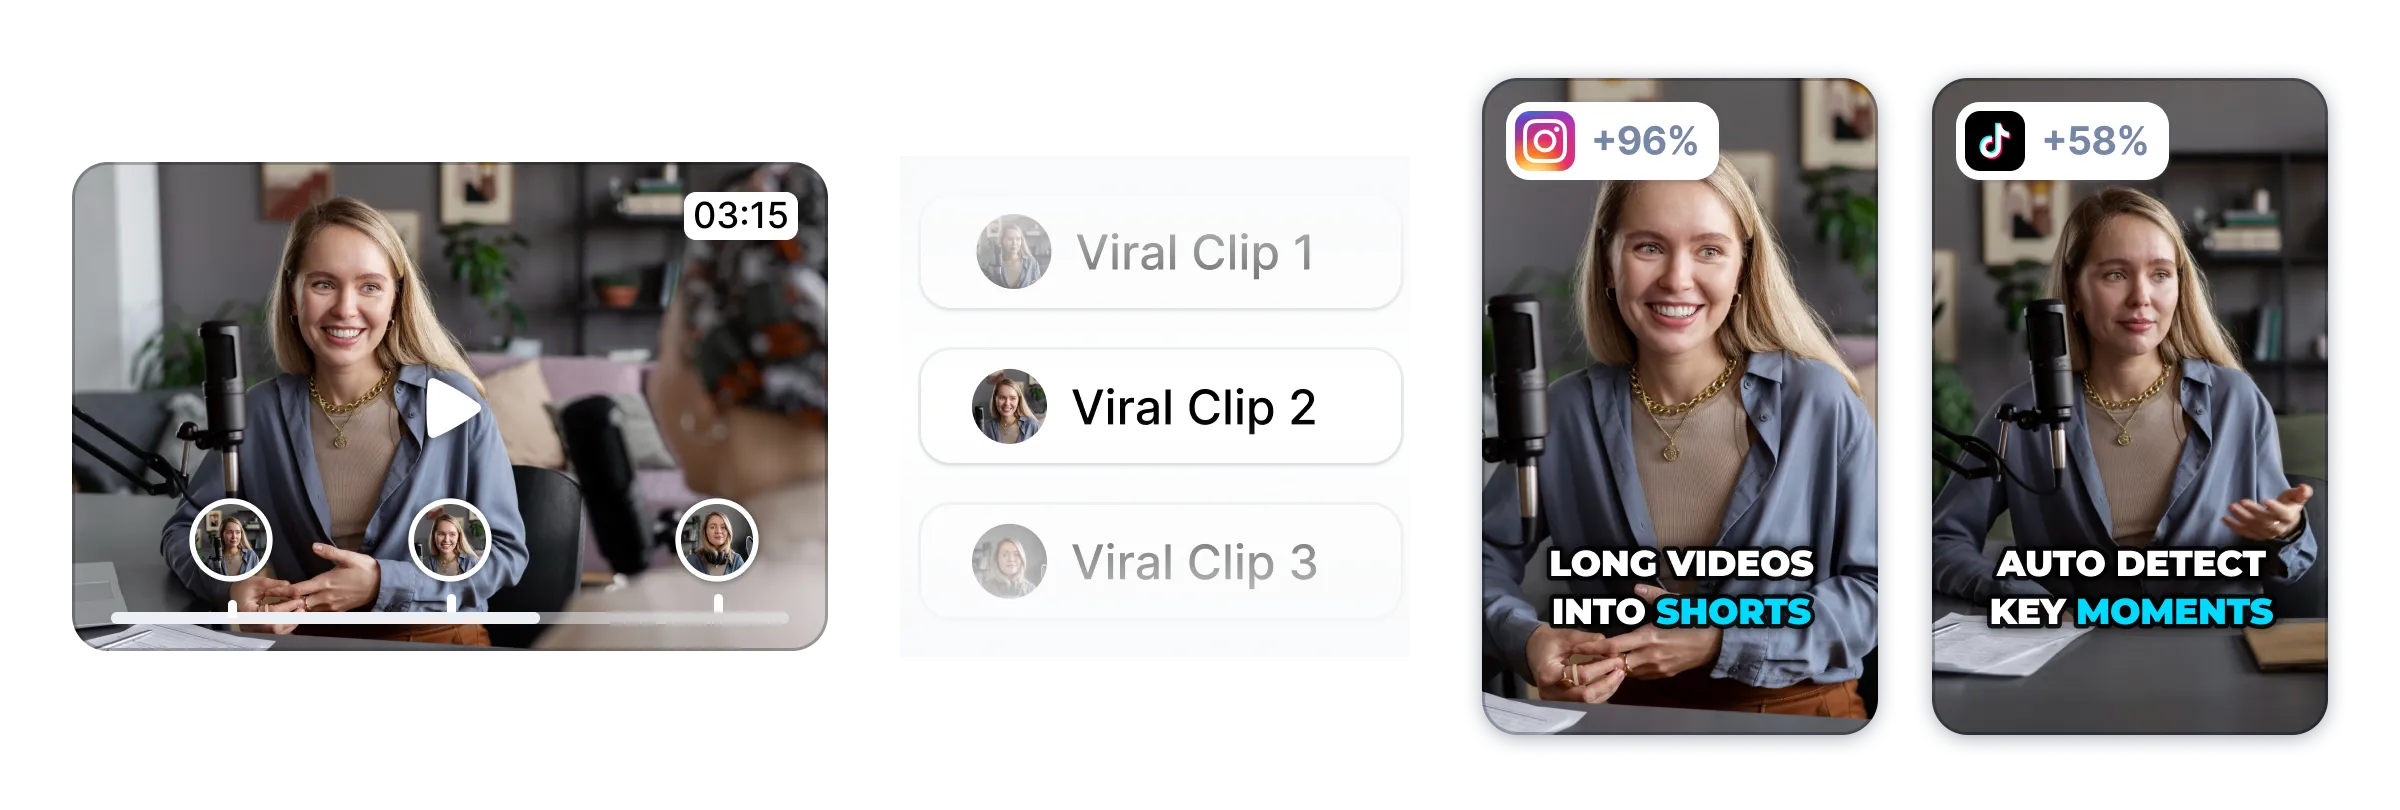
Beyond subtitles, adding visual variety is crucial to prevent viewers from scrolling away. The automated B-roll generation feature analyzes your transcribed text to understand the context of your spoken words. The system then automatically searches royalty-free media libraries to suggest relevant stock footage overlays. These clips are placed directly onto your timeline, matching the timing of your spoken sentences.
If the suggested footage does not fit your vision, you can change it via the media tab. The platform displays a search bar where you can type keywords to find alternative stock videos or animated graphics. Replacing a clip is as simple as clicking a thumbnail, which immediately replaces the AI-suggested visual on your active editing track.
To maintain a fast-paced rhythm, the software includes automated zoom transitions. The system identifies natural pauses or transition points in your speech and applies subtle push-in or pull-out camera movements. These virtual camera adjustments help break up static, talking-head footage without requiring you to manually scale or keyframe your video clips.
Sound Effects and Audio Enhancement Tools
An engaging video relies heavily on clear audio and crisp sound effects. When you enter the audio editor panel, you can choose to apply automatic background noise removal. This algorithm filters out low-frequency hums or air conditioning drafts from your raw recording, making your voice sound clearer.
To complement your spoken content, the software offers a curated library of background music tracks and sound effects. You can enable auto-ducking, which automatically lowers the music volume whenever the system detects active speech. This feature prevents your background track from overpowering your dialogue, keeping your audio balanced throughout the video.
Additionally, you can configure the editor to automatically trigger sound effects when subtitles or emojis appear. Subtle whooshes, pops, or chime sounds are synchronized with the typography to emphasize visual transitions. These auditory cues are crucial for retaining viewer attention on highly competitive social feeds.
Which Captioning Tool Fits Your Creative Workflow?
When deciding if this software is worth the subscription cost, you must weigh its specialized automation against your broader editing needs. This tool is built specifically to convert raw footage into viral clips with minimal manual effort. If your primary goal is to speed up your editing workflow for daily short-form uploads, its automated suite provides immense value.
However, traditional video editors are better suited for long-form content, narrative films, or complex commercial work. Those platform alternatives offer deep color grading tools, multi-track audio mixing, and precise control over visual effects that simple browser-based tools cannot replicate. Creators who prefer total manual oversight over every single frame may find automated templates limiting.
Ultimately, the choice comes down to your production volume and style. If you upload daily and want to generate highly engaging captions without spending hours on timing, this platform is an excellent fit. For more detailed insights into the pricing tiers and feature comparisons, see our in-depth Submagic Review.
Frequently asked
As an Amazon Associate I earn from qualifying purchases. This does not affect the price you pay. Affiliate disclosure