
What to Know Before Buying Submagic: Review Guide
Before buying Submagic, assess its short-form focus, caption workflow, automated B-roll, editing limits, export needs, and required manual review.

Some links are affiliate links: we may earn a commission if you sign up or buy through them, at no extra cost to you.
On this page9 sections
- 1The short answer
- 2What Should You Know Before Buying Submagic?
- 3The Core Workflow: Uploading and Auto-Transcription
- 4Choosing Kinetic Caption Styles and Customization
- 5Auto B-Roll, Zoom Cuts, and Sound Effects
- 6Comparing Submagic With Traditional Video Editors
- 7A Practical Test Workflow Before You Subscribe
- 8Check Plan Limits, Exports, and Team Needs
- 9Frequently asked
The short answer
- Submagic is optimized for vertical videos, captions, and automated secondary media overlays.
- It cannot replace a comprehensive, multi-track desktop editing suite for advanced timeline control.
- Manual editing is still required to correct AI spelling errors and misplaced stock footage.

Before buying Submagic, know that it is a specialized short-form video editor for automated captions, B-roll suggestions, and zoom cuts—not a full multi-track desktop editor. A useful Submagic review should examine your video format, publishing volume, need for manual corrections, export requirements, and preference for speed versus detailed creative control.
It focuses on preparing vertical videos for platforms such as TikTok, Instagram Reels, and YouTube Shorts. Your buying decision should therefore hinge on your platform focus and content volume. The workflow is most relevant to raw talking-head footage, but it is not intended to replace professional desktop editors for complex narrative, multi-camera, or landscape filmmaking.
Understanding the interface limits, export parameters, and manual refinement required after the artificial intelligence completes its first pass is crucial before subscribing. This guide explains what to check and points to our full Submagic review and buying guide for a closer assessment.
The quick version
- Upload a representative video and choose
- Correct transcription and timing errors before
- Apply a caption template, then adjust
- Inspect each automated B-roll insert and
- Listen through the full clip for
- Export a sample and inspect it
What Should You Know Before Buying Submagic?
Start by deciding whether your work matches Submagic’s central use case: converting spoken, short-form footage into edited social clips through a text-based editing workflow. Its appeal rests on reducing repetitive caption styling, B-roll selection, zoom placement, and sound-effect work. That specialization is also its main limitation. Editors who need layered timelines, detailed color work, multi-camera synchronization, intricate transitions, or fine audio control may still need traditional editing software.
Before choosing it, list the steps that currently consume the most time in your workflow. If caption creation and social-video formatting are the bottlenecks, Submagic’s approach may be relevant. If your work depends on extensive manual compositing or precise frame-level control, automation may save less time. The key buying question is not whether the editor has many AI features, but whether those features replace tasks you repeatedly perform. Read the Submagic review for a fuller workflow assessment before deciding.
The Core Workflow: Uploading and Auto-Transcription
When you first log into the platform, the primary dashboard presents a straightforward drag-and-drop upload interface. You are prompted to select your raw video file from your computer and choose the primary language spoken in the clip. This step is crucial because the automated speech-to-text engine immediately begins analyzing your audio to generate the initial transcript. Selecting the correct available language or dialect can help the transcript reflect the recording more closely.
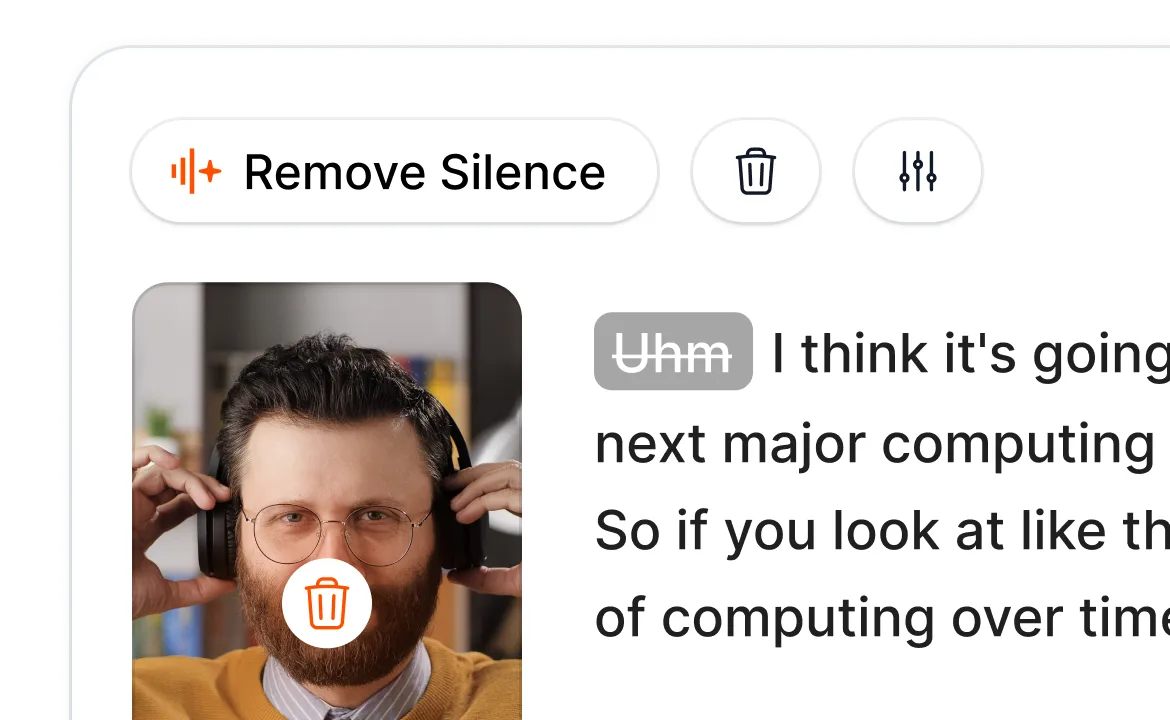
The transcription screen displays a split-screen view, showing your video preview and an interactive text editor. You should expect to review the transcript rather than assume the first pass is final. Specialized industry jargon, brand names, names of people, acronyms, and colloquial speech can require manual correction. Clicking words in the text panel lets you revise the transcript while checking it against playback.
Treat transcript correction as the first quality-control stage. Fixing words before applying caption styles can prevent errors from appearing repeatedly throughout the finished clip. Audio clarity, overlapping speakers, background noise, and pronunciation can all affect automated transcription tools, so test representative footage rather than relying on a simple sample.

Choosing Kinetic Caption Styles and Customization
Once the transcription is processed, the styling controls determine how captions appear. Submagic provides templates that use kinetic typography to emphasize speech through color, movement, emoji additions, and size shifts. Users can adjust visual elements such as colors, fonts, placement, and the amount of text shown at once, subject to the controls available in their plan and interface.
Text positioning matters because TikTok, Instagram Reels, and YouTube Shorts place interface elements over parts of vertical video. Captions that look clear in an editor can be obscured by buttons, descriptions, or profile information after publication. Preview placement with each destination platform’s interface in mind, rather than relying on a single position for every channel.
The number of words displayed per caption also changes the viewing experience. Short groups can create a fast rhythm but may feel visually busy. Longer phrases can be easier to read but may cover more of the picture. Review font size, contrast, line breaks, emphasis colors, and timing on a phone-sized display before treating a preset as production-ready.
Auto B-Roll, Zoom Cuts, and Sound Effects
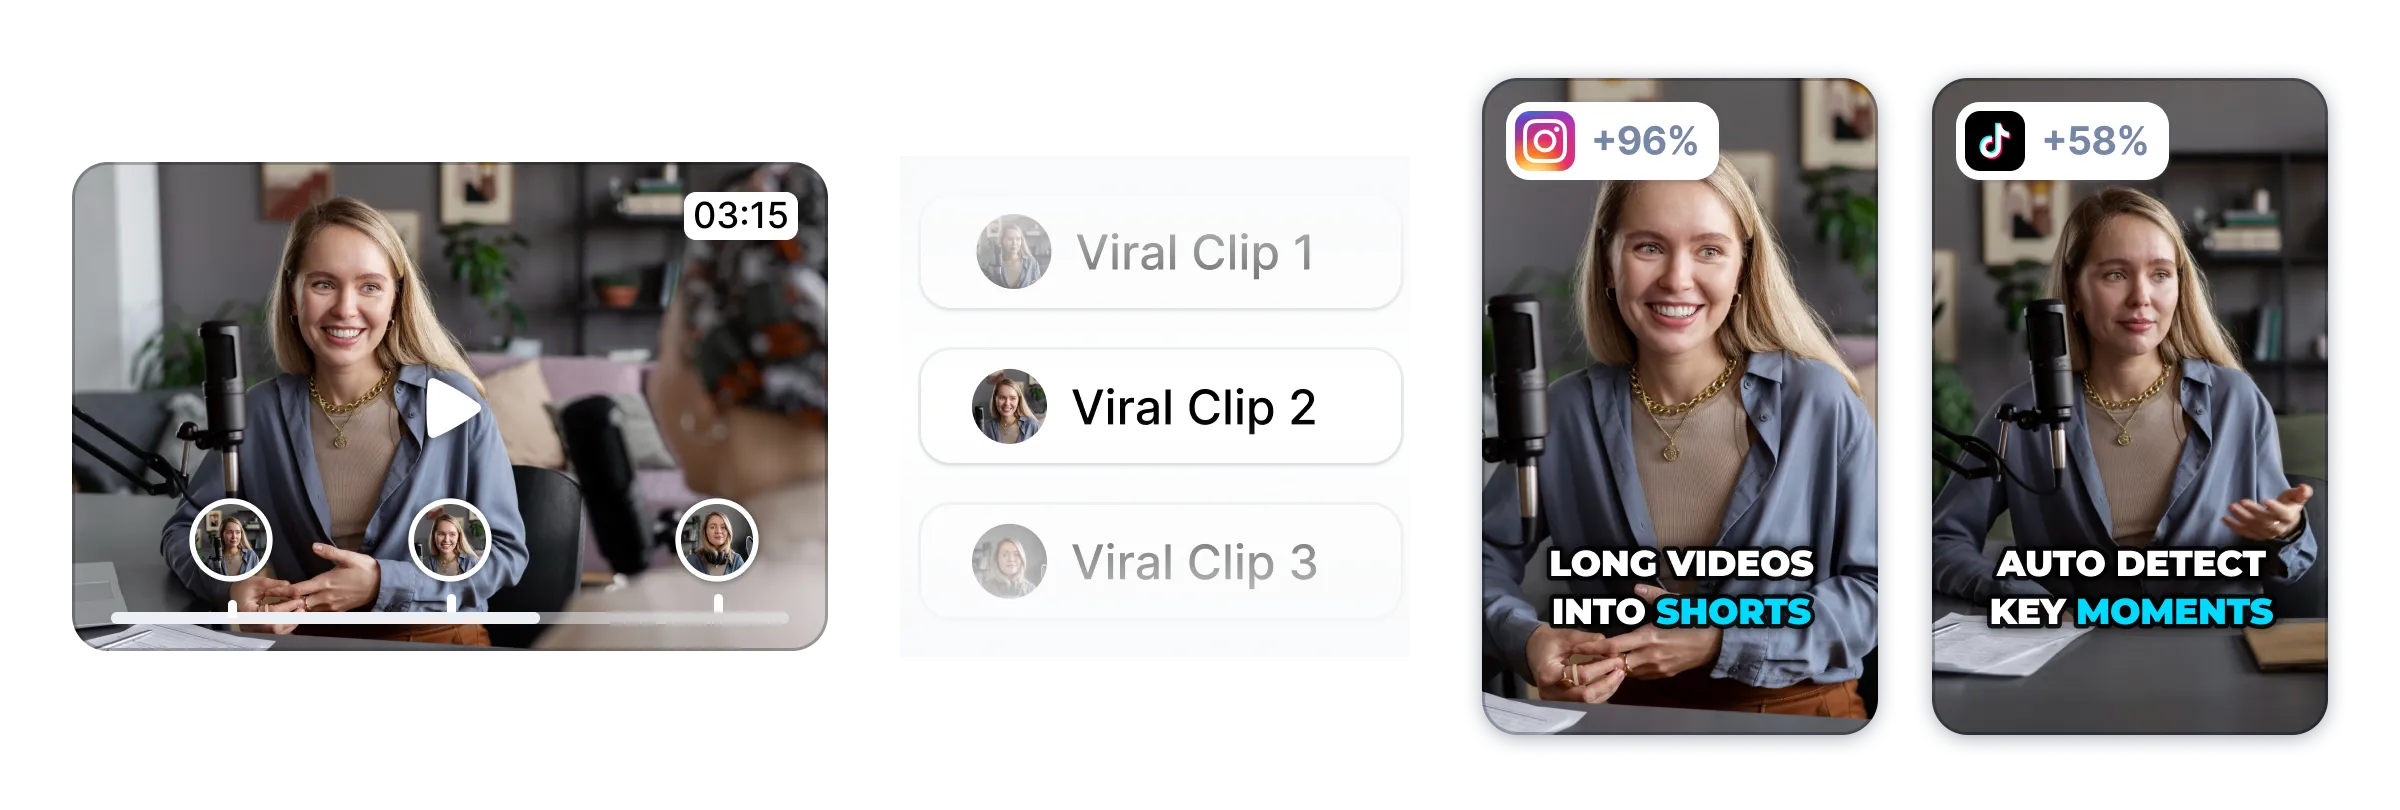
Moving past captions, the editor can suggest secondary media based on transcript phrases. An automated B-roll generator attempts to pair spoken ideas with stock footage or generated visuals. This can speed up the search process, but relevance still requires human judgment. A keyword match may be literal while missing the intended tone, setting, audience, or broader meaning of a sentence.
When a suggestion does not fit, the workflow allows you to search for a replacement and adjust where it appears. The editor also offers automatic zoom cuts and sound-effect placement intended to add visual and audio emphasis. Review the frequency of these effects carefully: repeated zooms, emoji sounds, or stock overlays can distract from the speaker if every sentence receives similar treatment.
Automation should be treated as a draft, not an editorial decision. Check visual context, timing, repetition, audio levels, and whether inserted media supports rather than contradicts the narration. You should also confirm that any chosen asset is appropriate for your intended use under the terms presented by the service.
Comparing Submagic With Traditional Video Editors
To make an informed buying decision, recognize how a specialized AI tool differs from a standard editing timeline. Traditional software is generally built around multi-track timelines where editors arrange and synchronize assets manually. Submagic uses a text-led, short-form workflow that prioritizes automation and repeatability over unrestricted timeline control.
- Editing approach: Submagic centers edits on transcription and automated effects, while traditional editors emphasize direct manipulation of video and audio tracks.
- Caption workflow: Submagic can generate and style captions from speech; traditional suites may require more manual formatting or additional tools.
- B-roll workflow: Submagic can suggest overlays from transcript terms; traditional editors leave selection, import, and placement primarily to the editor.
- Timeline flexibility: Traditional editors generally provide deeper control over layers, transitions, color, compositing, and audio.
The practical trade-off is speed versus granular control. If your bottleneck is repeatedly preparing talking-head clips for social platforms, the automated approach may reduce routine work. If you require custom effects, extensive color grading, multi-angle synchronization, or complex sound design, a classic editor may remain necessary. Our detailed Submagic review considers these workflow differences in more depth.
A Practical Test Workflow Before You Subscribe
A structured trial helps reveal whether the editor fits your production process. Use a typical clip rather than unusually clean footage, then complete the same quality checks you would perform before publishing.
- Upload a representative video and choose the appropriate spoken language.
- Correct transcription and timing errors before changing the visual style. Check names, technical language, punctuation, capitalization, and line breaks.
- Apply a caption template, then adjust font, color, placement, and text density for readability.
- Inspect each automated B-roll insert and zoom. Replace irrelevant visuals and remove effects that feel repetitive.
- Listen through the full clip for sound-effect balance, abrupt edits, and synchronization problems.
- Export a sample and inspect it on a phone. Check image quality, caption placement, aspect ratio, and whether the file works with your publication process.
Measure the amount of correction time, not just the speed of the first AI pass. An automated draft is useful only if reviewing and repairing it takes less effort than your existing method. Repeat the test with more than one normal content type if your channel uses different speakers, recording conditions, or visual formats.
Check Plan Limits, Exports, and Team Needs
Choosing an option depends on your video volume and the specific capabilities your workflow requires. Do not select a tier solely because it includes more named features. First identify your normal source length, number of monthly projects, required export format, caption styling needs, and whether multiple people need access. Then compare those requirements with the current plan information provided by Submagic.
Important points to verify include upload and export limits, supported aspect ratios, maximum source duration, watermark rules, custom fonts, brand controls, storage, collaboration, and any restrictions on B-roll or AI features. Plan details can change, so confirm them directly before subscribing rather than relying on an older article or screenshot.
Teams should also examine approval and handoff requirements. A shared dashboard is only useful if it matches how editors, clients, and reviewers exchange feedback. Individual creators may care more about repeatable presets and quick exports. For a broader decision framework, consult the Submagic buying guide, then verify all current plan terms with the provider.
Frequently asked
As an Amazon Associate I earn from qualifying purchases. This does not affect the price you pay. Affiliate disclosure